
“I like camping in the winter more than camping in the summer.” These words were spoken to me by a close friend several years ago, back before I had ever experienced winter camping for myself. Needless to say, I didn’t understand until I got curious enough to try it out.
Now, I think I’d have to agree with him.
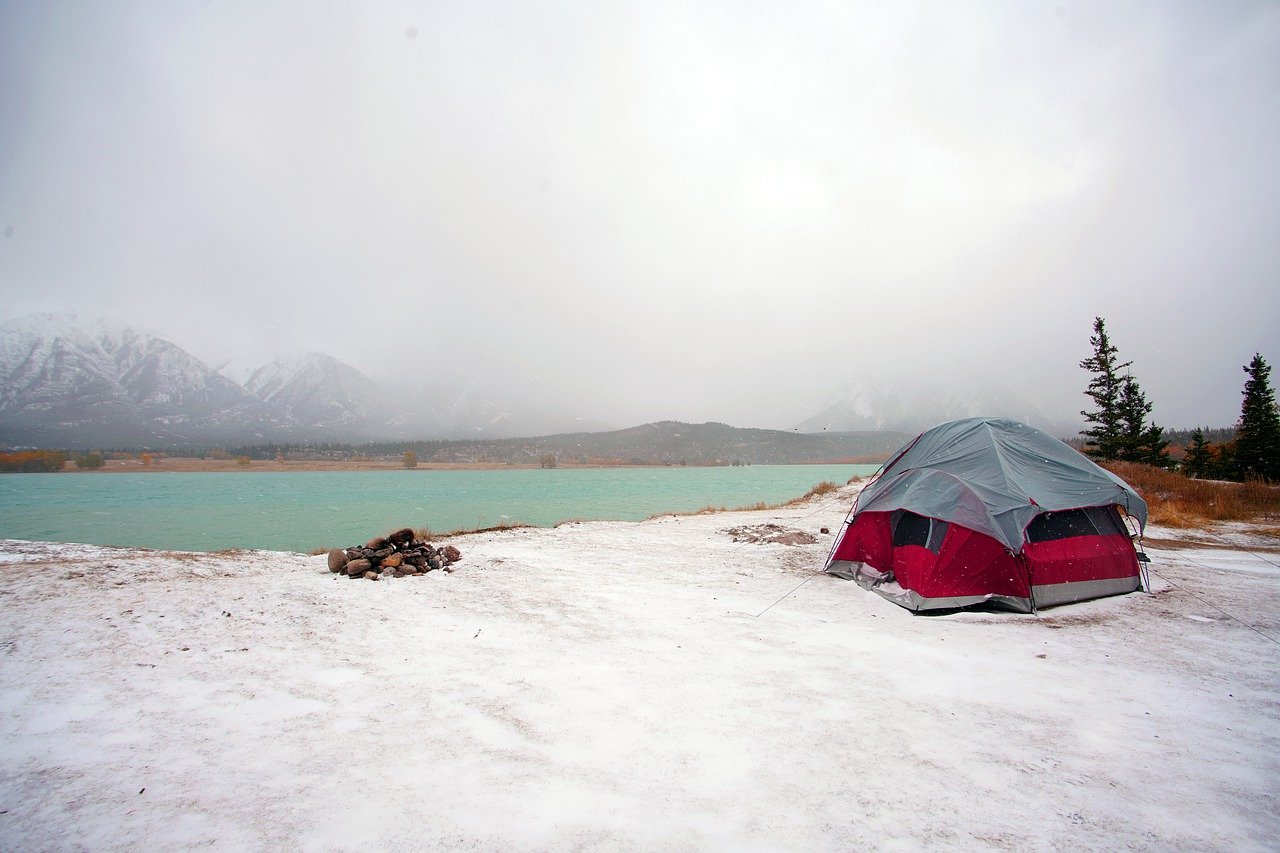
If you’ve become enchanted by the thought of spending the night outside surrounded by beautiful, snowy landscapes, you’ll need to update your winter camping checklist. A lot more thought needs to be put into the items you bring in order to keep your weight to a minimum while ensuring you stay safe and warm.
So, we’ve created this winter camping checklist, which includes the essentials, clothing, and camping extras.

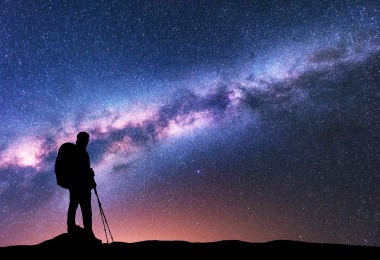
Winter camping can be very enjoyable with the right preparation. Photo: My Good Images via Shutterstock
Some of the links in this article may contain affiliate links. When you make a purchase using these links, part of the proceeds go to Snowshoe Mag. Additionally, as an Amazon Associate, we earn from qualifying purchases. Please see our disclosure for more details.
Essential Equipment
During the summer, the warmer temperatures tend to be more of a nuisance than a health concern (as long as you stay hydrated!), whereas freezing weather can prove to be dangerous if you aren’t properly equipped. So, let’s start with some of the essentials:
4 Season Tent
If you’ve ever been camping before, chances are you’ve used a 3 season tent as your shelter of choice. These are great for summer, and the warmer ends of fall and spring, serving as a barrier against the rain and bugs. Because they were designed for more temperate climates, most of the engineering revolves around keeping you cool in hot weather.
4 season tents, on the other hand, are designed to provide more warmth and insulation. As you might imagine, though, staying warm is only half the battle. Strong winter winds and heavy snow accumulation would collapse an average tent on the first night, leaving you defenseless against the elements. That’s why 4 season tents have rigid shapes and pole geometry, helping them bear substantial snow loads, and withstand powerful wind gusts.
They also work to reduce the amount of mesh used in the tent construction. While it makes ventilation a bit more difficult, it also means it’s harder for heat to escape.
A few examples of 4-season tents are the Mountain Hardwear Trango Tent – 2 people or 3 people, or 4 person tent, Marmot Tugsten Tent – 2 people, 3 people, or 4 person tent or Yakima SkyRise HD 2 person vehicle tent.
Read More: The Snowshoe and Tent Experience
Mummy Sleeping Bag
Any cold weather sleeping bag will do the trick, but I find the mummy design (like the Marmot Trestles Elite Eco 0 Sleeping Bag) to be most effective. Do you know how it’s easier to heat a smaller room than a larger room? The same principle applies with sleeping bags too, which is why the rectangular variety just doesn’t cut it for me. There’s more open space on the inside, taking away some of the insulating properties that a mummy bag will give you since it’ll hug your body more tightly.
Additionally, mummy bags have a hood to cover your head, and a drawstring to cinch it up around your face. This helps prevent the loss of any heat that will try to escape from the opening around your neck.
Sleeping Bag Liner
Depending on how cold it is where you are (and the quality of your sleeping bag), you may not need a sleeping bag liner. However, to be safe, I would recommend bringing one anyway.
Aside from adding another layer of warmth on chilly nights, a liner will also work to keep your sleeping bag clean. You can think of it like bedsheets, catching all the dirt, sweat, and body oils you accumulated during the day, while also providing a more comfortable material to sleep on.
A few examples of a sleeping bag liner are the Big Agnes Sleeping Bag Liner or the Sea to Summit Thermolite Reactor Fleece Liner.
Read More: Review: Katabatic Flex 15F
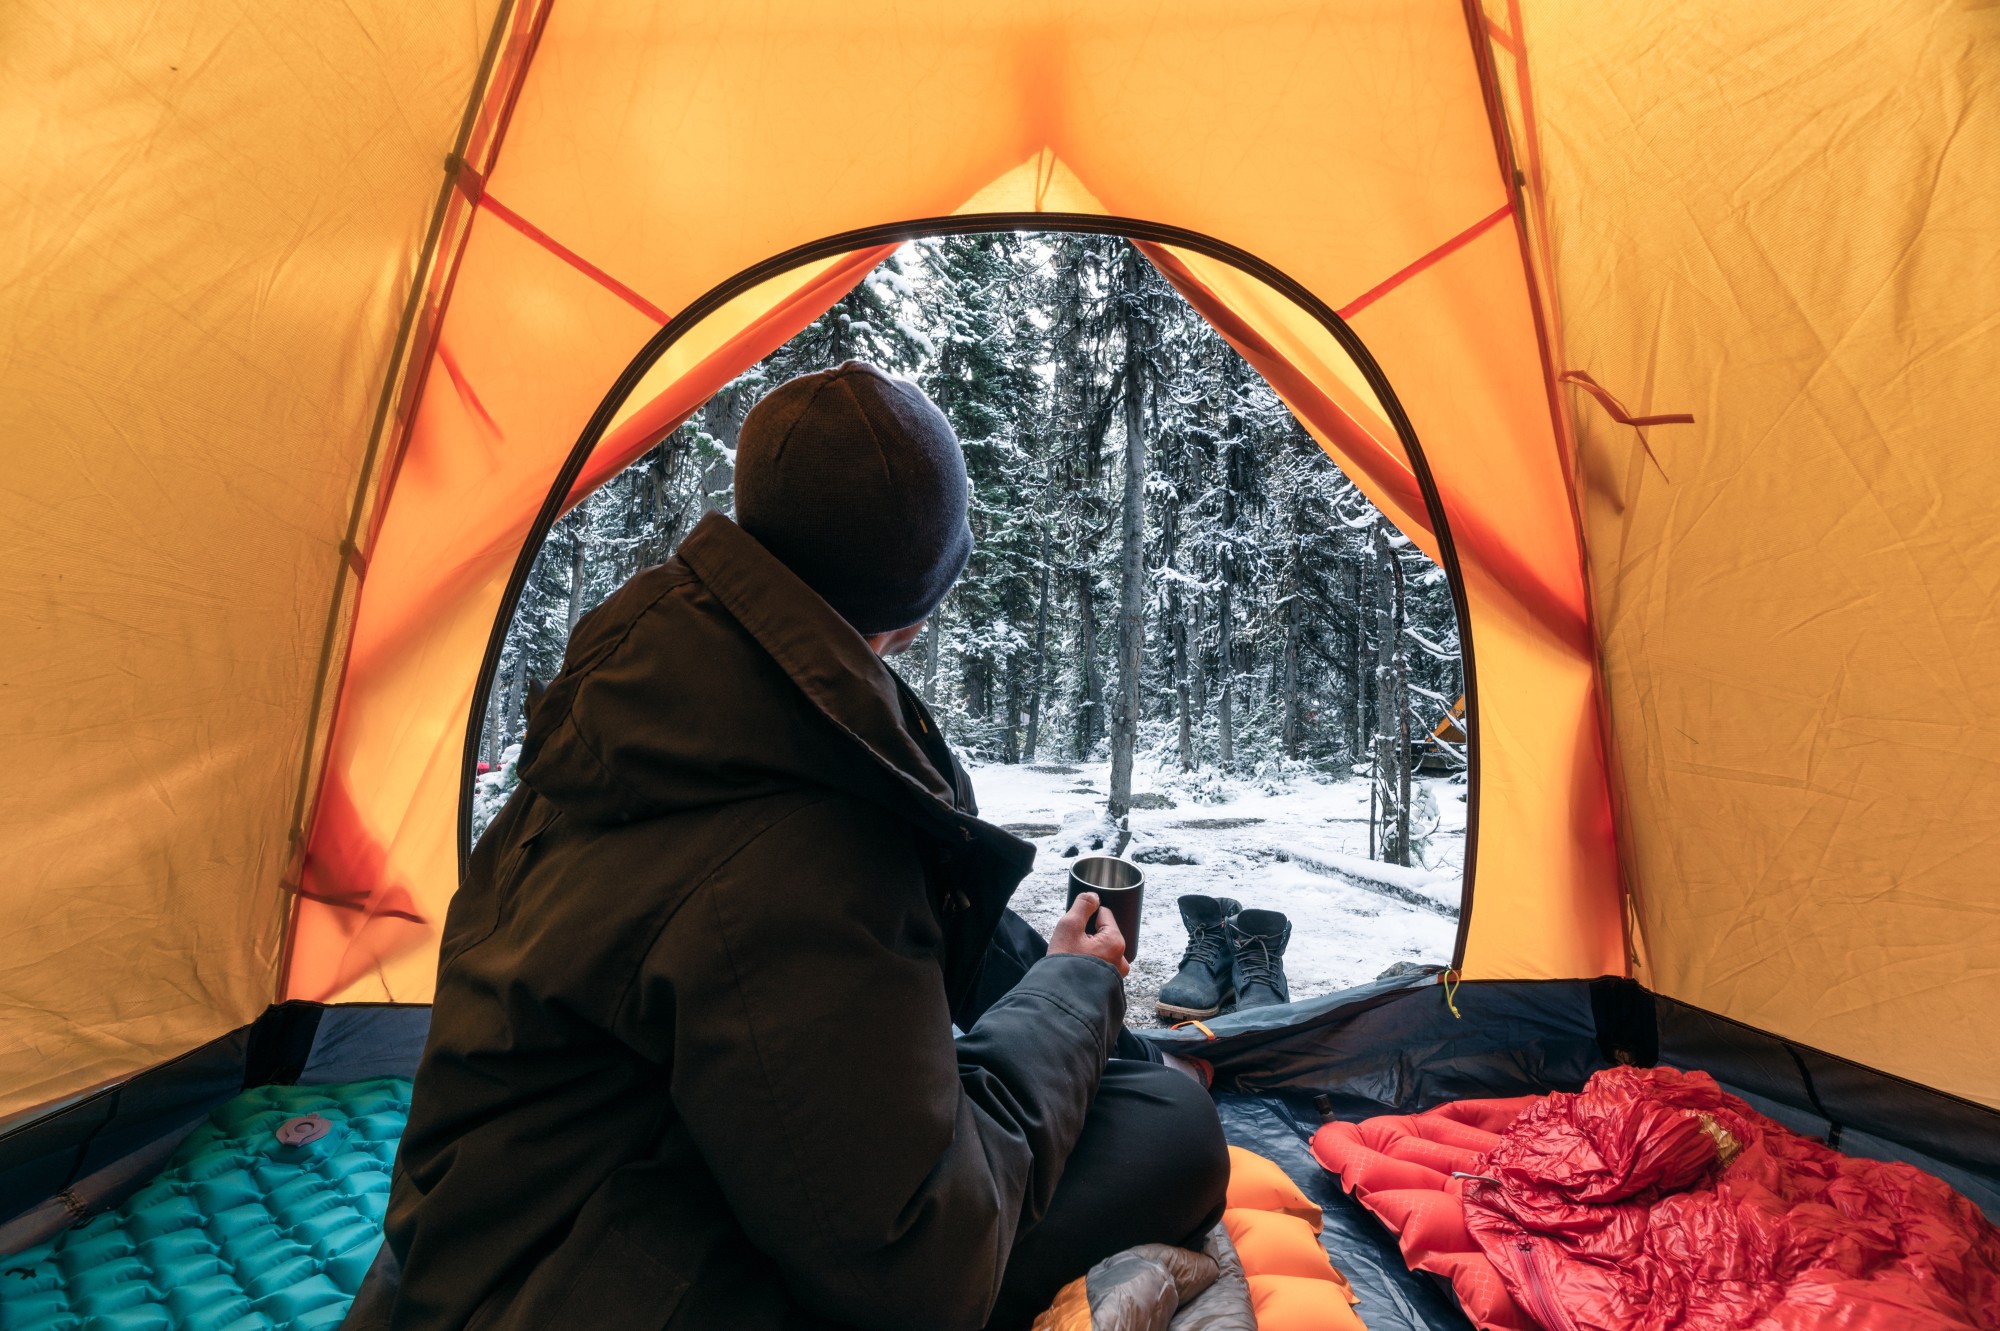
Remember to bring a 4 season sleeping bag, sleeping bag liner, and sleeping pad to stay warm. Photo: Mumemories via Shutterstock
Insulated Sleeping Pad
In my early years of camping, I had the mistaken belief that sleeping pads were unnecessary. Granted, I mostly went out in the summer when it was warm, so I didn’t have to worry too much about the cold seeping up from the frozen ground. However, I decided to try one out when I went on a backpacking trip in the Himalayas, and it was the best decision I ever made.
My first night was at an altitude of 15,000 feet in late October, but even back at sea level on a sandy beach in August, I still use my sleeping pad. For winter camping, you’ll want to find a thick, well-insulated pad to act as a barrier between you and the frozen ground. If you feel like being extra prepared, you can even throw a closed-cell foam pad underneath it for added warmth and durability.
Some examples of a cold-weather sleeping pad are the Therm-a-Rest BaseCamp Sleeping Pad (self-insulating) and the Therm-a-Rest Z-Lite Sol Sleeping Pad (closed-cell foam pad).
Heat Source
Sometimes a good tent and cozy sleeping bag aren’t enough to keep you warm, though, especially if you don’t want to stay trapped within the confines of your shelter. When it comes to heating devices, there are primarily 3 options that you can choose from:
1. Camp stove. This one is my personal favorite because you can stay warm and cook a delicious meal with the same equipment! However, depending on the style of camp stove you have (we like the MSR XGK EX from our review), it may not emit enough heat to sufficiently warm your surroundings. Something like a Solo Stove Campfire would be better for this purpose, as opposed to some other single or double propane stove.
2. Tent heater. You can think of them as a space heater for your tent. For the most part, the only options out there are going to be heaters that run off electricity or gas, and each come with their own pros and cons. Electric heaters need to be plugged into an outlet in order to work, but are often considered the safer option. Gas heaters, like the Mr. Heater Portable Buddy Heater, work as long as you have a fuel supply. But when using it inside your tent, proper ventilation is key. Though Mr. Heater has an oxygen depletion sensor, without ventilation, dangerous fumes can build up, leading to significant health problems.
3. Portable fire pit. If you want to feel the warmth and glow of a real flame, portable fire pits, like the Ignik FireCan Portable Fire Pit, are a great way to go. In winter, it can be hard to find enough wood on the ground to help you start your own campfire. While some portable fire pits do use wood as fuel, most of them run off a propane tank, creating a strong, smokeless flame.
Read More: The Winter Campfire: A Primer for Snowshoers and Campers
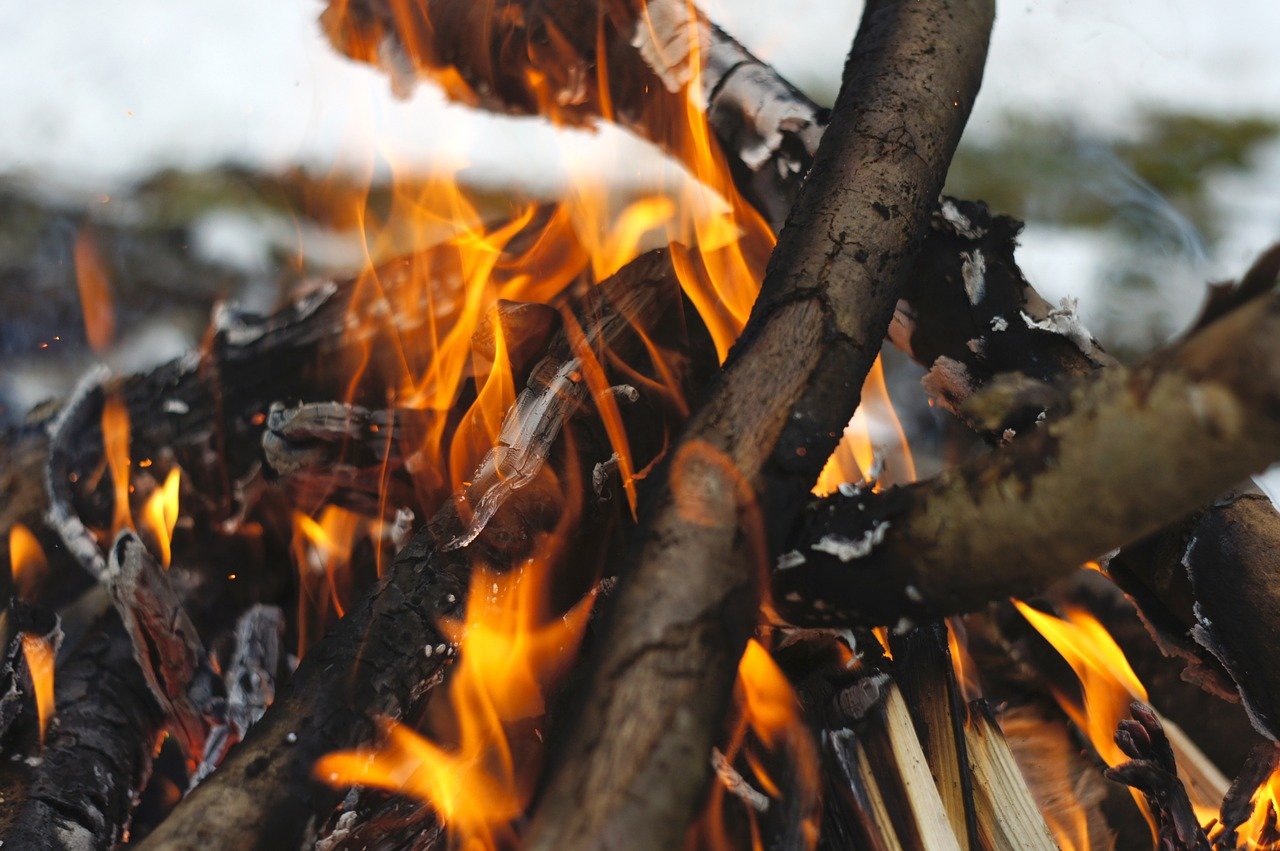
There are few options for a heat source while camping. Photo: Zauberin via Pixabay
Cold Weather Clothing and Footwear
Dressing properly for winter temperatures can be tricky. One moment you’re sweating because of the energy it takes to trek through the snow, and the next moment you feel like you’re turning into an ice block because you stopped for 5 minutes! To stay protected and prepared, dressing in layers is an essential skill to have when you’re camping in the winter. Thus, we’ve added cold-weather clothing to our winter camping checklist.
Read More: Snowshoeing Dress Code: Tips for What Clothing To Wear
Base Layer
The primary purpose of the base layer is to keep you dry. We all know that “cold” and “wet” are a terrible combination, and sweat can be just as uncomfortable as rain or snow.
Because the base layer is pressed directly against your skin, it’s important to wear one that actively wicks away moisture. Remember that wicking is entirely different from the breathability of a piece of clothing. Breathability just means that air can pass through the material, but it won’t move moisture away from your skin as a wicking shirt will.
An example of a wicking base layer includes the REI Midweight Base Layer Crew Top – Men’s and Women’s.
Read More: Columbia Omni Heats Up: The Battle of the Base Layer
Mid Layer
The mid-layer is going to be what insulates you against the cold. Its sole purpose is to trap heat close to your body, allowing you to stay comfortable even in subzero temperatures.
As a rule of thumb, the thicker your mid-layer is, the better it will serve as an insulator. Most people opt to use fleece because of how quickly it dries, and because it maintains its insulating properties even when wet. Unfortunately, though, fleece is quite breathable, so cold air is able to pass through it very easily. However, this isn’t a problem if you’re wearing an outer layer.
An example of a fleece mid-layer includes Patagonia’s Better Sweater® Fleece Jacket – Women’s and Men’s.
Read More: KUHL Reviews: Interceptor FZ Mid-Layer and Akkomplice Base Layer Hoodie
Outer Layer
The final component of the layering system is going to be your outer shell. While everything you’ve put on up to this point is designed to keep warmth in, it’s the outer layer’s job to keep the wind and rain out.
Just make sure that you don’t wear a rain jacket that keeps everything trapped inside. A little breathability is important, otherwise, all the moisture that your wicking base layer is moving away from your skin will have no way to escape.
An example of a breathable, warm outer layer is the REI Stormhenge Down Hybrid Jacket – Women’s and Men’s.
Read More: Celebrating a Century of the Puffy Coat
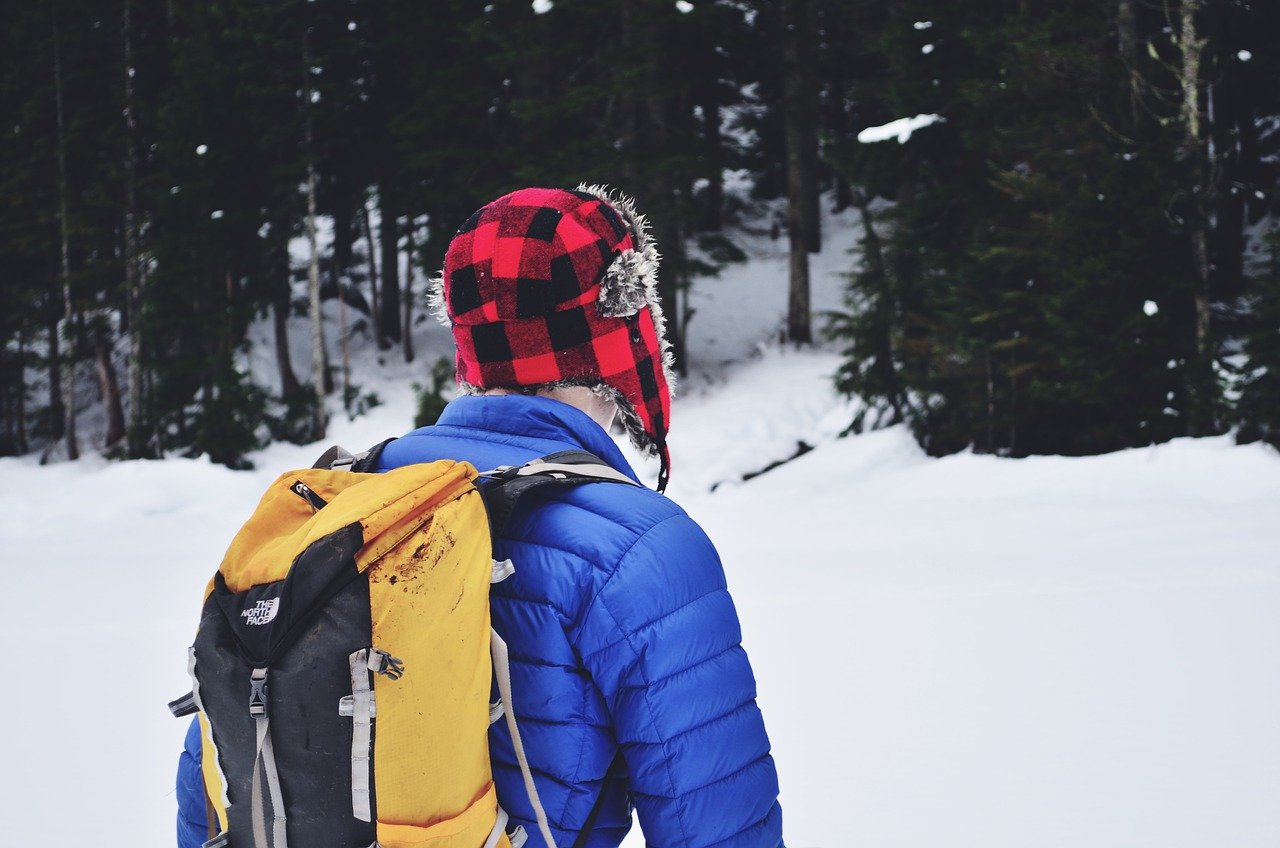
When camping, make sure to take an outer layer and warm hat. Photo: Trevor205 via Pixabay
Warm Hat
You lose a lot of precious heat from your head, so it’s vital to keep it fully covered. I like to carry two hats on me when I’m camping in the winter: a thinner one to wear during the day when I’m moving around, and a thicker beanie to put on at night when I’m not generating as much heat anymore.
Wearing a thick hat when you’re working out is a great way to overheat and get your head sweaty. All that moisture is going to chill you to the bone when you finally stop for the day and take your hat off, which is the last thing that you want to happen!
Read More: Sunday Afternoons Lodgepole Beanie Review: A Go-To for Snowshoeing
Gloves
The general theme of winter camping is that moisture is your worst enemy. It’s bad enough that it’s cold outside, but when you throw a little water into the mix? You’re practically asking for frostbite.
Considering your fingers are one of the most likely places for you to get frostbite, it’s even more crucial that you take proper steps to protect them. Waterproof gloves are a must, but as I mentioned earlier, this by itself isn’t enough to keep your hands dry. Breathability is essential for every part of your layering system in order to keep your body from becoming saturated with sweat.
Socks
You’ll likely be on your feet for most of the day, so show them a little love by picking your socks wisely. My personal favorites are tall socks made from merino wool – a little expensive, but definitely worth it for a winter camping excursion.
I’d also suggest you bring at least one pair of socks to change into every day. Snow will always find its way into your boots, and sweat will make everything else damp pretty quickly. Changing your socks when you go to bed at night will be a lot more comfortable, and will also keep you from developing trench foot or frostbite.
Read More: Stay Warm This Winter: 5 Socks for Your Next Snowshoe Outing
Keep those feet warm while winter camping (and snowshoeing) with a warm winter boot. Photo: rdonar via Shutterstock
Boots
When camping in the winter, encountering a little (or a lot) of snow is often unavoidable. Whether you’re facing a light dusting or a scene out of the last Ice Age, having proper footwear is key to your overall comfort and safety.
Waterproof boots are a must, but you’ll also want something that’s compatible with snowshoes or skis. It’s not very fun or efficient to plow through knee-deep snow without a little help, and snowshoeing is a crowd favorite for gliding across the pristine landscape.
An example boot for lighter winter days is the Taurus Pro GTX Mid Hiking Boot – Women’s or Men’s with gaiters to keep snow out of your shoes. Or for colder nights, Keen’s Targhee High Lace Waterproof Boots – Men’s or Keen’s Revel IV High Polar Hiking Boots – Women’s are two examples.
Read More: Snowshoeing Footwear: Tips for Choosing Your Boot
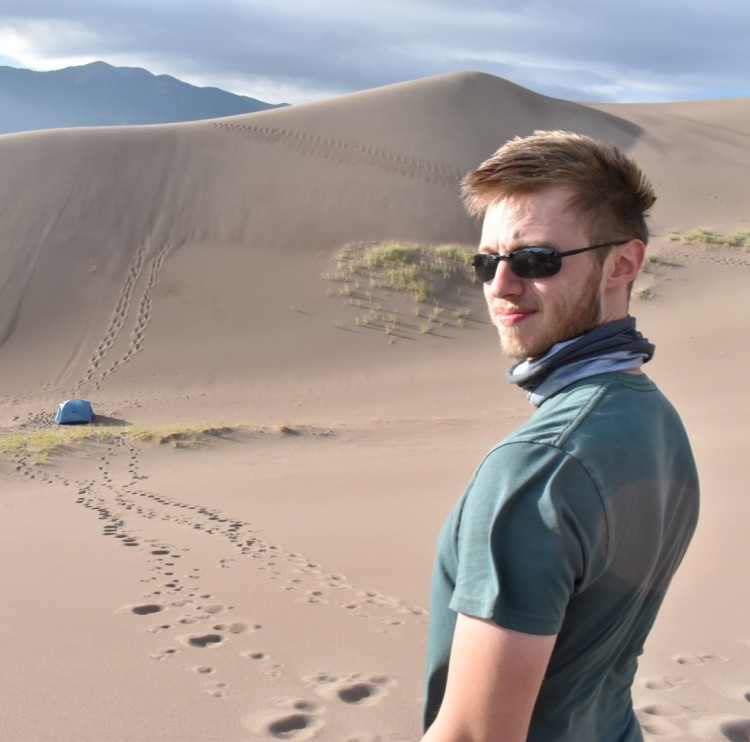
Sunglasses
While they might not keep you warm, don’t discount the importance of having a good pair of sunglasses. This is especially true during the winter when the sun is reflecting off of the snow, blinding you even further.
If you’re in a windy environment, they also work well as a way to stop snow and ice from hitting your eyes. Depending on how bad the weather is, though, you may consider investing in a pair of goggles, too.
Additional Items
Now that we’ve got your winter clothing taken care of, let’s take a look at a few more essentials that you should add to your winter camping checklist.
Headlamp
No matter what time of the year you’re camping, a headlamp should always be on your checklist. If you’re backpacking, it can be hard to say what time you’ll reach your next campsite, and the short winter days bring darkness much faster than usual. If you’re staying in one place, you’ll still want a source of light while you’re walking around camp or using the bathroom.
You’ll be surprised by how quickly your battery will lose power in the colder weather, as well. Always have a few extra batteries on hand, or a way to recharge them if you’re able.
Read More: Silva Trail Speed 4XT Review: The Multipurpose Headlamp
Navigation Equipment
I find it to be a little hard to navigate when there’s snow on the ground, and everything looks dead and barren. Less traveled trails can often be easy to lose, and in the event of a blizzard, it will be impossible to notice any landmarks.
You’ll likely depend on your phone for GPS capabilities. If you have a good route tracking app, like Gaia, you’ll be in pretty good shape no matter where you end up. However, as I mentioned earlier, the cold temperatures will sap your phone’s battery much faster than usual, possibly leaving you without any navigational options.
That’s why I like to bring a trusty topographical map (like those at MyTopo) and compass with me wherever I go. They don’t require energy to work and are great tools to use in harmony with a GPS device.
Read More: Compass and Map Reading 101
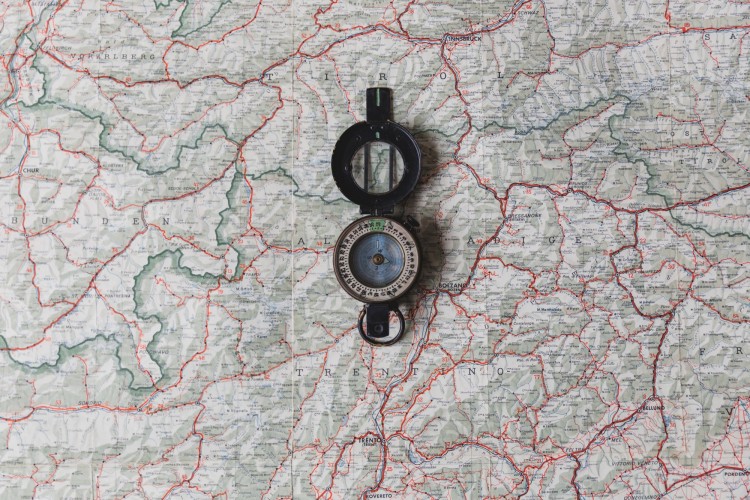
Go tech-free and stay safe with a map and compass on your outdoor adventure. Photo: Matthew Henry via Burst
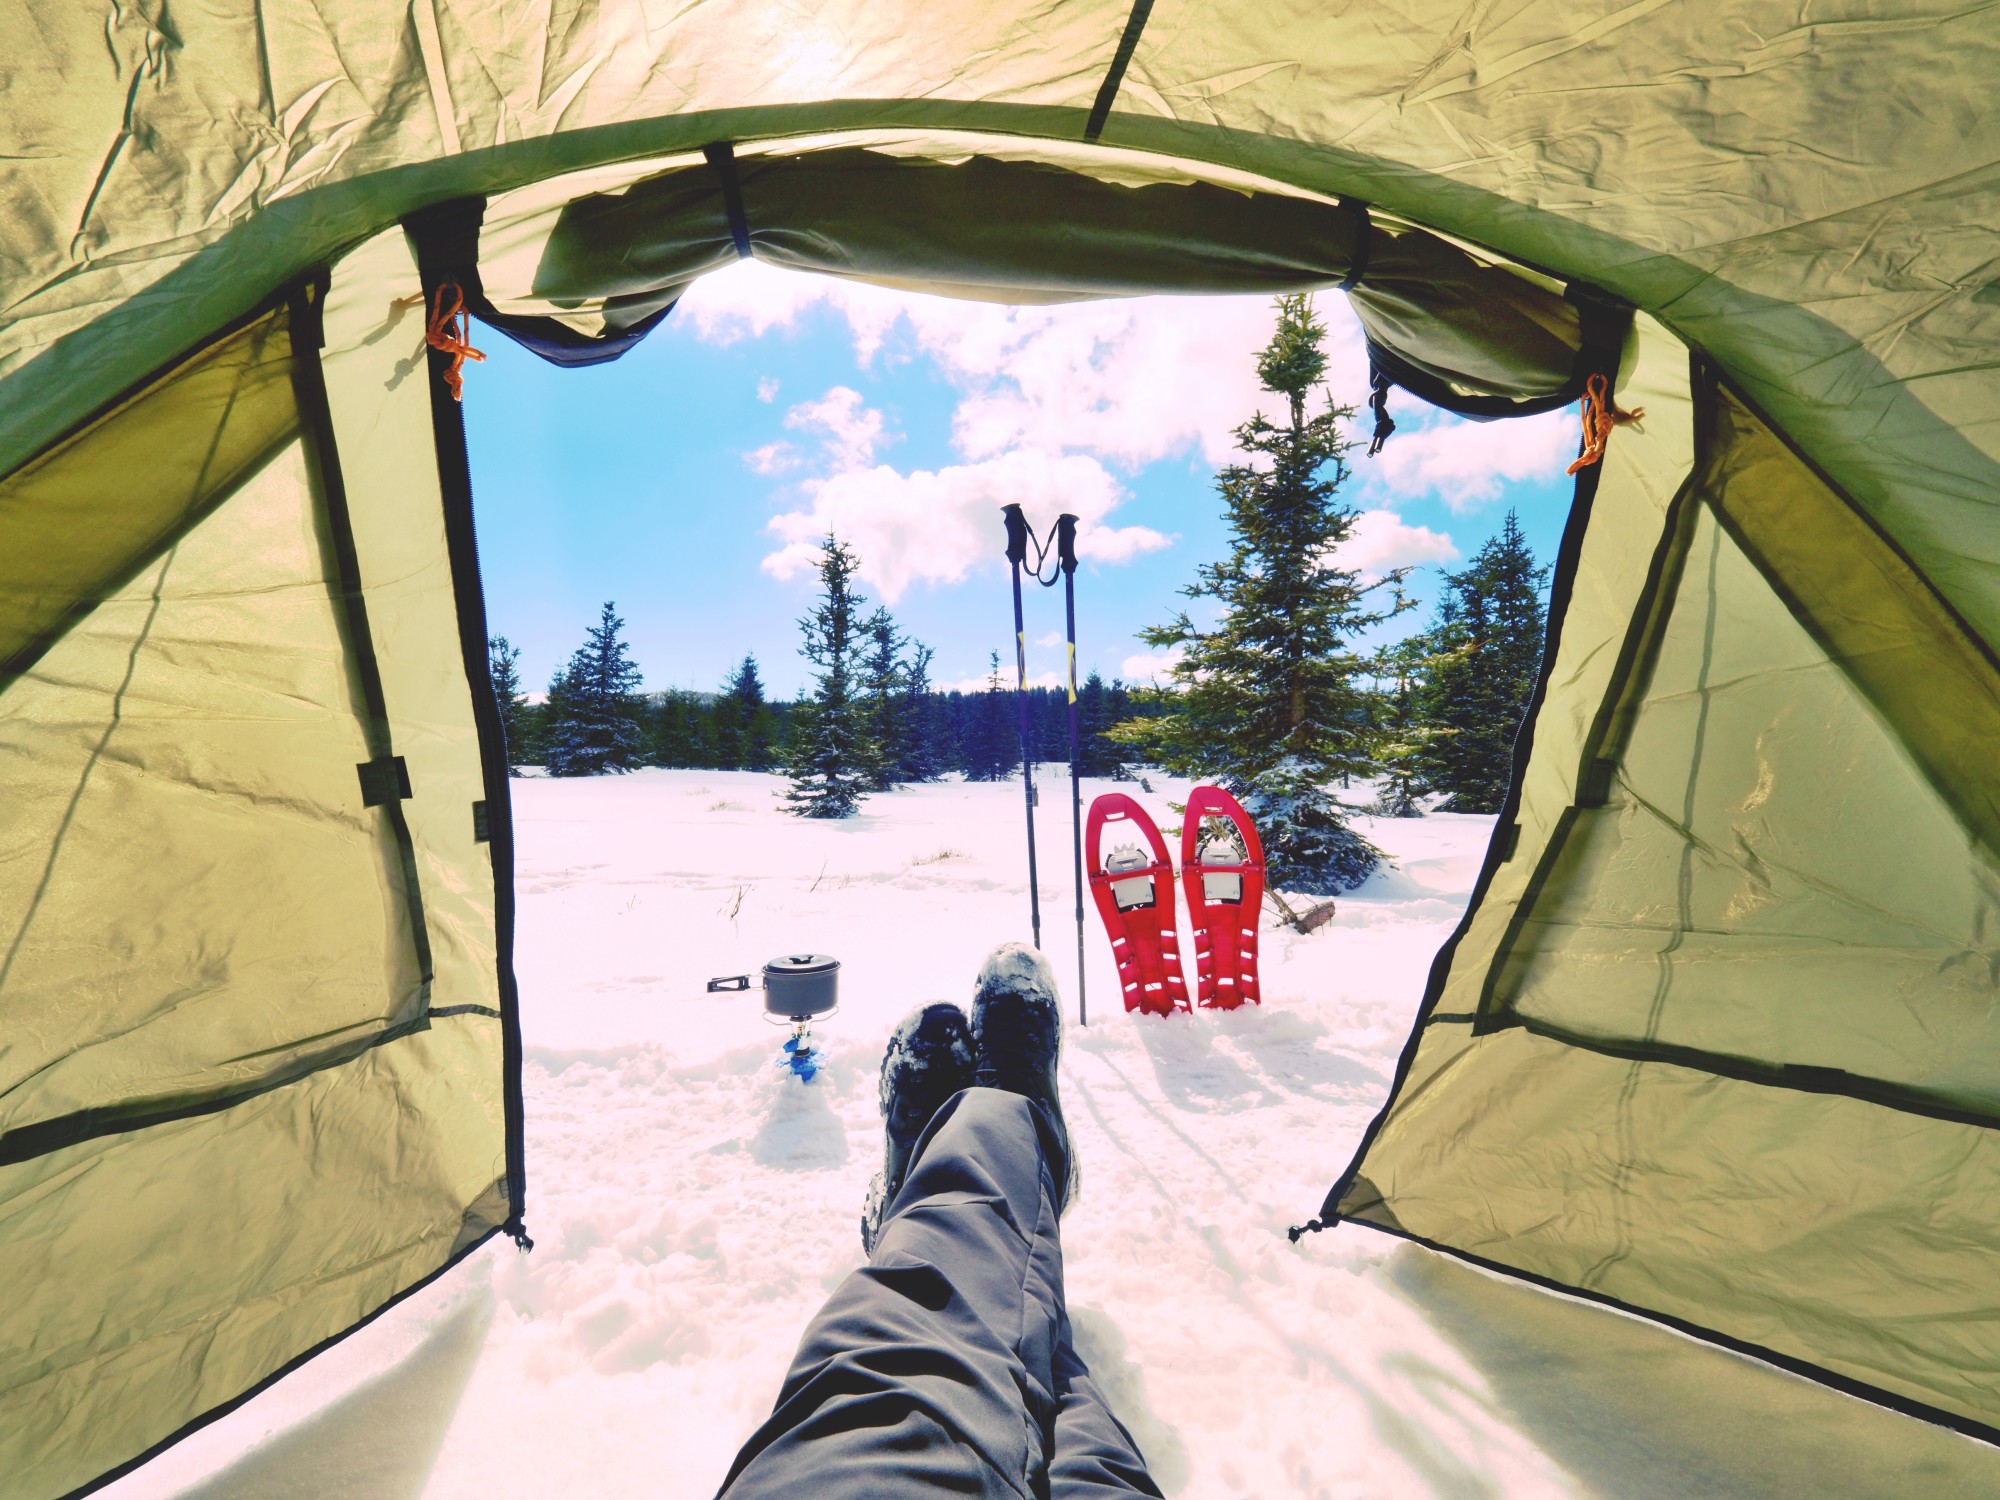
Poles
It’s easy to lose your balance when you’re walking through snow. And if you aren’t wearing snowshoes or skis while you’re trekking, you might find that your next step sinks down much farther than you anticipated. After all, snow tends to make many landscapes look fairly flat, filling in all those dips and crevasses that you won’t know exist until you step into them.
Poles are nice to have because they give you something sturdy to put your weight on if you’re feeling off-balance. They’re also useful for scouting the ground in front of you. Trekking poles that have powder baskets, like MSR’s Dynalock Explore Backcountry Poles, are my go-to option because they won’t sink into the depths of the snow as easily.
Read More: Are Two Poles Better Than One? Tips for Using and Choosing Your Pole
First Aid Kit
It’s always good practice to bring a first aid kit (like this one) with you on a camping trip. Make sure you have a proper understanding of how to treat cold weather injuries, such as frostbite and hypothermia, as well as how to disinfect and bandage wounds. For remote, backcountry camping, you may even consider bringing a personal locator beacon or satellite messenger (like this one) to help emergency responders find you if you need help.
Read More: 6 Ways To Refresh Your Safety for Winter Hiking and Snowshoeing
Toiletries
Don’t forget to pack some toiletries for personal hygiene before you leave. A roll of toilet paper and some soap is about all you need. However, you’re welcome to bring some shampoo if you want to wash your hair while you’re out. Keep in mind that many water sources might be frozen over, though. So you’ll have to melt snow in a pot to use as some bathing water.
Read More: What To Bring When Snowshoeing: Top Accessories for the Day Hiker
Shovel
A good winter shovel will let you add a little luxury to your campsite. With it, you can build snow walls around your shelter to act as a wind barrier, create a snow kitchen, or help you dig out your tent in the morning. Grab something light and compact that you can easily shove in your pack until you need to use it.
Food and Water
Your body burns more calories in the winter in an effort to stay warm, so don’t be shy with the amount of food you bring. Bars and other high-calorie snacks are ideal when you’re moving around, and a warm breakfast and dinner make a great way to start and end the day.
When it comes to water, snowmelt is really your only option for refilling water bottles. As long as the snow is white (not yellow, brown, black, or some other color) it’s generally safe to drink without filtering, though I still like to anyway. Dump small amounts of snow into a pot that has a little water in the bottom, and wait for it to melt before adding more. Boiling snow will make it taste awful, so I strongly suggest you don’t use this as a purification method.
Read More: Upgrade Your Winter Camp Kitchen With These 6 Great Items
Camera
How can you not take a few photos when you’re camping in the winter? With the snowy landscape spread out around you, you’ll be kicking yourself if you don’t have some way to document the moment. I like to bring my DSLR and drone with me. However, a phone camera can get the job done nicely as well.
Read More: Winter Photography Tips for Snowshoers
Make sure to bring your camera for some photos on your winter camping trip. Photo: gayleenfroese2 via Pixabay
Bring What You Need While Camping
And that just about does it for this winter camping checklist. Many of these items are essential, while others are just nice to have with you. Whether you decide to bring more or less is entirely up to you.
As always, be mindful of weight. For car campers, you don’t need to worry as much. But if you’re planning on backpacking into a more remote location, you might want to leave some of those extra blankets behind. Stay light and mobile, so you can minimize the number of calories you burn when food is relatively scarce.
What else do you bring on your winter camping trips? Please share your insights with us in the comments below.
Read Next: Tips and Tricks for Cold Weather Backpacking and Winter Camping
Great checklist! I appreciate the detailed breakdown of essentials for winter camping. I always struggle with packing the right gear, but this guide will definitely help me prepare better for my next adventure. Thanks for sharing!
This article is useful.
Thanks, Greg. We’re glad you liked it! -Susan