Winter can be a great time to get out and take photographs. Snow lends itself to dramatic shots where the contrast of white against the landscape can result in some stark scenery. This article will focus on winter-specific suggestions and tips to boost your winter imagery. So without further ado, here are a few tips to get you started on your winter photography journey.
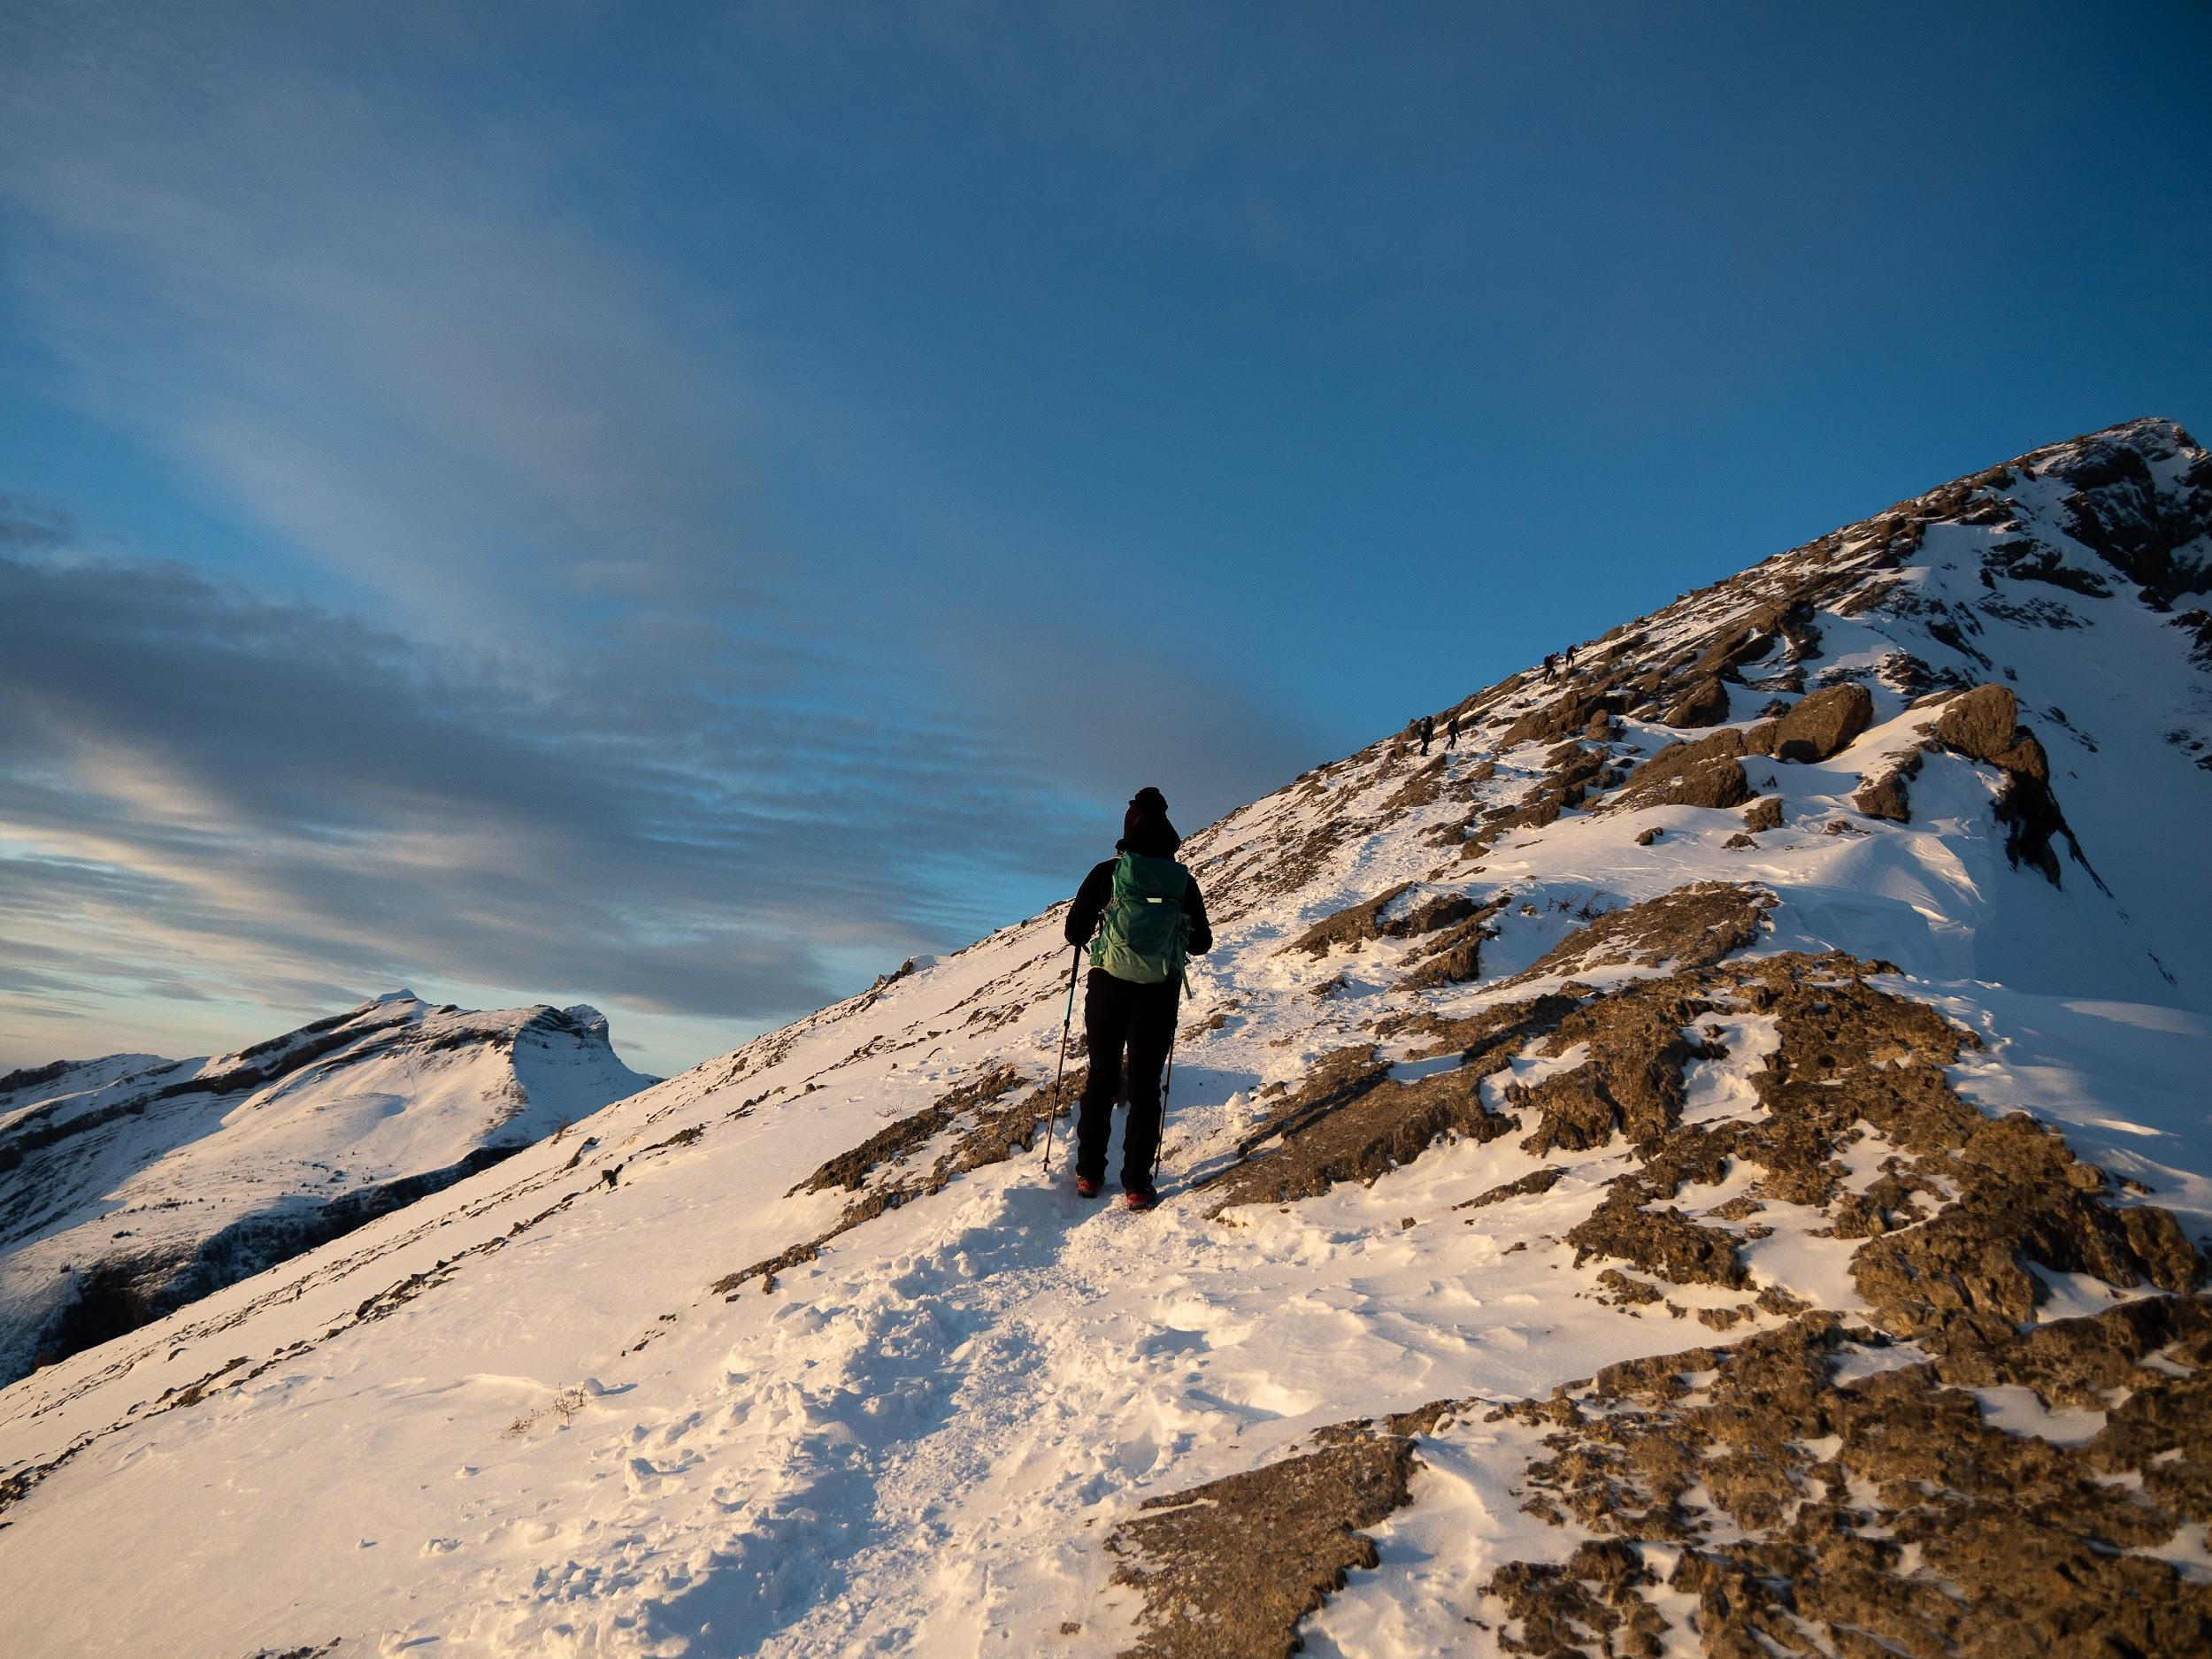
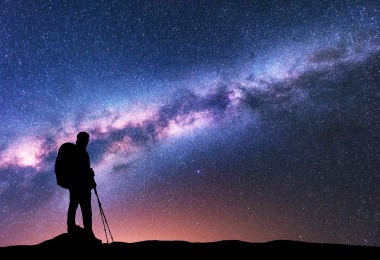
Ideal light for photos is typically within the first hour after sunrise and the last hour before sunset. Photo by Taylor Kipfer
Some of the links in this article may contain affiliate links. When you make a purchase using these links, part of the proceeds go to Snowshoe Mag. Additionally, as an Amazon Associate, we earn from qualifying purchases. Please see our disclosure for more details.
1.Plan for the short days
With winter comes much shorter days, which can be both a blessing and a curse for photography.
Generally speaking, the ideal shooting light arrives within the first hour after sunrise and the last hour before sunset. This means that for morning shoots, you might be able to sleep in a little longer if you’ve planned ahead. However, afternoon shoots require you to really be ahead of the game.
In Alberta, where I live, the shortest days of the year usually mean we have ideal shooting light sometime after 3:00 pm. Sometimes it’s even sooner if the sun drops behind a mountain. For days with a further objective in mind, starting much earlier in the day is important if you want those perfect summit photos.
Keep in mind that temperatures can be dramatically lower before and after the sun is in the sky, so dress and pack appropriately.
Read More: Tips & Tricks For Cold-Weather Backpacking & Winter Camping
2. Image Temperature
If you’ve taken photos outside on a snowy day before, you’ve probably noticed that the images came out with a blue hue overcast over anything remotely white within the image.
Obviously, this can mean much of the image appears blue instead of that crisp white we are after when it comes to snowy landscapes. This blue hue relates to how the camera handles white balance and interprets the light coming into the camera.
Without getting into the real details of it, different light sources – or in the case of most outdoor photography, the conditions influencing sunlight, can alter the hue of that light when it reaches the camera. The camera measures these hues within a temperature scale, and when faced with very bright, pure whites on the landscape, cameras can often have a bit of a hiccup and apply an overly cold or blue hue overtop of them.
Luckily for us, this is generally an easy fix. Within the camera itself, you can apply a range of temperature profiles aside from the default “Auto White Balance” that will influence how the camera interprets true white. You may have to play with these profiles a bit to determine which is the best for the conditions you are experiencing at any given time. However, applying a warmer profile such as “cloudy” or “overcast” will likely reduce the blue tones.
If this still isn’t enough to remove the blue hue, or if the profiles leave the image too warm and the snow now appears with a yellow or red hue, you may need to alter the temperature of the image in some editing software. Just about any software is capable of this, including the very basic editing software that comes standard on most computers. Simply adjust the temperature gauge warmer or cooler until the desired white is achieved.
Note For Smartphones
For smartphone photography, you may also experiment with using filters to help with the hue. Filters can be pretty useful for quickly editing photos and giving them a particular ‘look.’ However, they can also be pretty heavy-handed at times. They can result in an overly edited looking photo. So, be cautious.
Most filters seem to be on the warm side of the color scale and reduce the blue hue. You just have to be careful, so you don’t take the tone of the image too far the other way and give the image an orange or yellow hue. Unless, of course, that’s what you’re after.
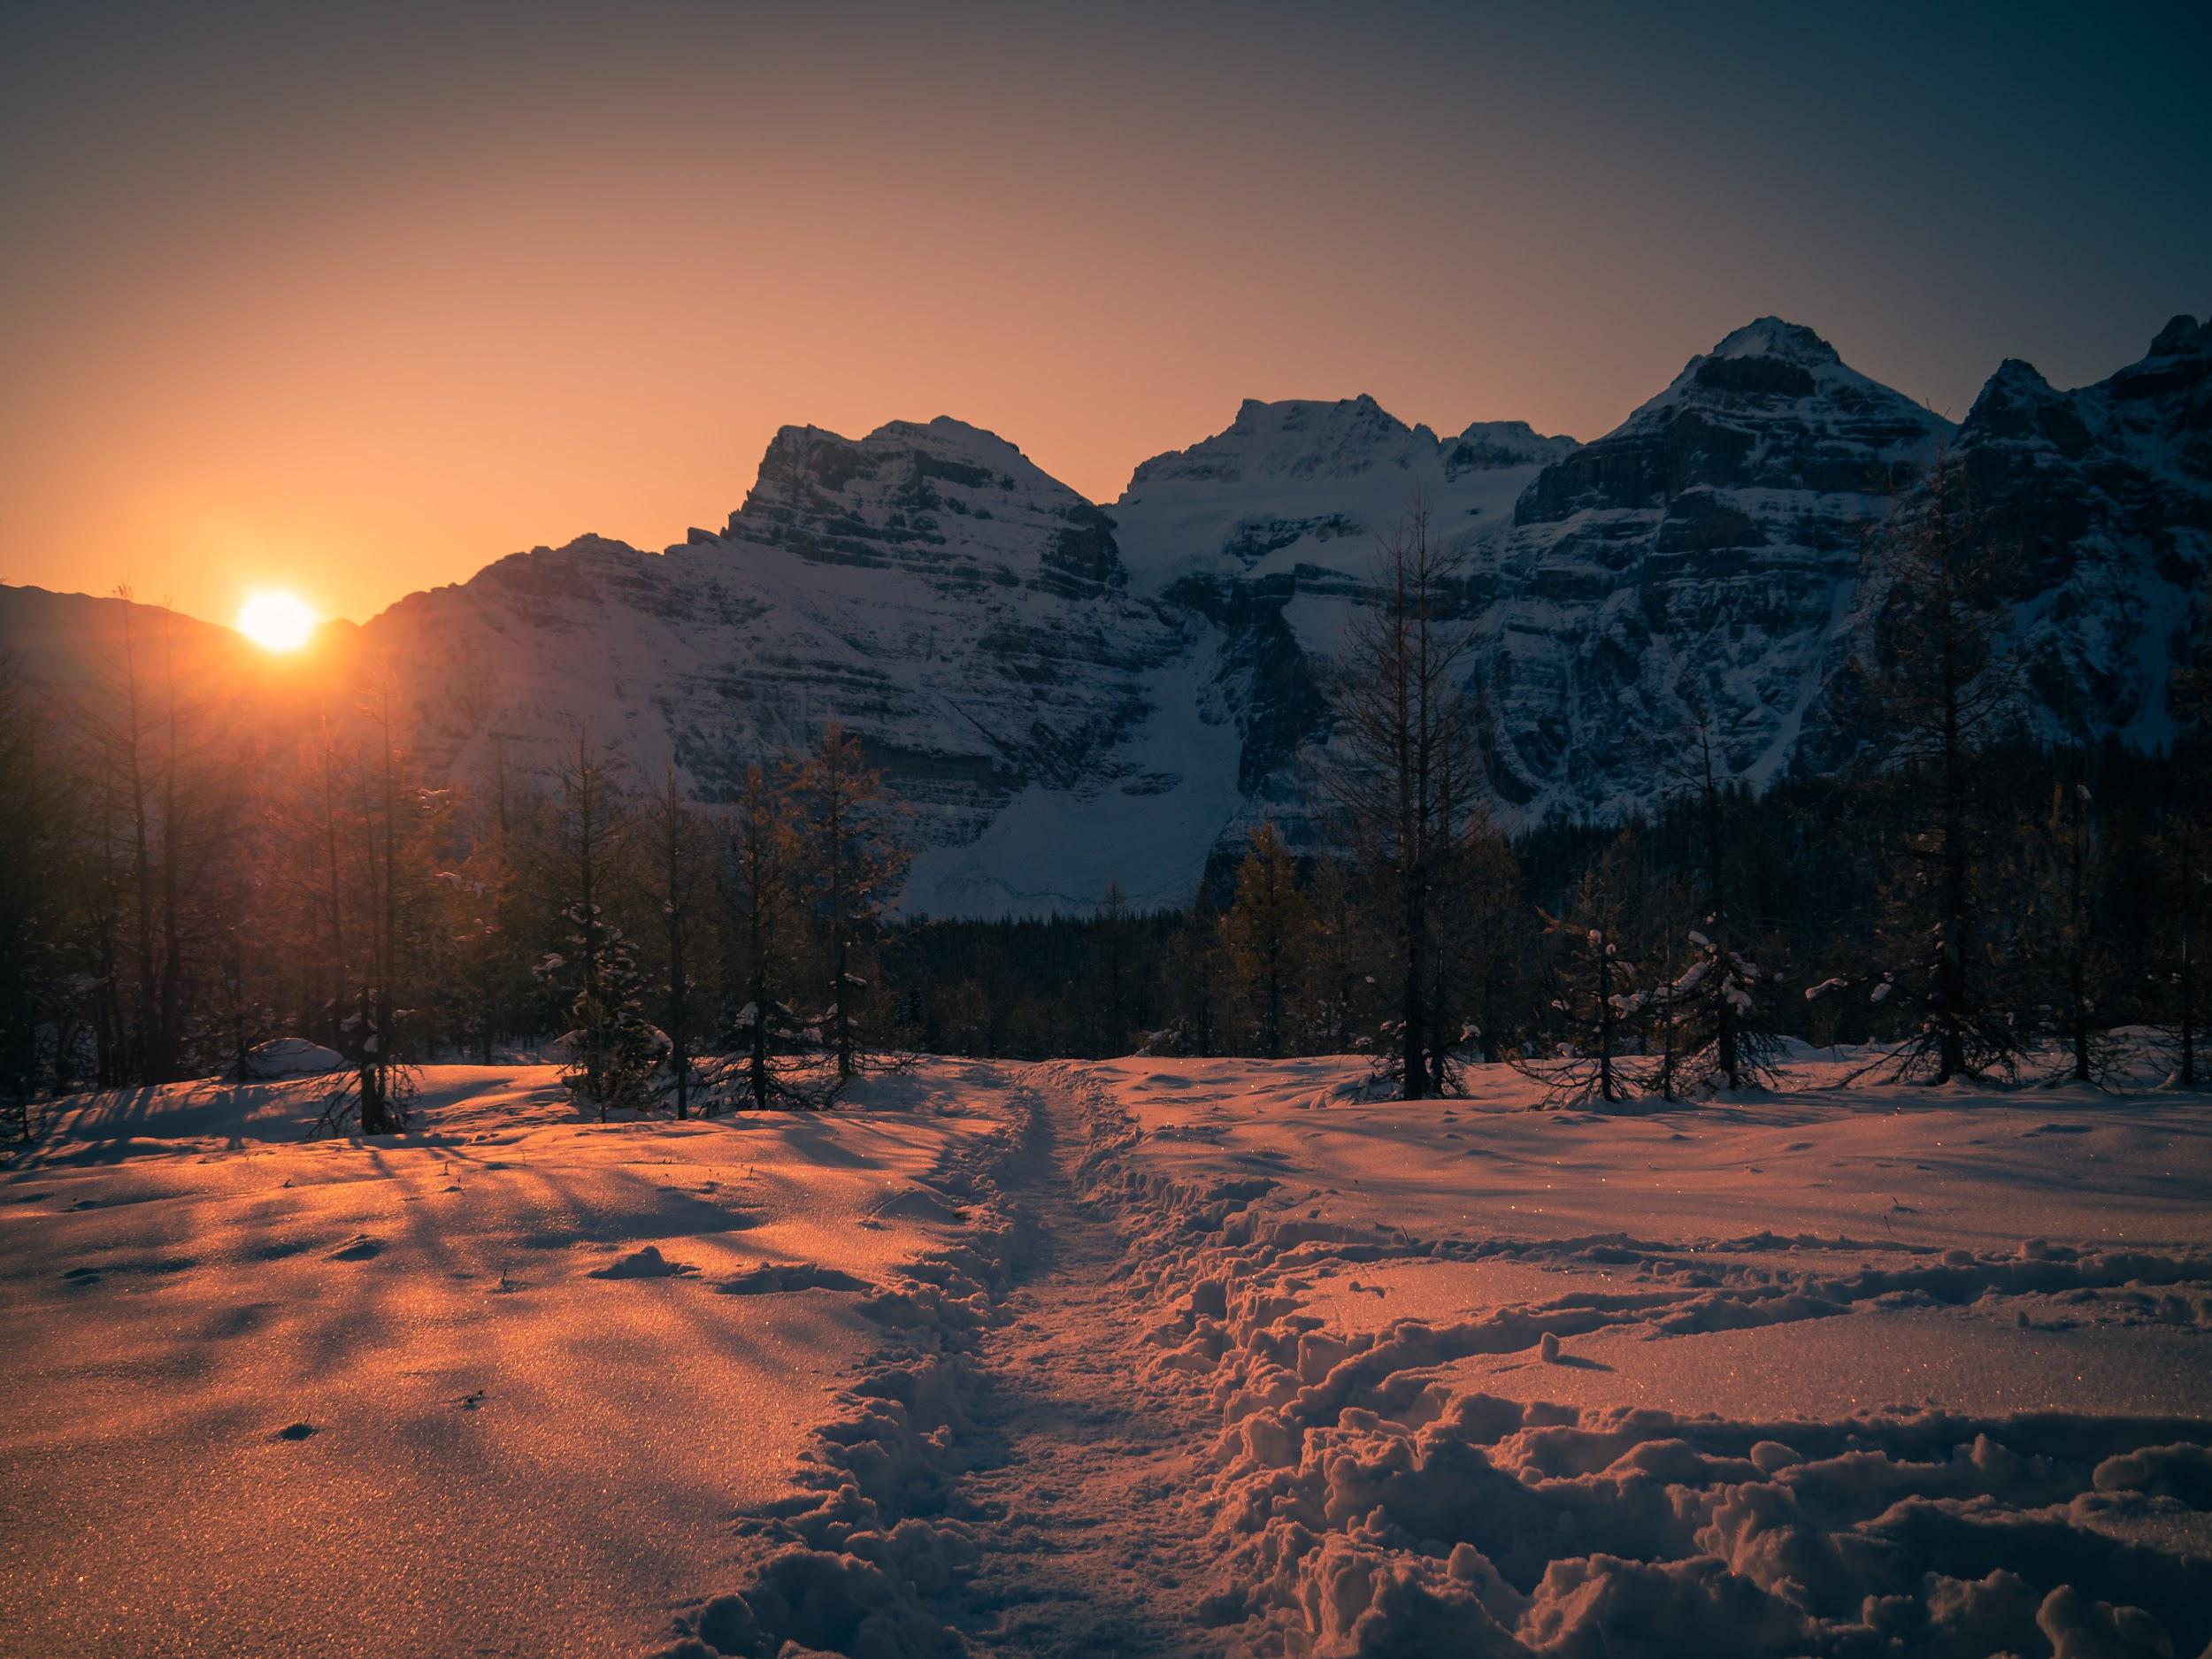
As you can see in this image, the late day sun has cast a warm hue over the exposed snow while the snow in the shadows takes on a blue color. In this case, I am okay with that. However, you may find in your images that you’d prefer to remove the hues and achieve a more ‘true white.’ Photo: Taylor Kipfer
3. Conserve your batteries
Cold temperatures can play havoc on battery life. Anyone who has left the lights on in their car during a cold snap can testify to this issue. Camera batteries are no different. To avoid the disappointment of a dead camera at the time of that big shot, you’ve got to take steps to keep them warm.
So, a helpful tip for winter photography is always to leave the house with multiple fully charged batteries. 3 or 4 batteries are usually enough to get through a full day of being outdoors in the cold. Keep one battery in the camera while the others are kept safe in a warm pocket or right inside your jacket. Body heat will keep the batteries warm and fully charged.
Replace the battery inside the camera when you see it drop to roughly 50% with one of the warm batteries. Then, rewarm the used battery to regain a bit of its juice and keep it going for longer. By cycling through batteries like this throughout the day, you’ll be sure always to have a working battery when you really need it.
Note that on freezing days, batteries can drain remarkably fast. So unless you expect to need your camera at any moment’s notice, it may just be easier to keep all the batteries warm and simply put one in the camera only when you need it.
4. Use contrast in your images
With time behind the camera, you’ll likely find the bright white of the snow on a sunny day or the bland, grey of snow on a gloomy day can present some challenges. However, it is also an excellent chance to get creative with your photography and get some great images.
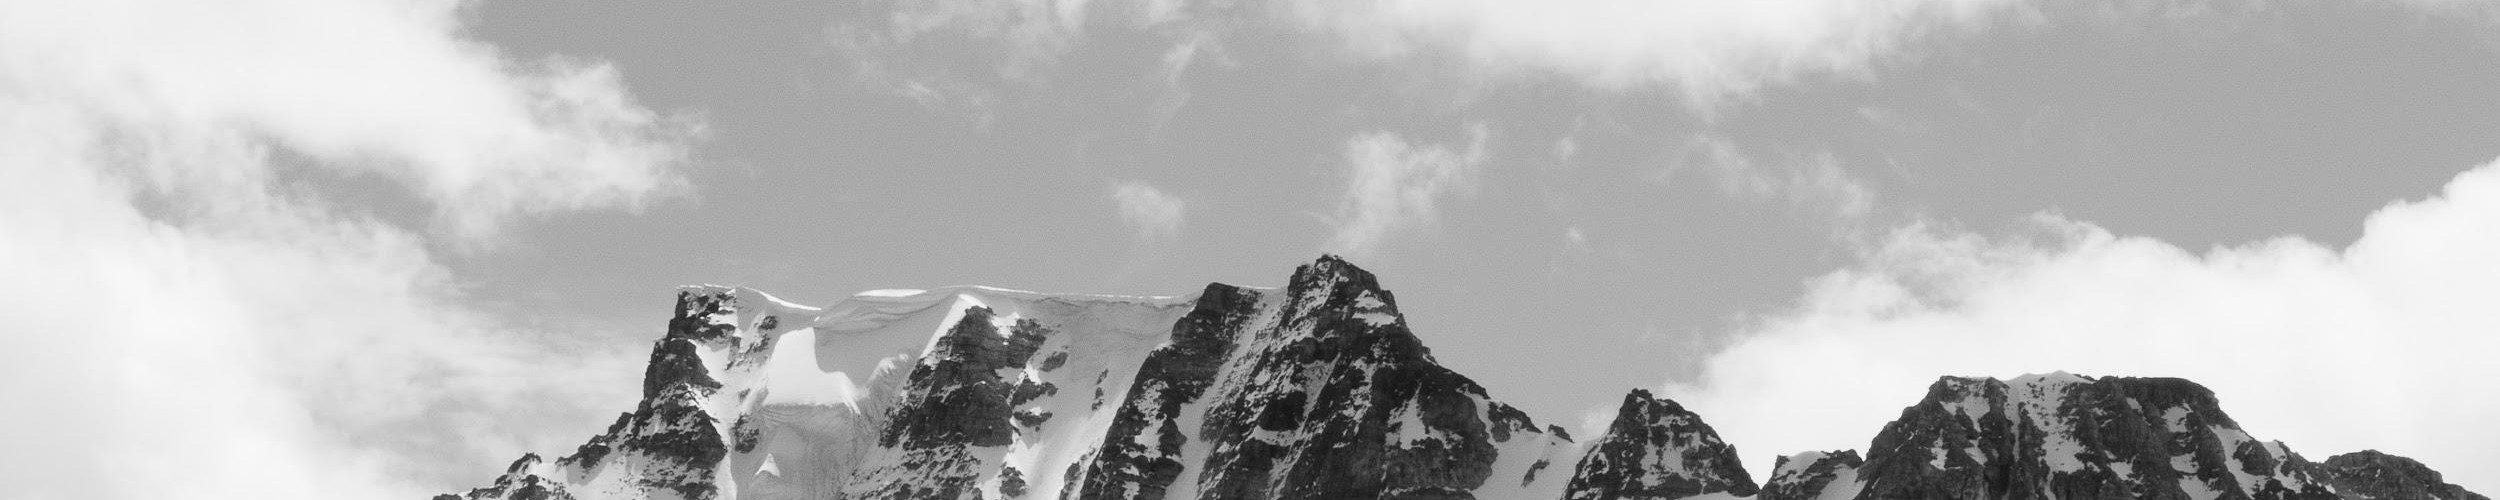
The uniformity of snow gives a photographer an excellent opportunity to inject some stark contrast into their images and get some impressive shots. On sunny days when the snow is blinding white, look for areas of shadow or dark objects to contrast. One tip is to try some black and white photography to add contrast to your winter images.
Likewise, on grey, seemingly colorless days, take some friends out snowshoeing with you and have them wear their brightest colors. A flash of bright color in such an image can make for a real impact.
Also, pay attention to how snow covers everything it settles on and can quickly hide the landscape’s topography under a soft blanket. In this case, any well defined, hard-edged object can really stand out and produce a very powerful effect on the image.

The bright white of the snow on a sunny day can contrast to darker objects in the scene and is a great chance to try out some black and white photography. Photo: Taylor Kipfer
5. Pack for the cold
Bring more layers than you expect to use. Layer effectively so that layers can be added and removed depending on your body temperature and exertion levels. I myself have been guilty of leaving a layer or two behind to save room with all the extra camera gear stuffed in my bag. But, I have almost exclusively regretted this decision.
Don’t leave layers behind just to save room. A camera won’t be of much help if you or a partner get cold while afield.
Another recommendation is that you may also want to purchase some thin gloves or glove liners to keep your hands protected from the wind and cold when photographing. Large gloves are often too burly to manage the buttons and dials on a camera (or may not be touchscreen sensitive for using your phone).
However, a thin pair of glove liners (like these) can be worn inside your larger gloves. You can slip off the over-gloves when you want to take a shot, but still, leave your hands protected. In high winds or extreme cold, this really becomes a necessity to avoid near-immediate frostnip or windburn.
Read More:
Covering The Extremities: Prepare For The Snowshoeing Season
Snowshoeing Dress Code: What Clothing To Wear
Great photos await
By applying some (or all) of these tips to your winter photography, I hope you’ll find yourself with some better photos from your snowshoe outings. Also, you’ll feel a little more comfortable while doing so.
Winter is, by far, my favourite time to be out with a camera. In fact, the difficult conditions make it even more enjoyable when I get the exact image I was after. Good luck out there!
What other tips do you have for winter photography? Please share your suggestions with us in the comments below.
Read Next:
Snowshoeing For Beginners: The First-Timer’s Guide
Paxis Twin Lakes Backpack Review: For The Snowshoeing Photographer
Your Winter Face Mask: The Cozy Noze Knows
Snowshoe Mag Photo Competition
Photos To Inspire You To Snowshoe Silver Lake, CA
Leave a Comment