
Winter hiking has exploded in popularity here, where I live in the Canadian Rockies. There are recurring questions of how to get started, stay safe, and transition from summer hiking for those already comfortable with hitting the trails in the warmer months.
For me, a safe and successful winter hike results from respecting three key challenges: staying warm and dry, staying on route, and planning for the unexpected. If you successfully master these three things, you’ll discover that winter hiking can be a lot of fun even in extreme temperatures or conditions.
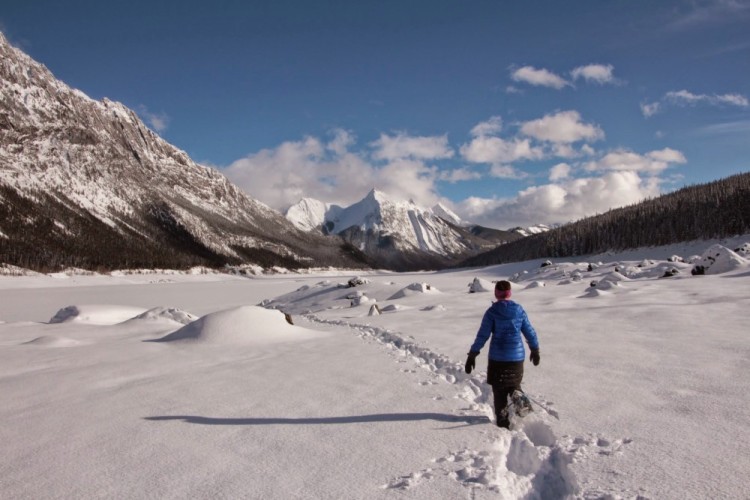
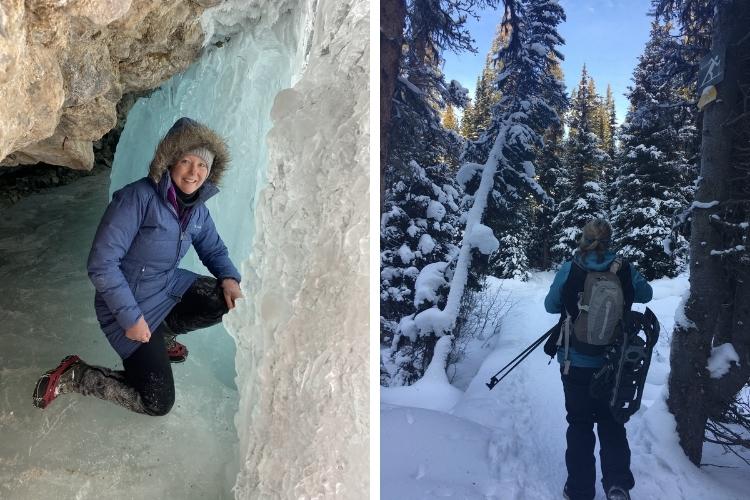
Hiking and snowshoeing are great ways to stay active and fit all winter long. Photo: Tanya Koob
Some of the links in this article may contain affiliate links. When you purchase using these links, part of the proceeds go to Snowshoe Mag. Additionally, as an Amazon Associate, we earn from qualifying purchases. Please see our disclosure for more details.
Common dangers of winter hiking
Before we launch into the three challenges, it’s essential to understand the common dangers of winter weather. Safety is 90% preventative, and with proper preparation, you should be able to avoid the following risks that we tend to associate with winter hiking:
- Frostbite
- Hypothermia
- Changing weather
- Getting lost
- Getting trapped in an avalanche
Trails look much more different when they’re covered in snow, and popular hikes that you might enjoy in the summer may be much more dangerous with avalanche danger in winter. So always research your trail before you go out and ensure it’s appropriate for winter hiking.
Add the unpredictability of winter weather, and you need to be prepared for potential dangers when you head out for a winter hike. It’s not uncommon for storms to blow in “out of the blue” even after you’ve checked every forecast for your chosen area and thought you’d have mild weather and gorgeous sunshine all day.
Read More: Safety First: Snowshoeing Hazards and How to Avoid Them
Safety is 90% preventative with the proper preparation. Photo: Tanya Koob
Staying warm and dry
Some severe consequences can happen if you aren’t wearing the proper clothing or get wet and can’t warm up (potentially resulting in Hypothermia.) Thus, staying warm and dry is crucial for a safe and successful outing.
What to wear on your winter hike
The key here is layering! I usually wear three to four layers on top (including my jacket.) If I’m hot, I can take a layer off. If I’m cold, I usually have more layers in my pack. You don’t want to be trapped in a heavy jacket with just one shirt underneath. You might be too hot in the jacket, but not hot enough to hike in just the shirt.
Starting closest to the skin, you’ll want non-cotton base layers or long underwear and a warm pair of wool or thermal winter socks. Then, in the middle, add a non-cotton midweight shirt, possibly a fleece sweater overtop, and maybe even a vest (inside vest pockets are great for storing your cell phone or your snacks, so they don’t freeze.)
For the final layer, I like wearing a softshell jacket that breathes well, repels moisture, and keeps you dry even if it’s snowing or lightly raining. I’ll also pack a light puffy jacket for extra warmth when we stop for lunch. Finally, on the bottom, I’ll wear a pair of lined insulated pants, or on warmer days, I have a pair of softshell pants which repel moisture and block the wind.
Read More: Snowshoeing Dress Code: Tips For What Clothing To Wear
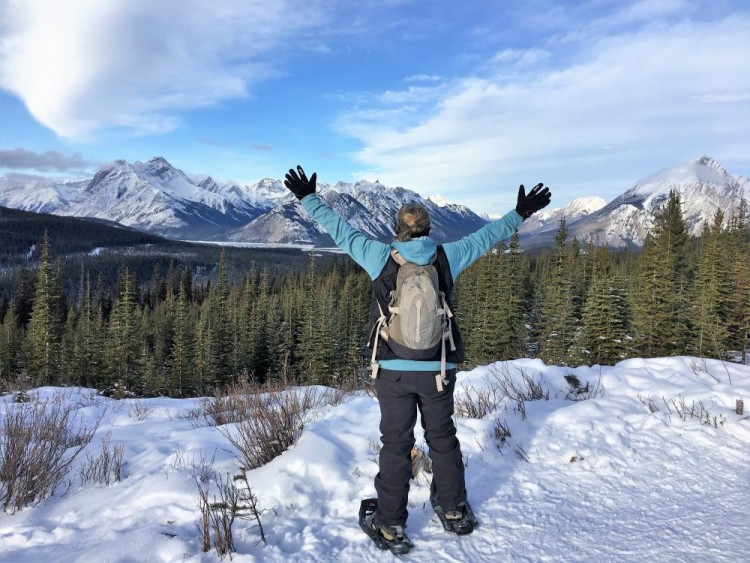
Learn to dress for the elements, and you’ll be a winter lover in no time! Photo: Tanya Koob
Staying on route
To remedy the second challenge, staying on route, here are a few tips to stay safe before you hit the trail.
Planning your trip
1. Tell a trusted friend or family member where you’re going, what trail you’ll be hiking, and what time you’ll be home. Then tell them who they should phone for help or a potential rescue if you don’t return home that evening. And obviously, it would be a good idea to call this person as soon as you get off the trail!
2. Start early to avoid being caught out in the dark (unless you’re planning to snowshoe at night). I always find that winter hikes take twice the length as summer hikes, and it can get awfully dark by late afternoon in January.
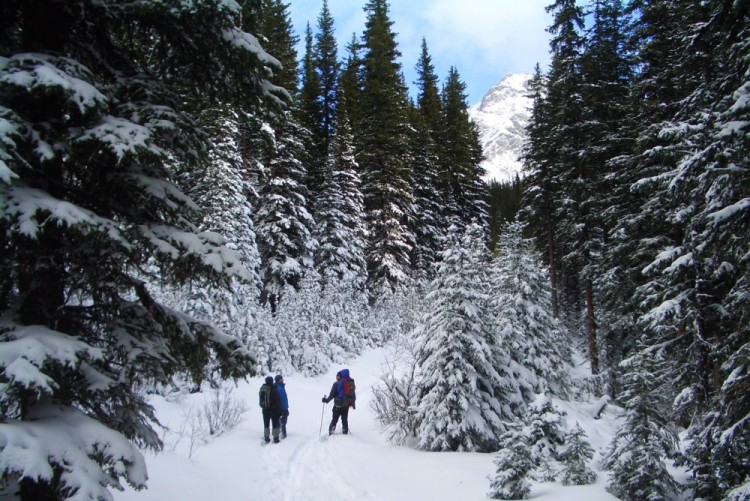
3. Travel in a group because there is safety in numbers. If somebody gets injured, at least one person can stay with them while others hike back for help. Hiking in a group of 4+ people is also safest if you encounter a wild animal. A fact to keep in mind: Bears will wake up from their hibernation on warm days, and cougars don’t hibernate. If you do have to snowshoe alone, make sure to ask yourself a few questions before heading out.
I especially recommend that beginners join a group with more experienced people, including friends. You’ll get to see what the others wear to stay warm and dry, you can learn from their expertise, and you’ll gain valuable skills to keep you safe.
Read More: How To Choose the Best Trail: Tips for Learning When You Need Snowshoes
Travel with a friend because there is always safety in numbers. Photo: Tanya Koob
Choosing a trail for your winter hike
In addition to the above tips to stay on route, I always start with trails that I’m familiar with or that I know are well signed for winter use. Most parks have official winter snowshoe trails, and these tend to be well packed down and easy to follow.
If choosing a summer trail that you’re familiar with, make sure it’s a safe trail for winter hiking. Many popular trails cross into avalanche terrain and are not suitable for snowshoeing unless you have significant avalanche training and carry rescue gear with you.
Start with visiting the website for the park that you plan to visit to see if there are recommended winter trails. Or, if there’s a visitor centre, you can stop in to pick up a map and get suggestions.
Read More: Why All Snowshoers Should Be Avalanche Aware (Even Beginners)
Other tips for a safe, successful outing
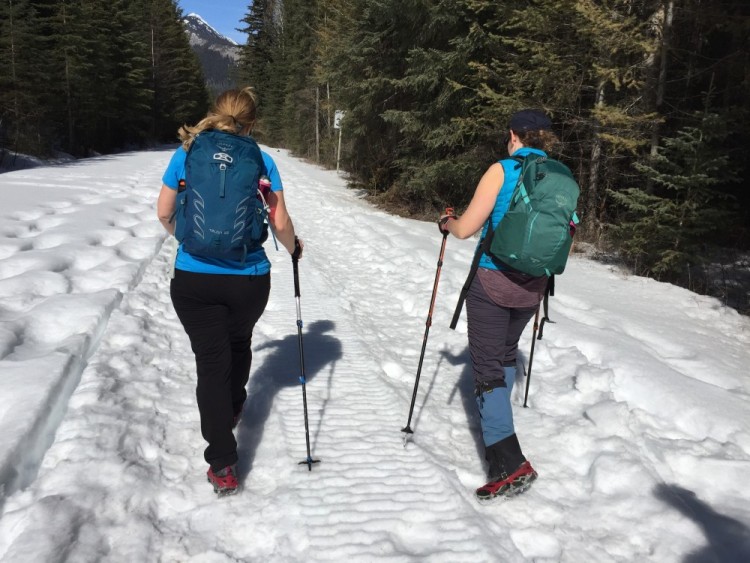
1. Cut your summer hiking distance in half. If you’d typically hike 10 miles, cut it down to 5 miles to start. Hiking always takes longer in winter (especially if breaking trail), and snowshoes take some getting used to before you’ll be able to hike at your summer pace.
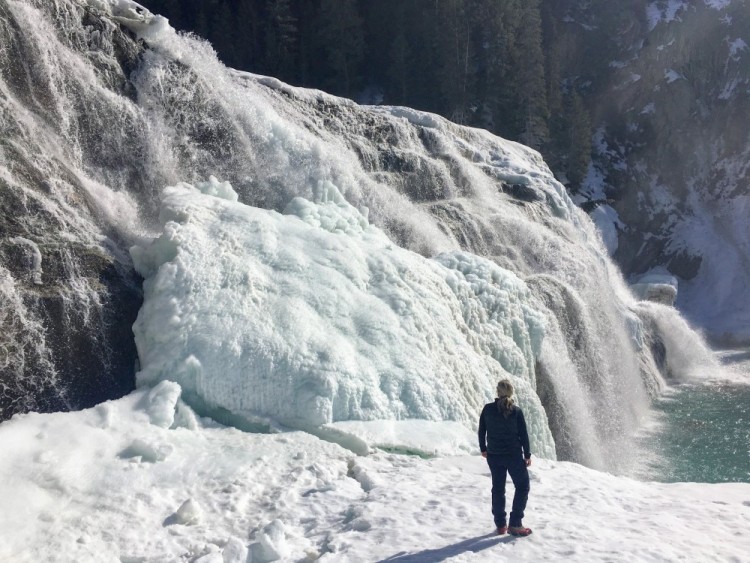
2. Be careful of frozen rivers or lakes. If you have to cross a frozen body of water, spread out as a group so that you can help rescue somebody if they fall through the ice.
3. Make sure you’re hiking on a multi-use or official snowshoe trail. For example, many parks have groomed trails reserved for cross-country skiing. Skiers often pay to use these unique trails, and boot marks can damage the groomed corduroy.
4. If you’re hiking with your dog, make sure other users will feel safe when they meet you and your pet. I’ve had way too many dogs run at me on trails, and it’s always alarming! In addition, some hikers may be scared of dogs, and thus, it’s wise for your dog not to approach hikers unless invited to say hi. It’s also a good idea to keep your dog on a leash at all times. Not only will it keep your dog safe in the event of an encounter with a wild animal, but it also shows respect for other trail users (or other pets) who might have concerns.
Read More: Winter Trail Etiquette For Snowshoeing and Hiking
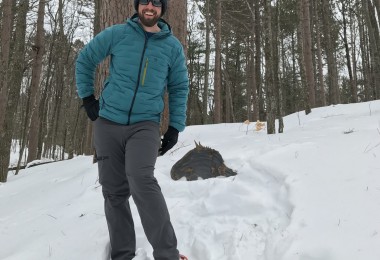
R: When choosing a trail, it doesn’t need to be a long trail to be epic! L: As part of planning, it’s always a good idea to bring your snowshoes even if you don’t need them the whole hike. Photos: Tanya Koob
Planning for the unexpected
Since there are several dangers of winter weather not present in the summer, planning for the unexpected is key!
What to pack on your winter hike
My go-to rule of thumb when packing is the following question: “What would I want in my backpack if I got trapped outside all night and couldn’t be rescued until the next morning?”
My backpack size tends to grow based on the length and difficulty of the trip I’m planning. The longer and harder the hike, the bigger my backpack.
Below is a quick list of items you’ll want to consider packing:
- Headlamps or a source of light
- An inReach or Spot rescue device (a two-way satellite device with GPS that lets you send messages outside cell coverage)
- Enough layers and warm clothing for changing weather conditions
- Hand and foot warmers like these (You can use a hand warmer to keep your phone warm too if you use it for navigation)
- A first aid kit
- An emergency shelter (an emergency blanket, light sleeping bag, or tarp)
- Navigation (a downloaded map on your phone, a compass, and knowledge of how to read it, a paper map, etc.)
- Gear to start a fire (matches at the very least, a knife and a small ax)
- Food, water, and snacks
- Hiking poles
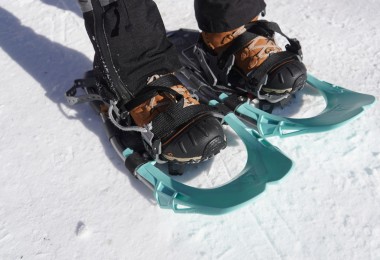
- Ice cleats for packed trails (I like Kahtoola Microspikes)
- Hygiene items for bathroom trips (a garbage bag, wipes or TP, hand sanitizer – and be prepared to pack it all out)
Read More: What to Bring When Snowshoeing: Top Accessories for the Day Hiker
Pack smart and be prepared for the length and difficulty of your hike. Photo: Tanya Koob
Be avalanche safe and smart
It all comes down to this one question: When you step on the trail, do you know if you’re in avalanche terrain? – If not, you should choose another trail unless you have avalanche training and special safety gear packed with you.
I highly recommend that all winter hikers take an AST1 (Avalanche Skills Training Level 1) course. Then, stay out of avalanche terrain until you do, and make sure you’ve chosen a safe winter trail.
As mentioned above, stop in at a visitor centre for your chosen park or consult the park’s website for recommended winter trails. Don’t just assume that the “easy family hike” you did last summer is a good choice for a winter hike.
Read More: Avalanche Safety Basics For Snowshoers: Warning Signs & Danger Zones
Would you know if you were in avalanche terrain or not? Photo: Tanya Koob
Overall
To stay safe while winter hiking, remember to keep warm and dry by layering the right clothes, stay on your route by choosing a safe trail, and plan for the unexpected with the gear you bring and proper training. Overall, be prepared, stay safe, and then get out there to have some fun this winter.
What other recommendations do you have to stay safe during winter hiking? Please share your thoughts with us in the comments below.
Read Next: 6 Ways to Refresh Your Safety for Winter Hiking and Snowshoeing
The link above to Tanya Koob’s Rockies Family Adventures is incorrect. Would like to check it out.
Hi Rod. Thanks. I’ll fix that. It’s http://www.rockiesfamilyadventures.com/