I was snowshoeing alone one evening in the Big Eau Pleine Park near Wausau, Wisconsin. I began at the trailhead and hiked along the edge of the ski trail. It was in the late afternoon. At a point on the trail, I referenced my compass and decided to go off-trail and head west since there was not much daylight remaining to finish hiking the entire circle.
After breaking the trail for what seemed quite a ways, I became concerned with the onset of dark. I was not so worried about snowshoeing at night since I do that quite a bit anyway. Not having a phone with me to call home, I was more concerned that my wife would be worried. I knew that if I kept heading west, I would eventually cross the park road down the peninsula’s center. Most likely, I would end up south of the trailhead and then hike up the road to my car.
I saw a ridge in the distance. I thought something, indeed, had to be over that ridge. As I crested the hill, I saw the top of an outhouse. Great! I must be south of the trailhead on the park road somewhere, but I was unsure how far south. Taking a dozen more steps, I saw the roof of my car. How I ever came out exactly where I put in, I do not know. Either I was more competent with my compass skills than I thought, or maybe it was divine intervention. It was dark when I got home, and my wife didn’t even notice I was gone.
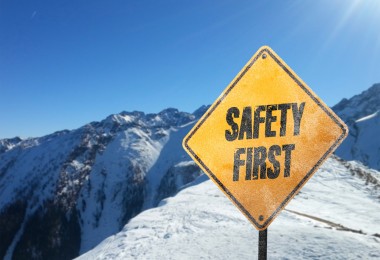
Technology and GPS devices can be handy, but they’re not 100% foolproof. Thus, a map and compass are critical for snowshoeing in the backcountry. Photo: Brunton
Why Use a Map and Compass
Using a map and compass is essential for snowshoeing, especially if you plan to snowshoe in the backcountry. I included a unit on a map and compass in every college snowshoeing course I taught. I not only covered basic information, but I put the skills to work by having students complete an outdoor orienteering exercise. Although the use of GPS has become a popular means of travel, I still find it essential that students learn how to use a map and compass first and foremost.
But why is it so essential to the basics of using a compass, especially with all the technology we have today?
Technology and GPS devices can be beneficial, but they’re not 100% foolproof. There are instances when they fail, and if a GPS is the only navigation tool you have, a failure could lead to a scary situation if in the backcountry and away from civilization. For recommendations, we spoke to Mike Dicken, Sales, and Marketing Manager at Brunton and long-time compass user and enthusiast.
Dicken mentioned the importance of using a compass: “There are factors like the position of satellites, large surrounding mountains, being in a deep valley, or inclement weather that can affect GPS accuracy. [However], we often see user complacency and battery life, especially in the winter, that get people into sticky situations with a GPS. GPS units are outstanding tools, but they are also very intricate and can actually be much harder to use in the backcountry than a map and compass, especially if you haven’t spent the time to learn how to use one. Unfolding a map in front of you and learning your surroundings is the best start to any adventure.”
Read More: Emergency Tips from Snowshoer Stranded for 30 Hours in Central Washington
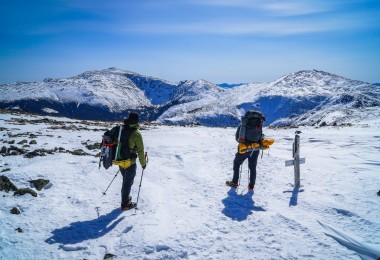
Practice using your compass in an area you’re familiar with and know well to get started. This practice will help you become more confident in navigating with your compass in an area in which you’re unfamiliar. Photo: Brunton
Tips for Getting Started
If you’re unfamiliar with using a map and compass and are just getting started, the basics outlined below can feel like a lot. But never fear. It’s not as complicated as it might seem.
Focus on the tips below to get started using a map and compass in the field.
Do Your Homework
A little bit of review beforehand can go a long way. Review a few key points and terms beforehand instead of pulling out your navigation tools in the field without knowledge of using them.
“At first, the idea of using a map and compass to navigate yourself in the outdoors does seem intimidating. But, with a little homework, you’ll find it’s actually quite simple, and you’ll quickly find yourself preferring to use a map and compass when venturing outside,” states Dicken.
Remember Your ABCs
According to this informative and comprehensive tutorial video from Brunton, using a map and compass is as easy as ABC. The ABCs are:
A – Align My Compass
B – Read the Bearing
C – Set a Course
The compass basics are the key to using your ABCs successfully in the field.
Practice Locally
As an alternative to the backcountry, start small and stay local. Go to a trail you’re already familiar with and practice using your map and compass by taking a bearing. Does your bearing take you to your intended location?
Practicing your navigation in a local area will help you become more confident in areas in which you’re unfamiliar.
Read More: 6 Ways To Refresh Your Safety for Winter Hiking and Snowshoeing
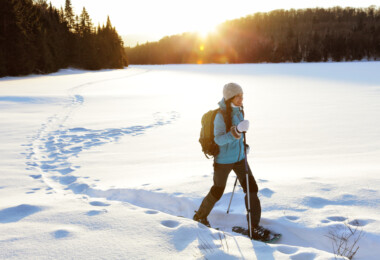
Using a map and compass is as easy as ABC. Take these tips and practice locally to get used to using your navigation! Photo: Brunton
Map and Compass Basics
As part of the tips above, here are a few map and compass basics to know before heading into the backcountry on snowshoes. These are the very basics, so you will need to explore the topic further to develop skills and competencies.
The compass rose
The compass “rose” is graduated in degrees, with 360 degrees making up the full circle.
North, south, east, and west are called the “cardinal” directions 90 degrees apart. The “inter-cardinal” directions include northeast, southeast, southwest, and northwest. There are 45 degrees between each cardinal to inter-cardinal direction.
Thus there are eight principal points on the compass.
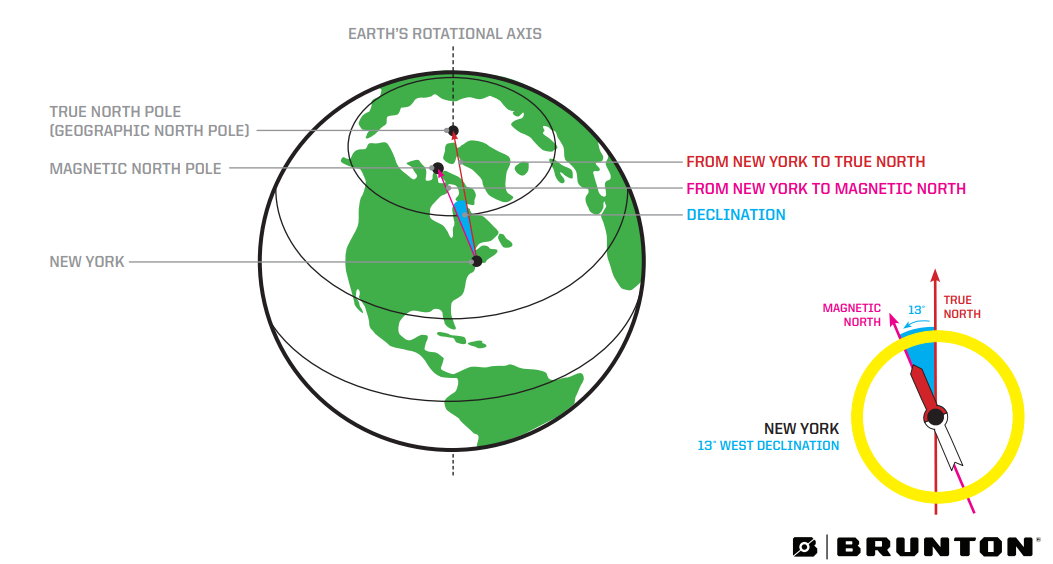
The angular difference between magnetic north and true north is called “declination,” as shown in this example. Photo: Brunton
Magnetic declination
Your compass will always point to “magnetic north.” That’s its job. Most maps are printed with “true north” or the direction toward the geographic North Pole. The angular difference between magnetic north and true north is called “declination.”
The “agonic line” or zero declination runs up through central Wisconsin. So, the declination is near or at zero degrees, making compass use where I taught pretty easy as I was near zero declination.
If you are east or west of the agonic line, you need to compensate for the difference to get accurate directions when going from map to field or vice versa. The farther from the agonic line, the greater the declination; you will need to add or subtract a set of degrees to get an accurate bearing.
Check maps for the declination in the given area. Note that declination may also vary slightly year-to-year as the magnetic pole is constantly moving, so try to use maps that are recently dated.
Aligning the compass
One essential compass basic part of your ABCs is to align your compass. As I mentioned, the compass always points to magnetic north, signified by the red magnetic needle. In addition, your orienteering compass has a compass housing (with a degree dial) that manually turns, allowing the degree markings from “0” to “360” to rotate.
An orienting arrow on the compass housing is also outlined in red, which rotates when you turn the housing. The object is to turn the housing until the red magnetic needle sits within the red orienting arrow. This process is called putting the “red in the shed.” Thus, this is how you set your compass to magnetic north.
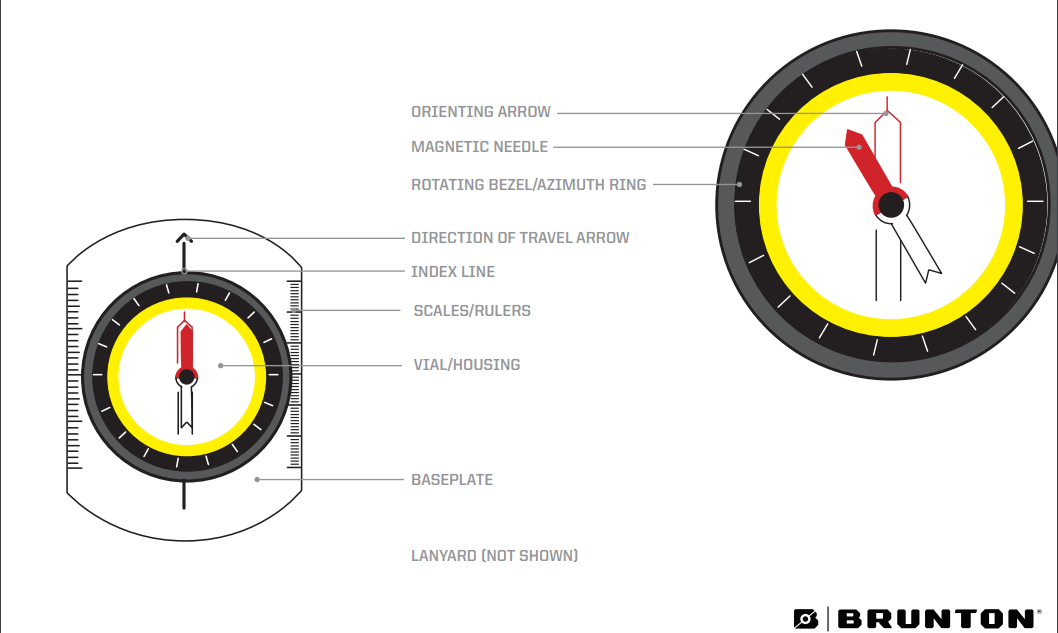
An orienting arrow on the compass housing is outlined in red and rotates when you turn the housing. The object is to turn the housing until the red magnetic needle sits within the orienting arrow. Thus, this is how you set your compass to magnetic north. Photo: Brunton
Using Your Compass To Take a Bearing
You may have heard of a bearing as one of the basics of using a compass, but what is it exactly?
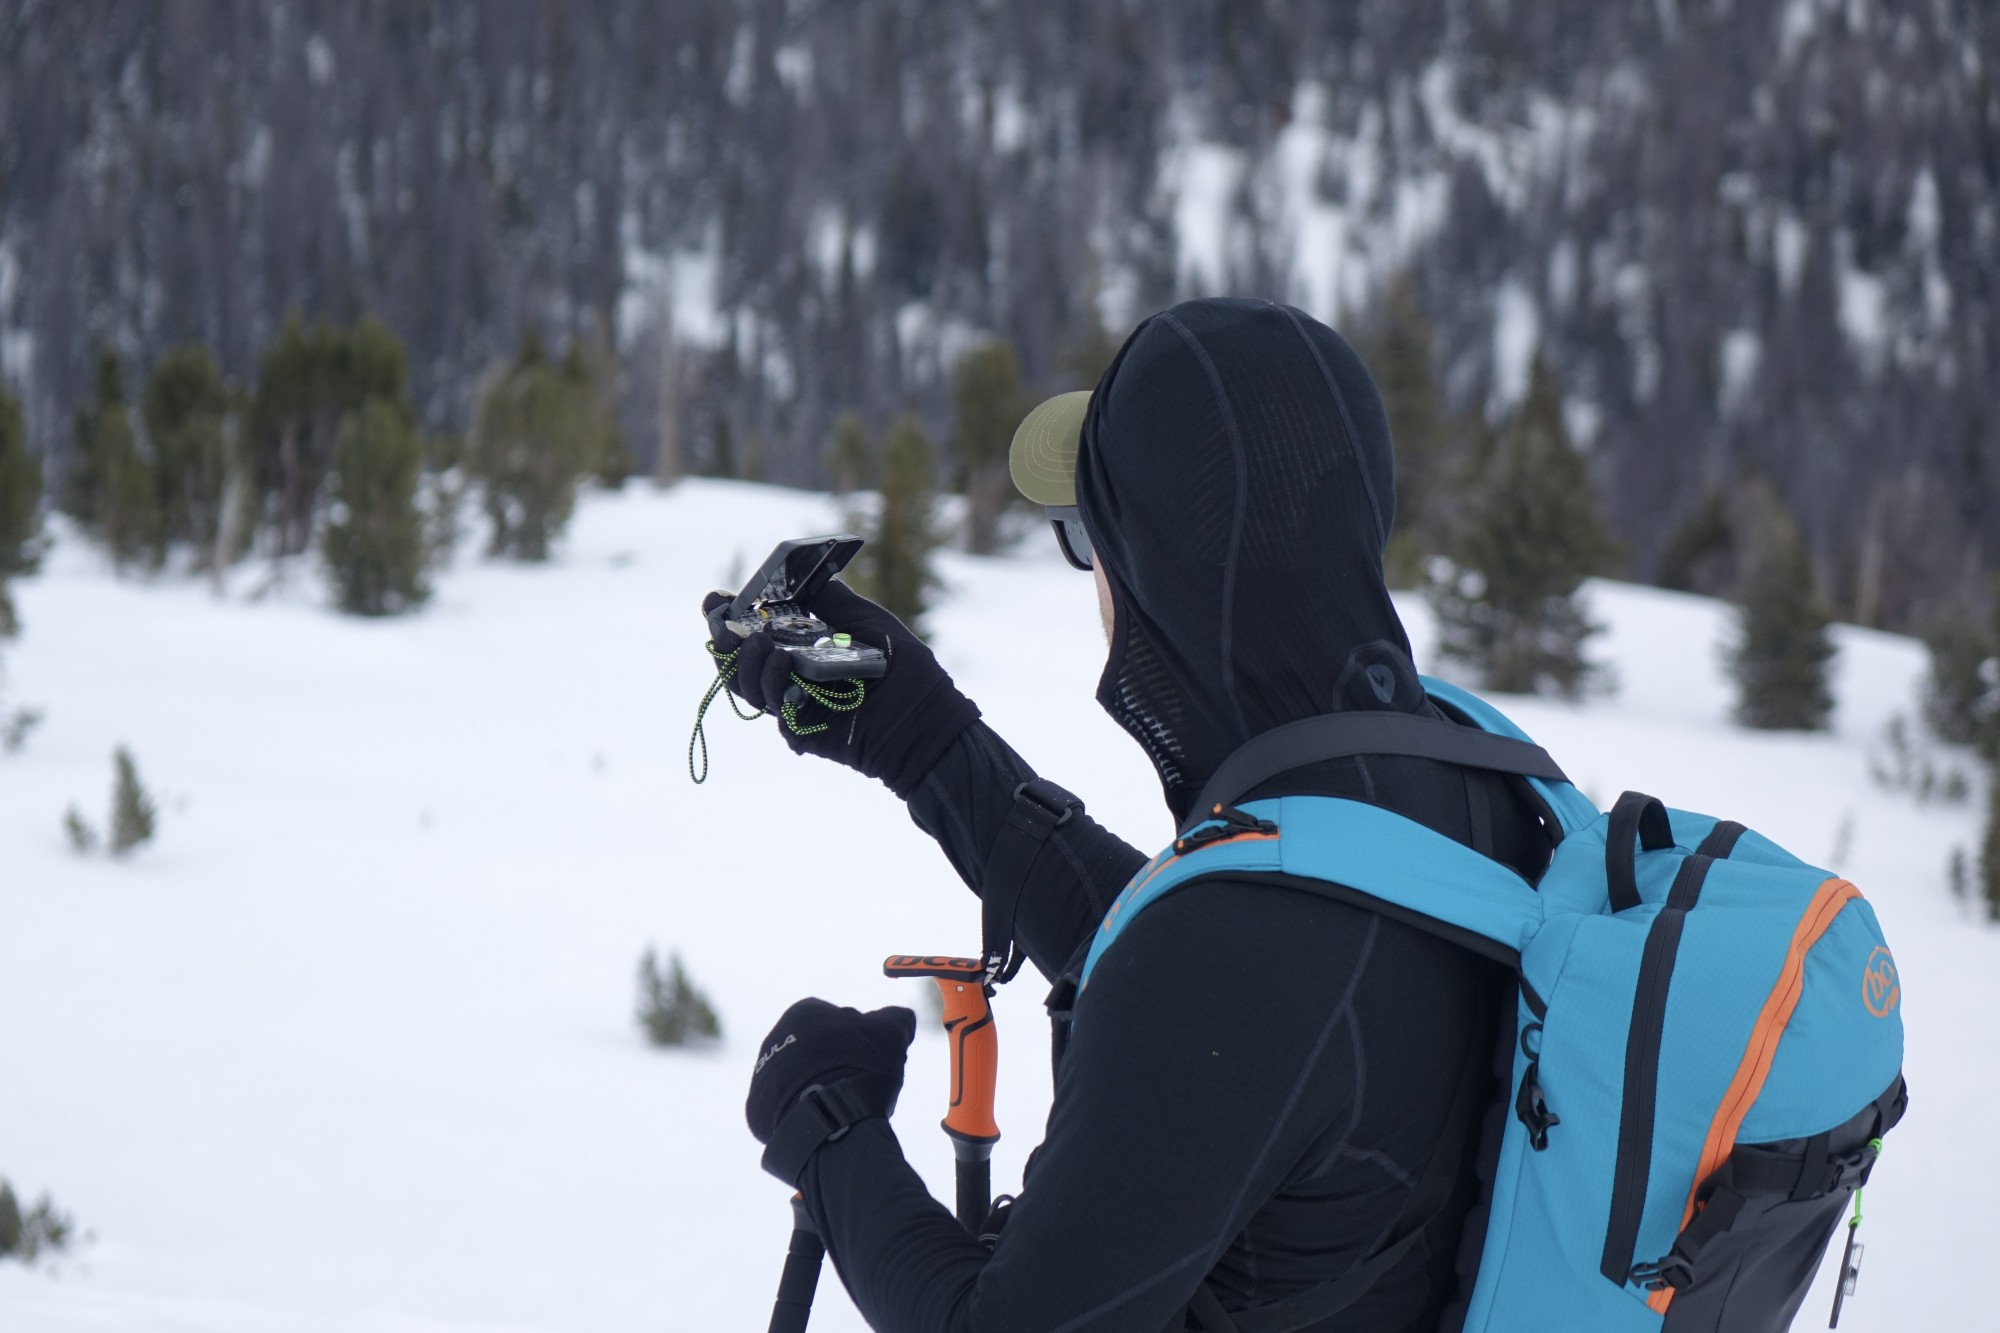
“A bearing is essentially the direction you want to go from where you are [located]. So once you have determined a point on the map and have taken a bearing to get there, all you need to do is keep your compass out and check it fairly frequently to make sure you’re still headed in that direction,” said Dicken. Brunton’s compasses all come with a neck lanyard, so your compass can be easily accessible to take the bearing.
There is a direction of travel arrow at the plate’s front end on the compass to take the bearing. The line that comes off the compass housing is the index line. The index line and the direction of the travel arrow are the same line if connected.
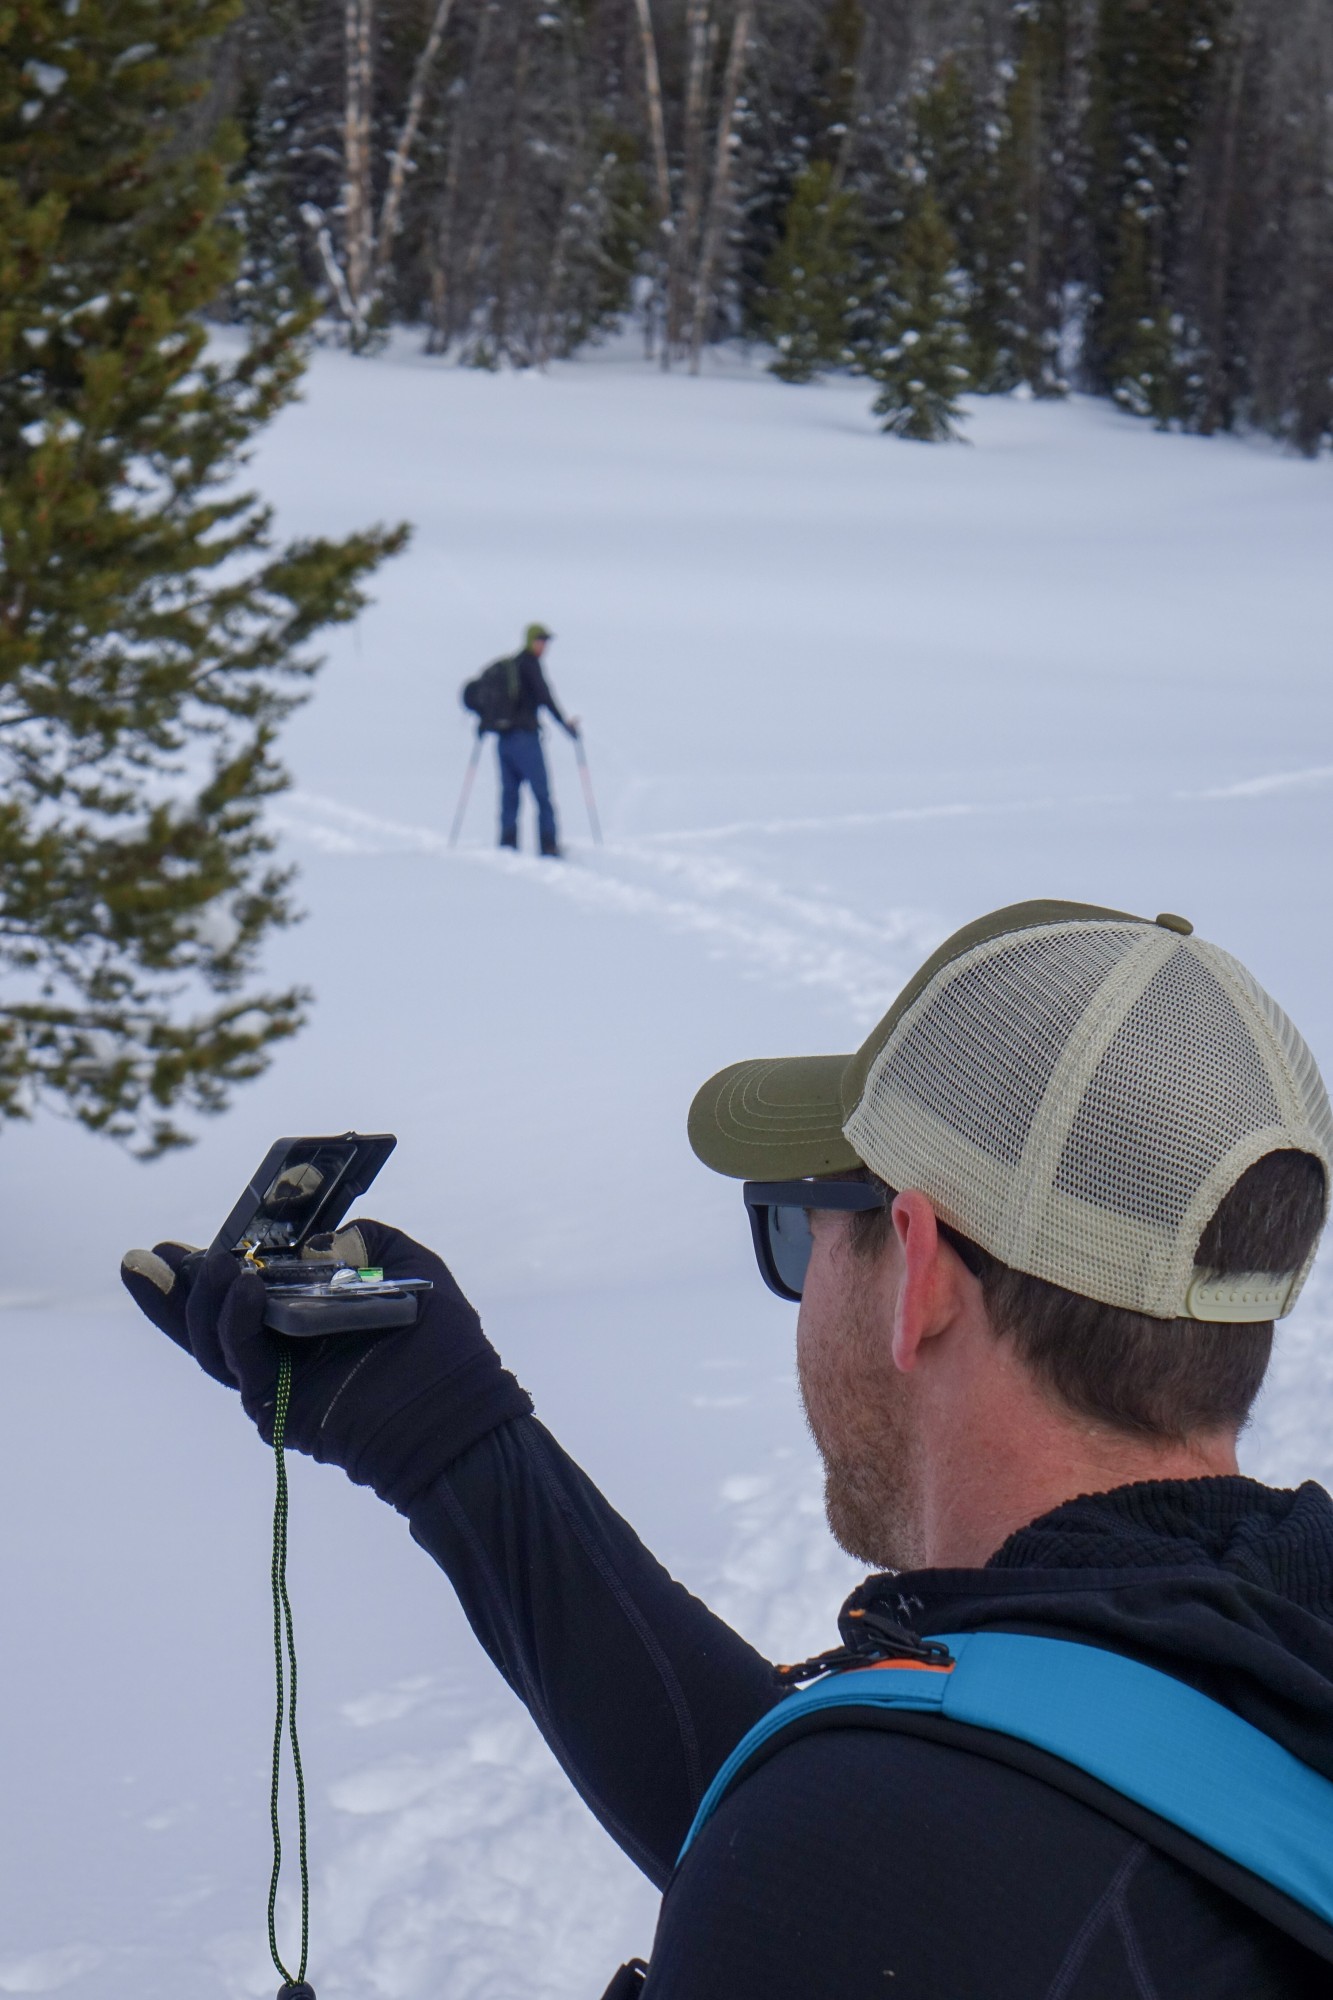
Holding the compass mid-chest level parallel to the ground, point the direction of the travel arrow toward a landmark, like a tree or a boulder, in your direction of travel. Then turn the compass housing until the red magnetic needle is in the red orienting arrow. Put the red in the shed.
The degree number that lines up with your direction of travel index line is the “bearing” for your direction of travel. This process is how you take a bearing to some landmark you have identified as your direction of travel. For example, if your direction of travel is northeast, your bearing would read 45 degrees.
Take a bearing from your destination back to your starting point
When you arrive at your destination or a landmark, you may want to know the direction back to where you started. The direction back would be the opposite direction on your compass rose.
To get the return direction from your destination back to your starting point, add 180 degrees to your original direction of travel for any degree under 180 (such as travel to the landmark is 40 degrees. Then, travel back would be 40 + 180 = 220 degrees). Subtract 180 degrees to your original direction of travel for any degree over 180 degrees (for example, traveling to the landmark is 250 degrees. Then, traveling back would be 250-180 = 70 degrees).
To take a bearing, hold the compass in hand and parallel to the ground, point the direction of the travel arrow toward a landmark. Then turn the compass housing until the red magnetic needle is in the red orienting arrow. The degree number that lines up with your direction of travel index line is the “bearing” for your direction of travel. Photo: Brunton
Take a bearing during your hike
Of the fundamental basics of a compass is taking bearings on your hike. Of course, you can take a bearing with or without a map on the trail. But is there a preference for one over the other? Of course, you can do either, but it’s helpful to have a map for beginners.
Dicken from Brunton states, “It’s best to cross-reference the bearings you take with and without a map to get the most accurate sense of where you are on the map and where you want to go. With practice and experience, this method will complement each other, and you’ll quickly be able to navigate efficiently in the outdoors.”
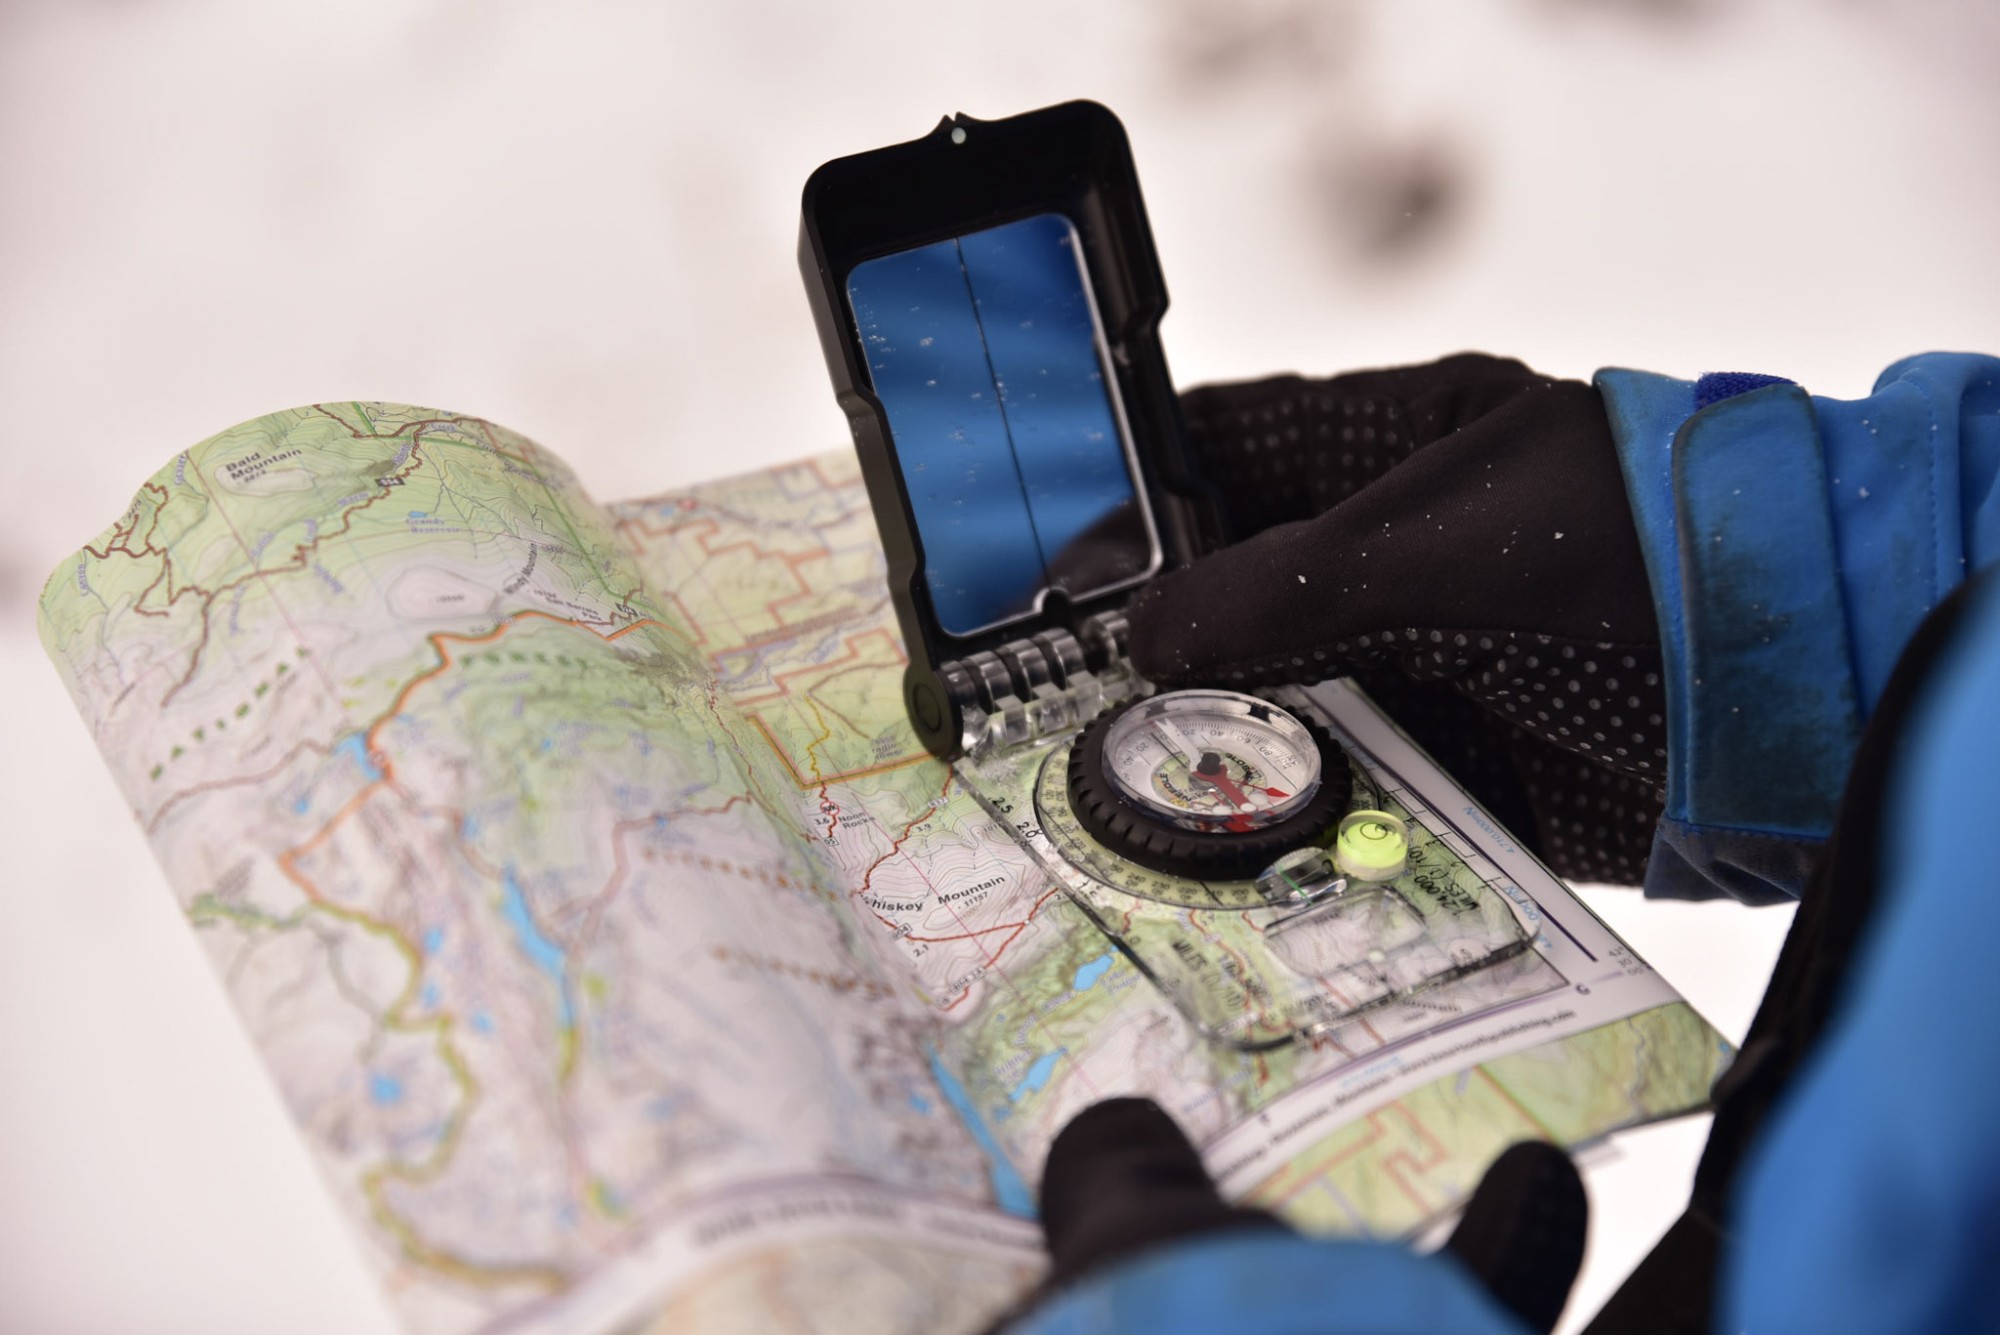
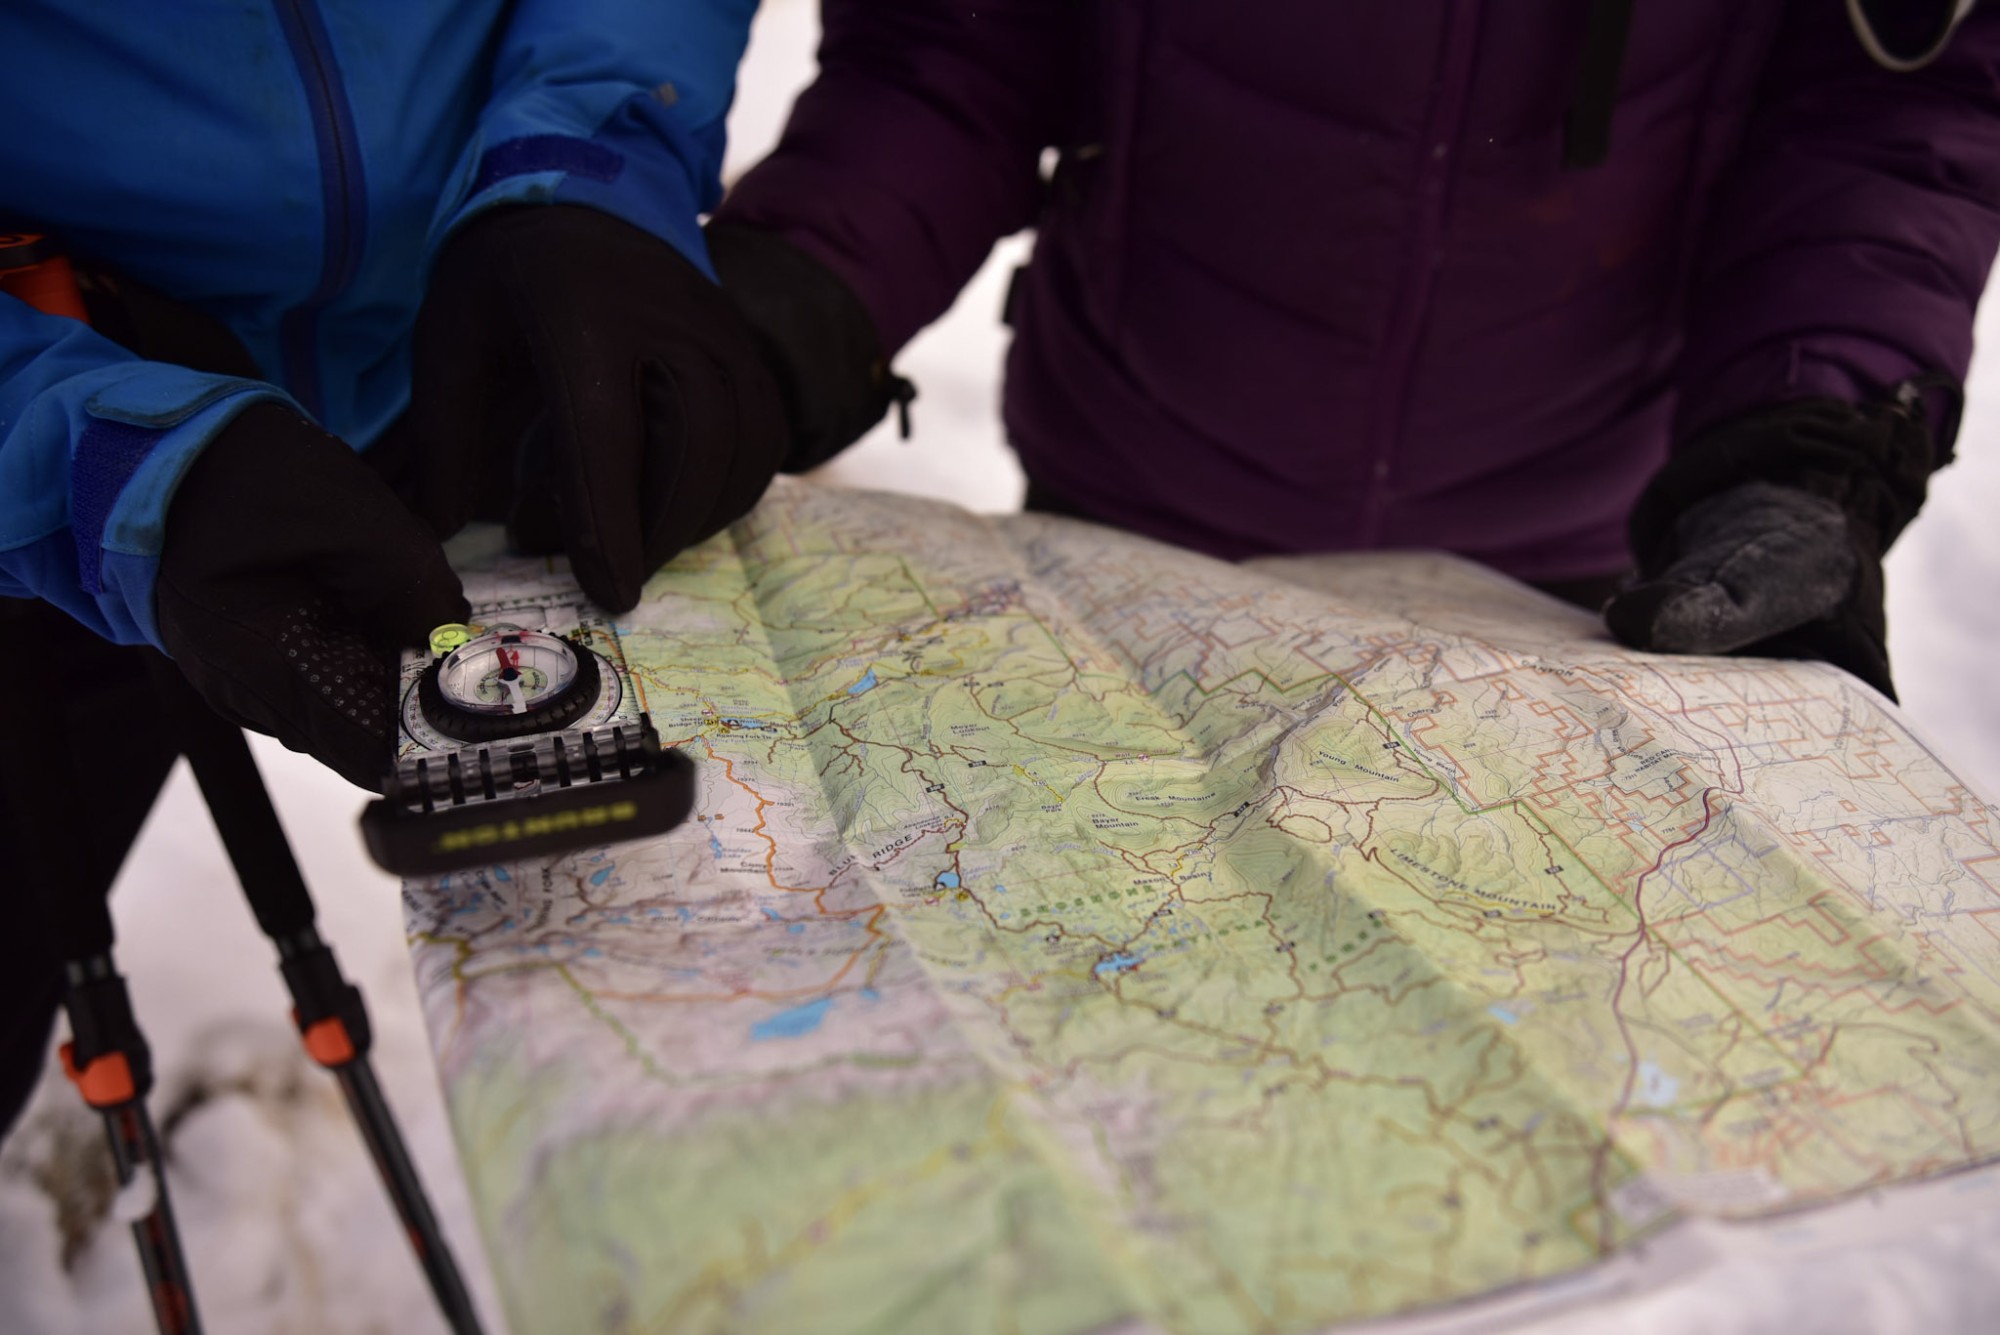
To take a bearing from a map, lay the edge of your compass base plate on the map running from your location to your destination. Note that the edge of your compass base plate runs parallel to the direction of the travel arrow on your compass. Therefore, you can use it to set your point of direction.
Holding your base plate in place, rotate the compass housing until your compass orienting lines and orienteering arrow parallels the vertical map grid lines (the lines running up and down the map). Disregard the actual direction of the magnetic needle at this point, as you are not trying to find magnetic north while taking a bearing from a map.
Now, read the bearing (in degrees) from the degree dial at the index line. This degree is the bearing for your direction of travel.
When navigating obstacles, the best approach for maintaining your course is to hike a rectangle halfway around the obstacle. Photo: Brunton
Navigating around obstacles
When you reach an obstacle on the trail, such as a pond or rock outcropping, the best approach for maintaining your course is to hike a rectangle halfway around the obstacle. For example, see the steps below.
- Set a new bearing 90 degrees from your original heading when you reach the obstacle, and count your number of steps until you have cleared the obstacle. For example, if your initial bearing was 30 degrees, hike a new bearing of 120 degrees.
- Then, turn and go back onto your original bearing, which in this case, is 30 degrees. Walk in the direction parallel to your original course until you’ve again cleared the obstacle.
- Then, turn, and subtract 90 degrees from your original bearing, which in this case would be 300 degrees. Then, walk in the direction of the obstacle for the same number of steps.
- Finally, add 90 degrees and return to your original bearing, in this case, 30 degrees. You should now be back along your initial line of travel before encountering the obstacle.
Read More: Safety First: Snowshoeing Hazards and How To Avoid Them
Compass Recommendations
For those new to compass and map navigation, you may wonder which compass to use. As Dicken mentioned, “A great thing about using a compass is you don’t need anything fancy to start. [All compasses] have a magnetic needle that points north.”
A few recommendations are Brunton’s TruArc3 compass and 8010 EcoCompass, both excellent options for learning the basics of navigating the field. For snowshoers looking for a slightly more advanced compass that includes an inclinometer for finding slope angle (helpful for avalanche awareness), check out Brunton’s TruArc15.
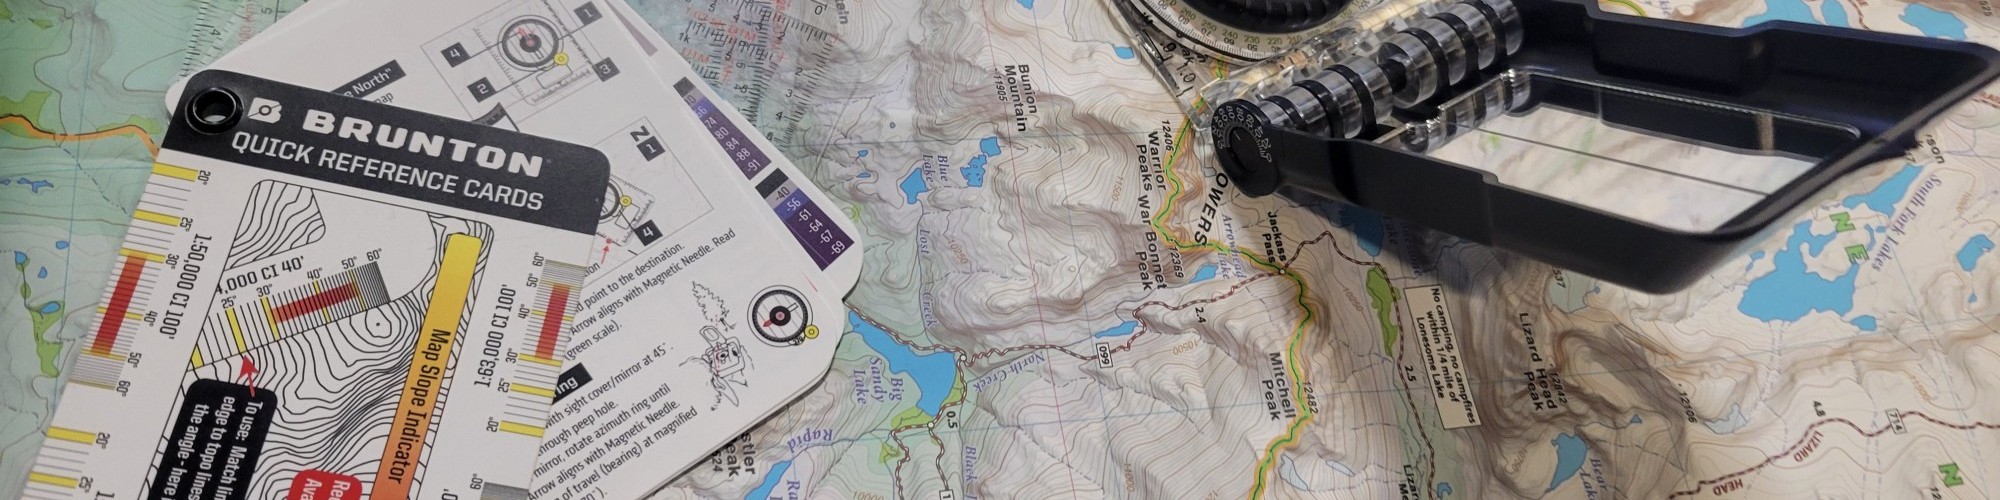
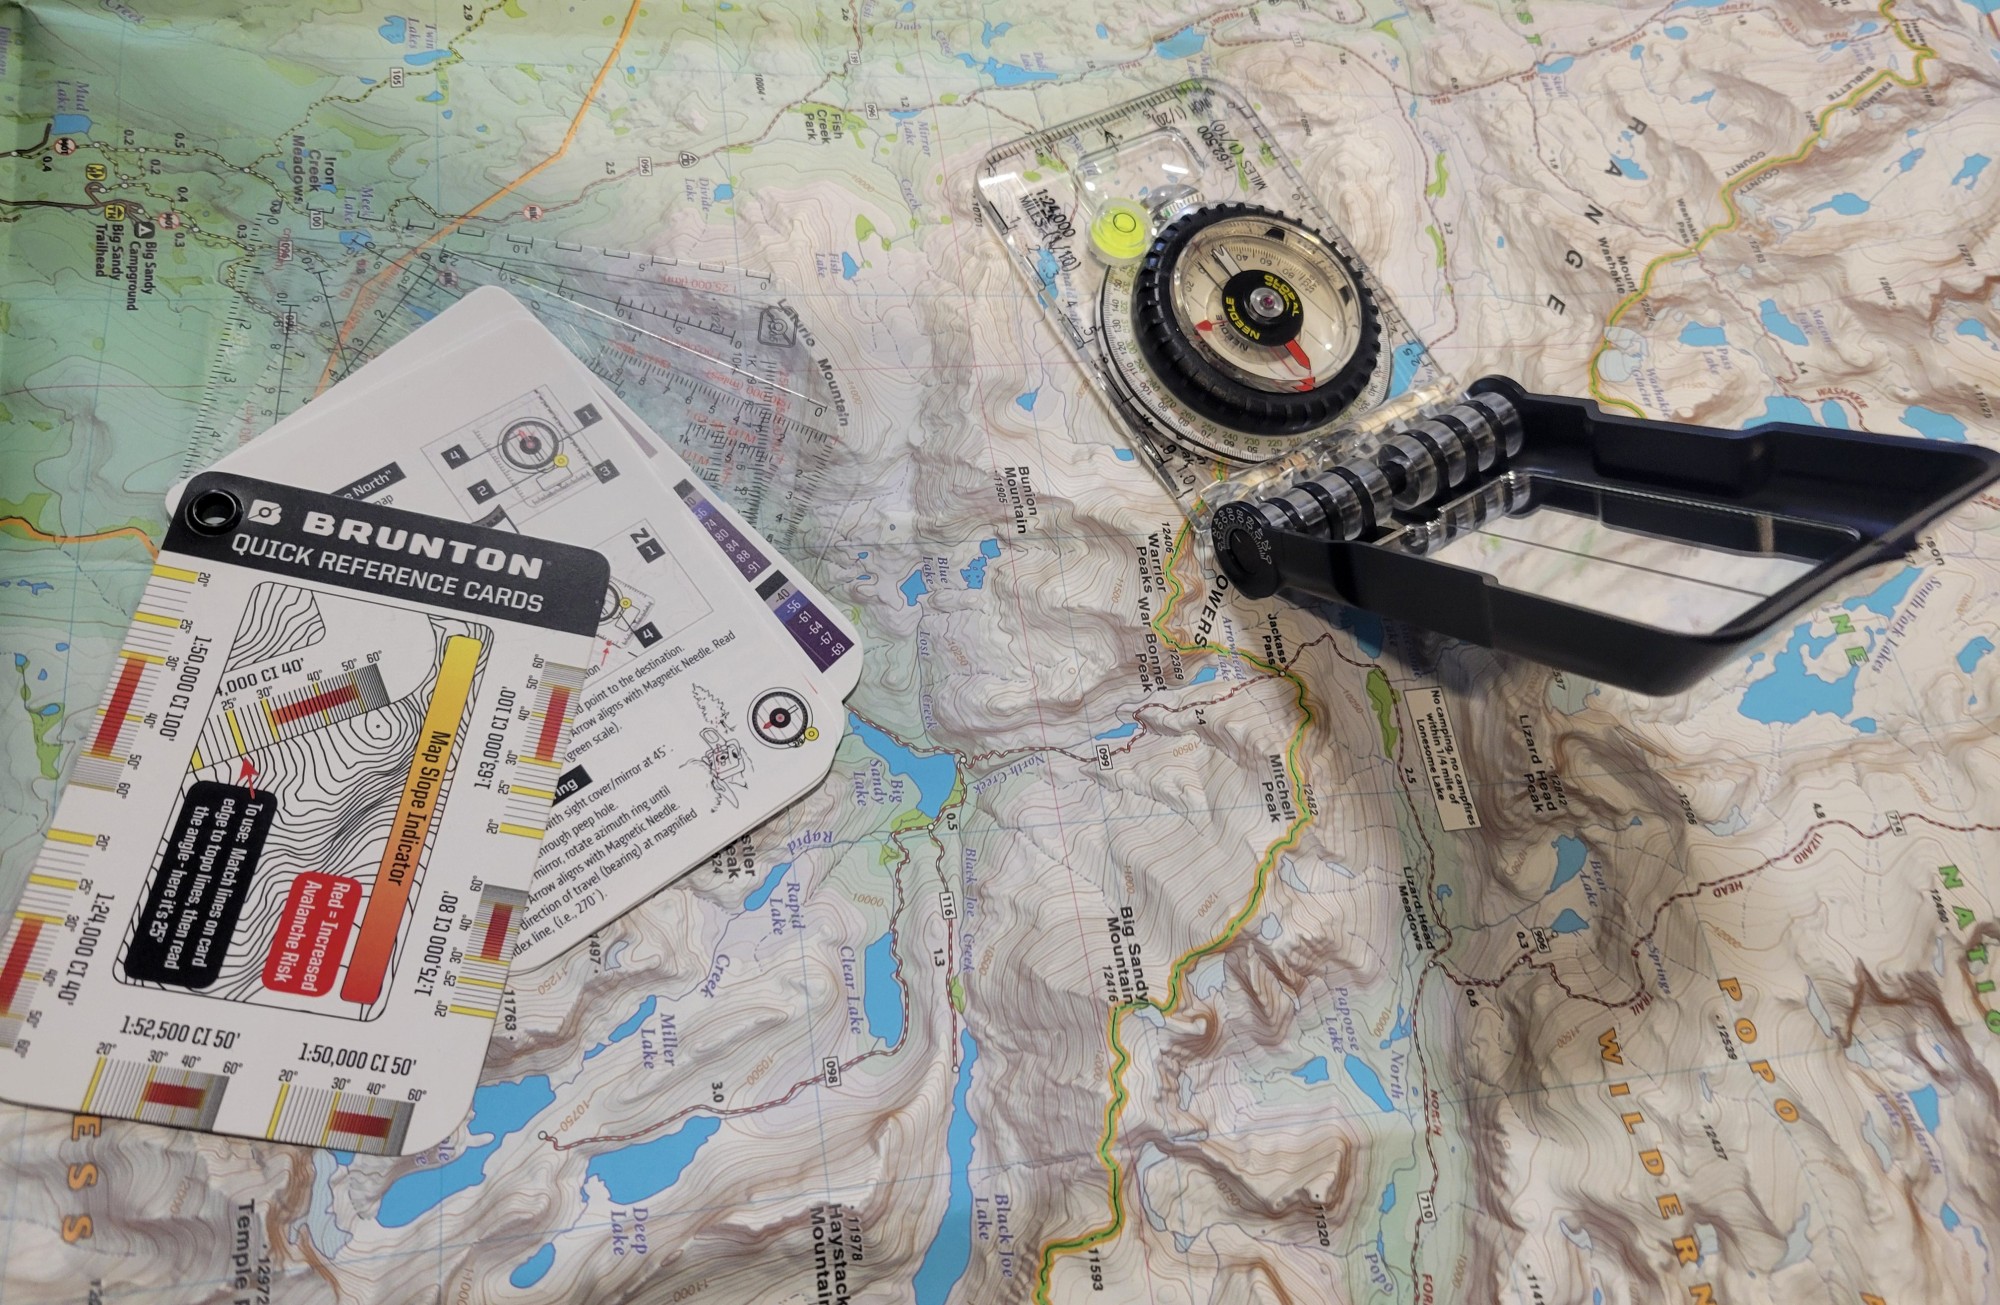
Along with the compasses above, Dicken recommends picking up Brunton’s Quick Reference Card set, which includes educational safety material printed in a pocket-sized card set to reference while on the trail.
Read More: Don’t Miss This Outdoor Gear from the Big Gear Show 2021
Overall
Staying found is the goal. The above is just the tip of the iceberg for using a map and compass for backcountry snowshoe travel. However, I encourage you to further your knowledge and enhance your skills by referencing some good resources, such as the numerous books on the market and YouTube tutorials, including Brunton’s videos. You can also find online information from the U.S. Geological Survey, including tips for finding your way and using a compass with a topographic map.
Also, consider taking an orienteering course. But keep in mind, your experience can be the best teacher. Enjoy snowshoeing in the backcountry or on park trails by playing it safe using a map and compass. And happy trails to you.
What other recommendations do you have for using a map and compass and learning the basics? Please share your thoughts with us in the comments below.
A version of this article was first published on September 18, 2005. It was updated and republished on April 19, 2022, and most recently reviewed on October 18, 2022.
Read Next: Winter Hiking Safety 101: A Beginner’s Guide for Hikers and Snowshoers
Thanks for this – so useful! Thanks also for linking Brunton’s youtube videos – I just checked them so very informative!
Excellent information for novice snowshoers and good review for the experienced hikers!