In several towns and farms in the northeast, maple syrup season signals the start of spring. Production of maple syrup has been part of North American culture for hundreds of years, and it’s been a staple on pancakes and waffles, and several other delicious treats for generations.
But you don’t need to buy it at the store, and you certainly don’t need to buy the cheap stuff. You know, pancake syrup is corn syrup and natural flavor. What? That’s not maple syrup. And yes, you can taste the difference. I know because I always thought they were the same until I did a little taste test of my own! Homemade always tastes better, right?
So, get the entire family ready (kids included), head out on your snowshoes, and do some maple syrup tapping!
Some of the links in this article may contain affiliate links. When you purchase using these links, part of the proceeds go to Snowshoe Mag. Additionally, as an Amazon Associate, we earn from qualifying purchases. Please see our disclosure for more details.
What Do I Need to Get Started?
It’s incredibly easy to get started with tapping and making your maple syrup! All you need is:
- a maple tree
- drill
- spile/tap
- thermometer
- a bucket
Don’t have a maple tree? Ask a neighbor if you can tap theirs. They don’t have one? Then it’s time to go on a snowshoeing adventure to find one!
Read More: Top 10 Snowshoe Tips for First-Timers
How to Find a Maple Tree for Tapping
Any maple tree will do, but sugar maple trees have the most sugar content of any maple. It usually takes about 40 gallons of sap to make 1 gallon of syrup. Yes, 40 gallons!
Silver and red maples usually take about 60 gallons. I know what you’re thinking. That’s a lot of sap! But consider on a good day, you can get about 2-3 gallons from a single tree; it can add up quickly.
The tree should be a minimum of 10″-12” (25 – 30.5 cm) in diameter for one tap and 18″ (46 cm) in diameter for two. Remember, these are bare minimums, so if you can find larger trees in your area, that would be best.
Once you’ve found a big enough tree, check the tree itself and fallen leaves for any disease or insect problem. Also, check for open wounds that might allow for bacterial growth inside the tree. Don’t tap any tree with any of these problems or others you may find. Doing so can harm the tree further and ultimately kill it. The sap will also most likely be of lesser quality and quantity.
Read More: Evergreen Tree Identification: Pines Aren’t The Only Evergreens
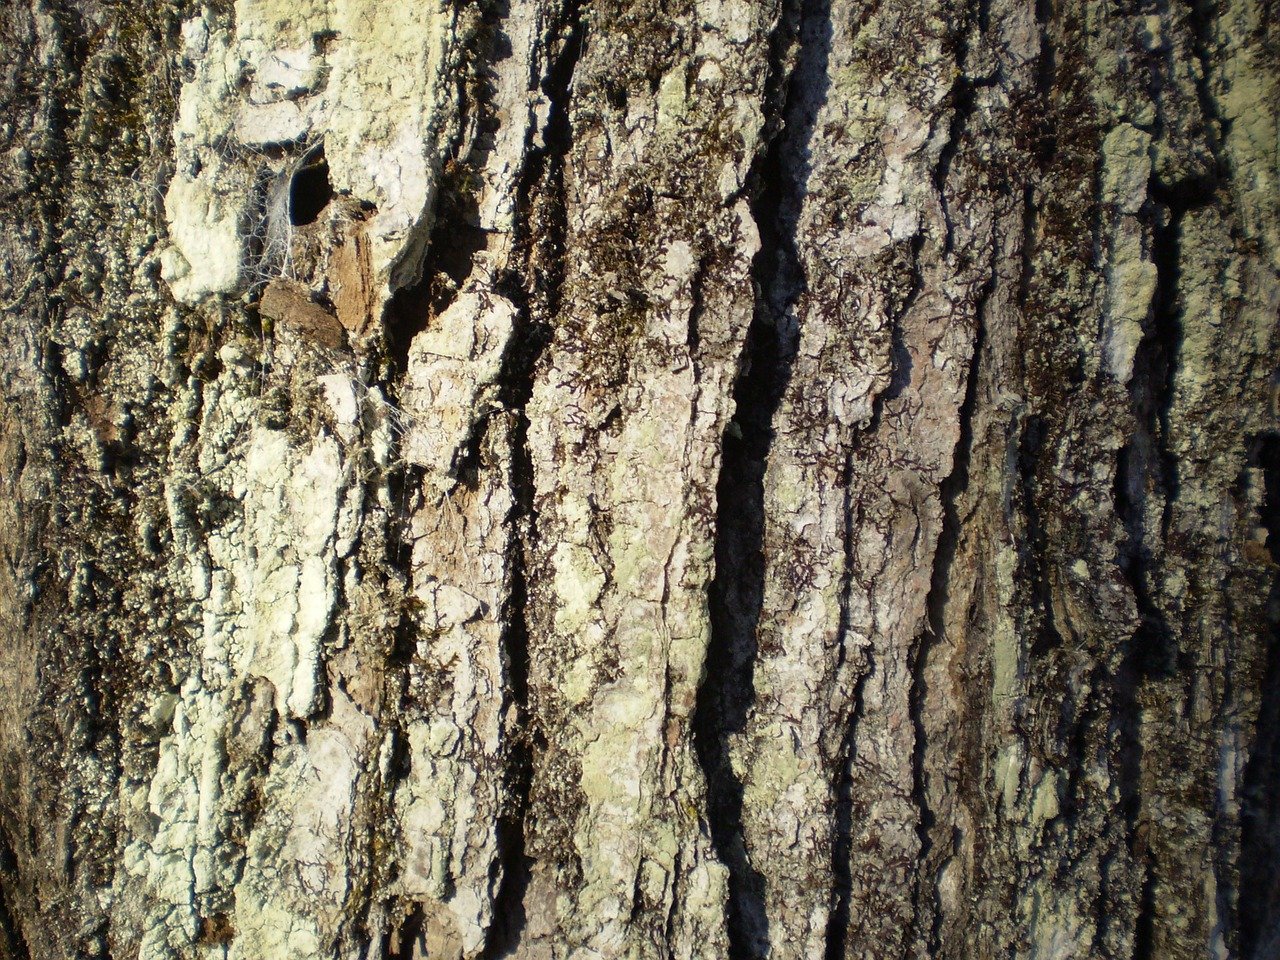
Make sure to check your tree for any signs of disease or insects before tapping for syrup. Photo: PublicDomainPictures from Pixabay
Steps for Tapping a Maple Tree
Now that you’ve found a suitable tree, it’s time to start tapping your maple tree for delicious syrup.
1. Drill Your Holes
Choose where you’re going to drill your holes. Tap holes and spiles should be at least 10” (25 cm) apart, usually placed on opposite sides.
Drill holes should be approximately 5/16”-7/16” (0.8 -1 cm) to a depth of 1.5”-2.5” (4 -6 cm) and at a slight angle upwards to improve sap flow downwards through the tap and into the storage bucket.
The drill bit should be cleaned before and after use to prevent bacterial contamination.
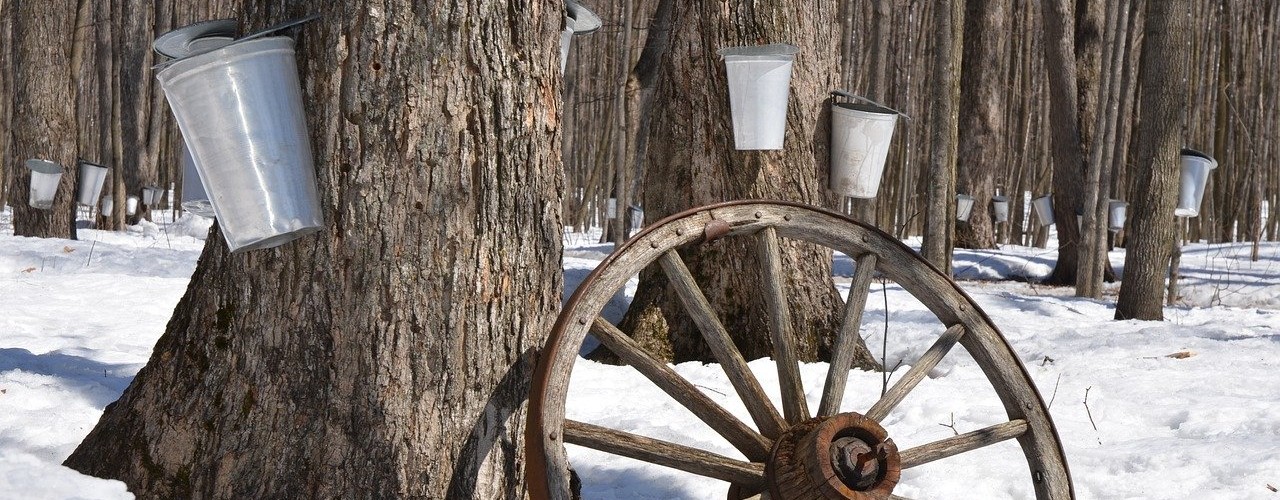
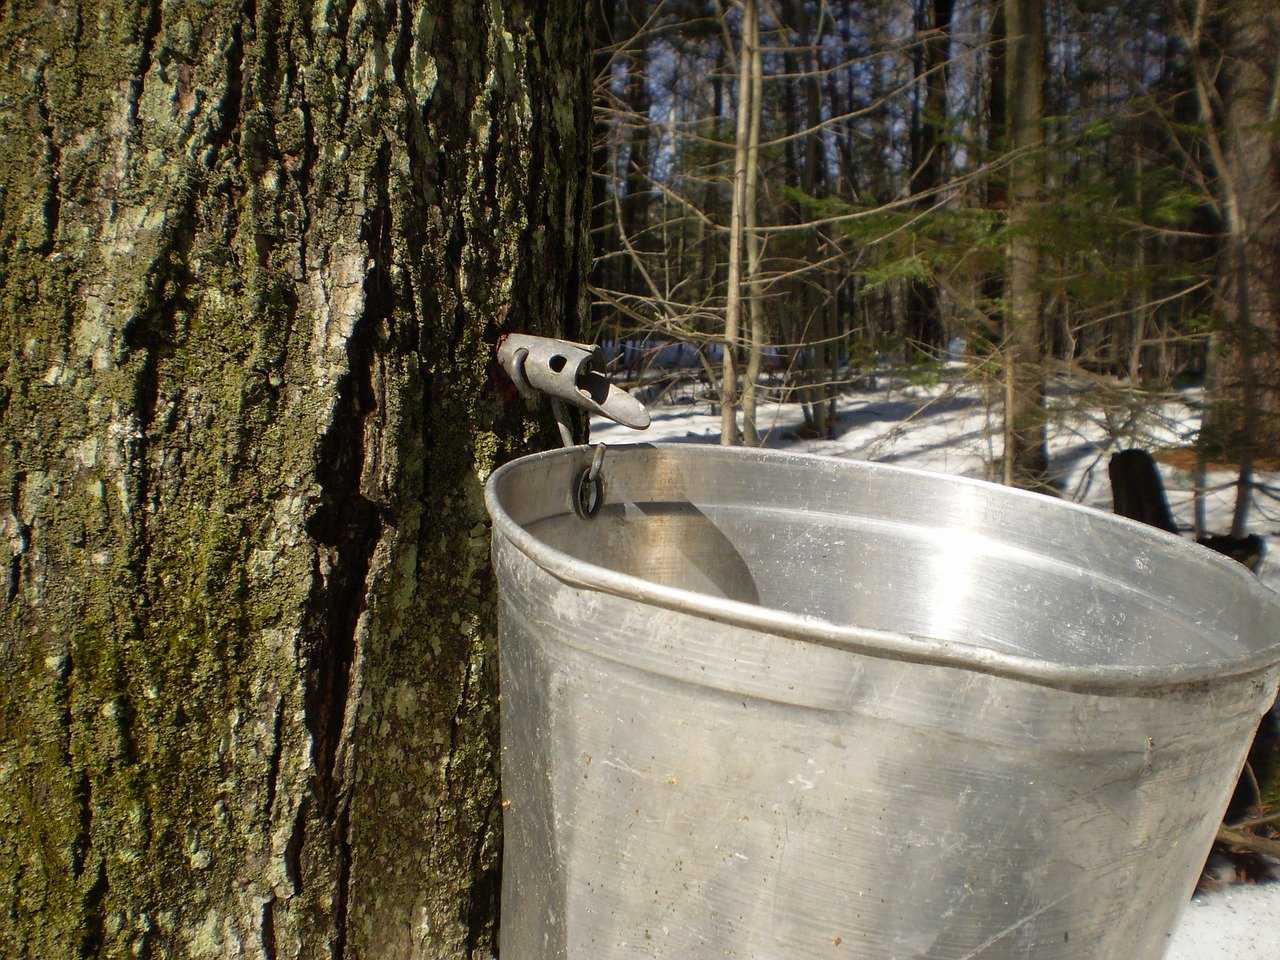
2. Place Your Spiles and Buckets
Once the tap hole is drilled, place the spile into the hole and “tap” it in with a hammer or mallet. You can get a spile from a local maple farm, farm shops, and food suppliers. Usually, a single spile is relatively inexpensive, around $3-$4 (4-5 CAD). Spile kits with multiple spiles (like this one on Amazon) are also available online.
The spile should be cleaned before use. Cleaning allows the sap to travel from the tree and into your storage bucket. It also helps protect the tree from possible weather or bacterial damage.
Once your spiles and buckets are placed, you can leave the bucket right on the tap and wait for it to fill up.
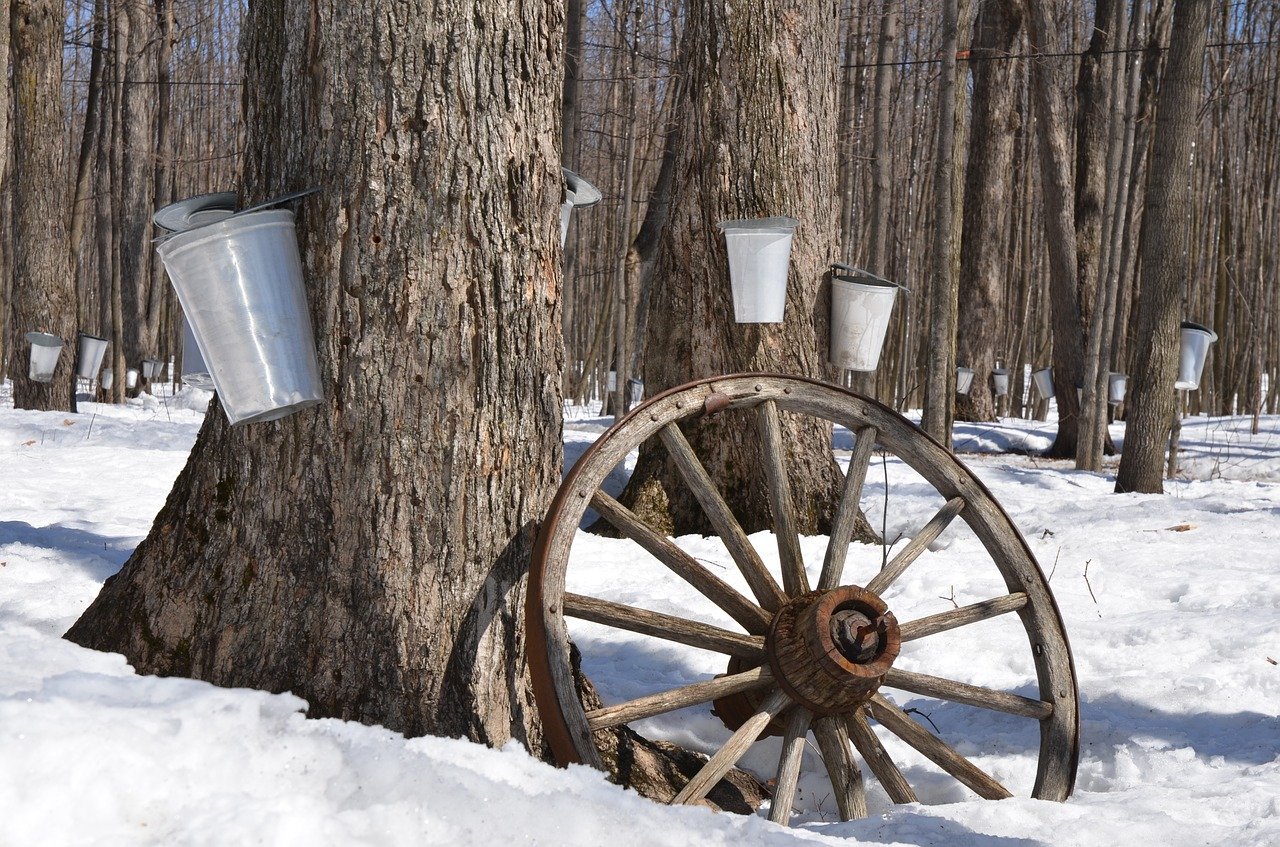
Place your spile and bucket for maple tree tapping. Photo: PublicDomainPictures from Pixabay
3. Check Your Sap
The sap should look like clear water and should taste slightly sweet.
Depending on bucket size and how well the sap flows, you can get a wide range, a gallon to a drop, from each tap. The amount depends on conditions and tree size. Thus, a bucket could fill in less than a day or take a couple of days.
The temperature fluctuations during the night and day are the most significant contributors to how well the sap will run for the day. Typically, sap flow is best at temperatures of 40F (4.5 C) and above during the day and below freezing at night.
Check your buckets at least once a day (preferably twice), and when full, combine them into a large storage container for boiling.
4. Boil Your Sap
Boiling should be done within seven days of your first sap collection and outside, in an open area, barn, or garage. Do not boil sap in pots on the kitchen stove. Boiling creates a lot of steam, making your walls a sticky mess. You’ll be licking the walls for days or even months trying to get rid of it!
Carefully maintain the boil while you continue to add sap to your pot. The sap will eventually caramelize and turn the familiar amber color of maple syrup.
Check the temperature as it begins to change color and has the consistency of syrup. The syrup should be done once the temperature reaches 219 F (104 C) or 7 degrees above the boiling point in your area.
5. Filter Your Syrup
Once the sap has been boiled down into syrup, it should be filtered to remove the remaining sediment, known as sugar sand or niter.
This sediment is perfectly natural, as the sap’s minerals become concentrated and hardened as the water is evaporated during the boiling process. Don’t be afraid if you don’t get all of it, as it’s perfectly edible. It’s just not that appetizing.
Filtering will improve the color and clarity and improve the overall taste of the syrup.
It’s important to filter your syrup while still hot. As the syrup cools, it will become thicker, making the filtering process much more difficult. A two-tiered filter system works best, such as a lightweight paper cone filter inside thicker wool or less expensive synthetic fiber filter.
If you’d like, you can also filter the sap before boiling to remove any contaminants that may have gotten into the sap. However, you will still need to do the second filtering process after the sap has been boiled down. You’ll need to filter because the sugar sand or niter doesn’t build until after water evaporates and the minerals are concentrated.
6. Store Your Syrup
Once the filtering process is complete, you can pour the syrup into bottles or sterilized mason jars for long-term storage.
You can store maple syrup in the refrigerator or at room temperature. It’s recommended, however, to store opened containers of syrup in the fridge.
Read More: Modern and Traditional Snowshoe Care and Storage
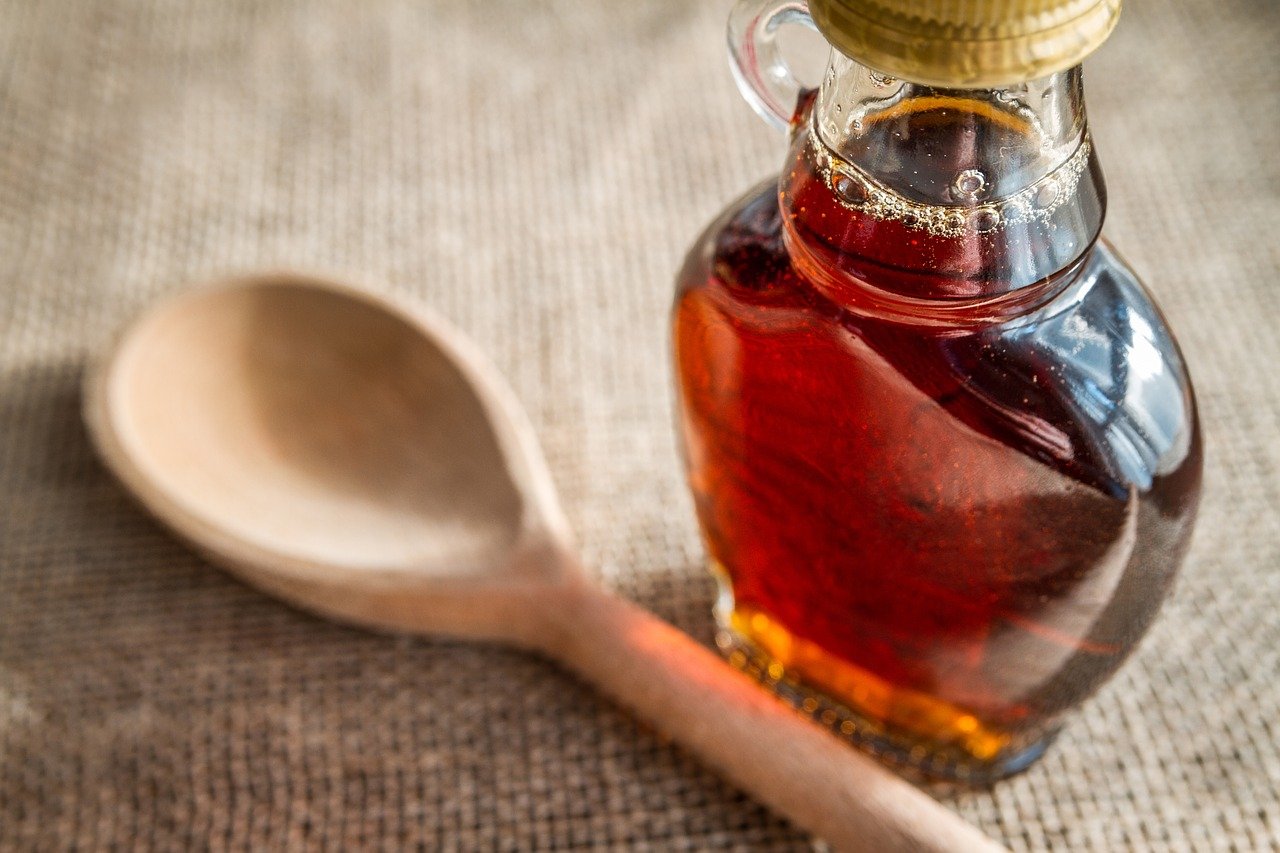
Store your maple syrup in bottles or mason jars as a tasty addition. Photo: PublicDomainPictures from Pixabay
Tapping Trees Other Than Maple
Many other trees besides maples can be used for tapping and making syrup or even drinking sap.
Birch, hickory, box elder, and black walnut are some of the more popular trees used for making syrup. Each has its unique flavor and sugar content.
The sugar content difference is one of the biggest reasons why these trees other than maple aren’t popular for syrup making. Birch, for example, takes about 100 gallons of sap to make syrup. This fact is one of the main reasons it’s much more expensive than the average price of maple syrup. It’s also a bit more challenging to make.
I’d recommend giving them a taste if you’ve never had them. You can find birch syrup for sale on the internet from farms in Alaska. The others are going to be a little trickier to find.
But I’ll always keep looking! In time, maple trees might not be the only tree you’ll want to tap next year! Enjoy!
Have or would you try tapping maple trees or other types of trees for syrup? Please share your experiences with us in the comments below.
This article was first published on December 27, 2020, and was most recently updated on October 27, 2022.
Read Next: 5 Things To Do With Snowshoes That Aren’t (Exactly) Snowshoeing


Leave a Comment