The conversation started with, “We’ll leave at midnight, make it to the trailhead by 3 am, and reach the summit for sunrise.” My response: “Sounds crazy. Let’s do it.” That’s how my experience of hiking Mount Quandary and seeing my first sunrise above 14,000 feet started.
As a bonus, I had a pair of MSR’s DynaLock Explore Backcountry Poles and had the opportunity to review them. These are a 3-section high-quality aluminum pole that includes MSR’s DynaLock locking mechanism and serves as an updated alternative to the now-retired SureLock T-3 Trekking Poles.

The locking mechanism is one of the most valuable features of the DynaLock Explore Pole. Photos: MSR
Some of the links in this article may contain affiliate links. When you purchase using these links, part of the proceeds go to Snowshoe Mag. Additionally, as Amazon Associates, we earn from qualifying purchases. Please see our disclosure for more details.
Pole Adjustments
This locking mechanism is the big selling point of MSR’s DynaLock Explore Backcountry Poles and my favorite feature during this review. They designed it specifically for quick adjustments on the mountain. The lock has a clicking system, and the wheel adjusts the tightness of the clip. The system worked great while hiking.
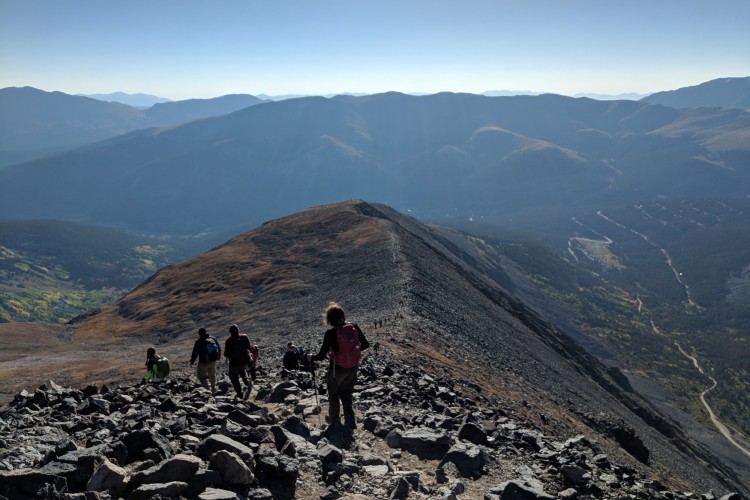
Sunrise was slated for 6:30 am that morning, and our hiking was steady. Mount Quandary isn’t a difficult 14er. However, it is still a 14er. That means after passing 12,000 feet, the hiking is slow and steep.
When the hiking got steep, I took out my DynaLock Explore Poles. When ascending, it helps to shorten the poles slightly to help get more leverage. The converse is true when going downhill. You’ll want to lengthen the poles to reach the trail ahead.
The adjustment was easy – a quick flip up, lengthen or shorten, and flip down of the lock. The pole extends up to 55 in (140 cm) and shrinks to 39.5 in (100 cm). To find the size right for you when adjusting, measure the poles so your elbows will stay at a 90-degree angle as you hike.
Read More: Tips for Using and Choosing Your Poles
When adjusting the poles for the ascent and descent, you only need to flip the lock, adjust, and re-flip to tighten. Photo: Paul Wowk
Packability
I mainly looked at what your headlamp could show the first couple of hours up the trail. It wasn’t much – just the path ahead of me. The moon was not out, so we could not see the drop-offs (which are minimal at Quandary) and the other mountains.
Also, the first part of the hike was fairly flat, so I didn’t use the poles. Instead, they were folded and put into my backpack. The design of the DynaLock Explore Poles (three sections) allowed them to fit mostly into my bag. Three-section poles are ideal for packing.
Also, having a backpack with a pole loop, such as Mountain Hardwear’s JMT 25 or Gregory’s Miwok 18, can be helpful for storage. But, in this case, I choose to put them directly in the pack itself. The poles collapse to 24.5 in (62.2 cm), so your bag needs to be reasonably deep to fit them properly without a loop. Or you’ll need at least a tight zipper like my pack to keep them secure.
The total weight of the DynaLock Explore Poles is 1lb 4 oz (0.55 kg). That weight isn’t the lightest pole out there, but still not terrible, especially if only temporarily carrying the poles in your pack.
Read More: 8 Backpacks for the Snowshoer
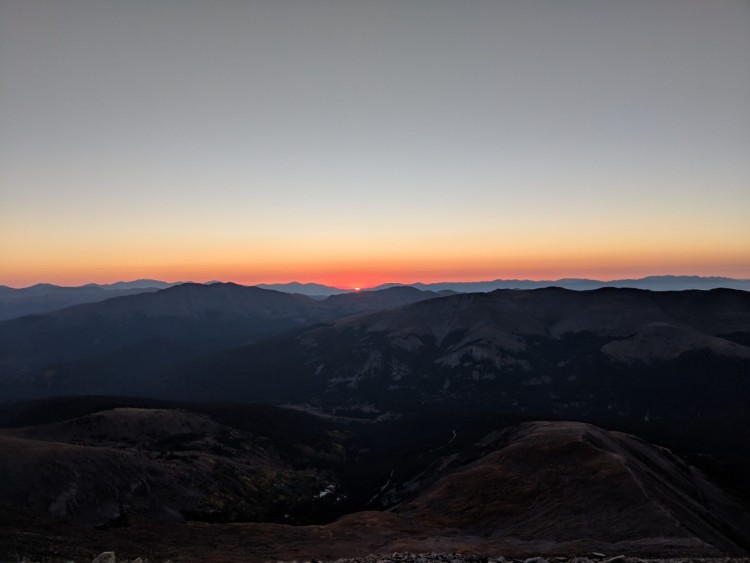
The sunrise at 14 thousand feet. Photo: Paul Wowk
Balance and Stability
Since the DynaLock Explore Poles are made of 7075 aluminum, they are strong and durable.
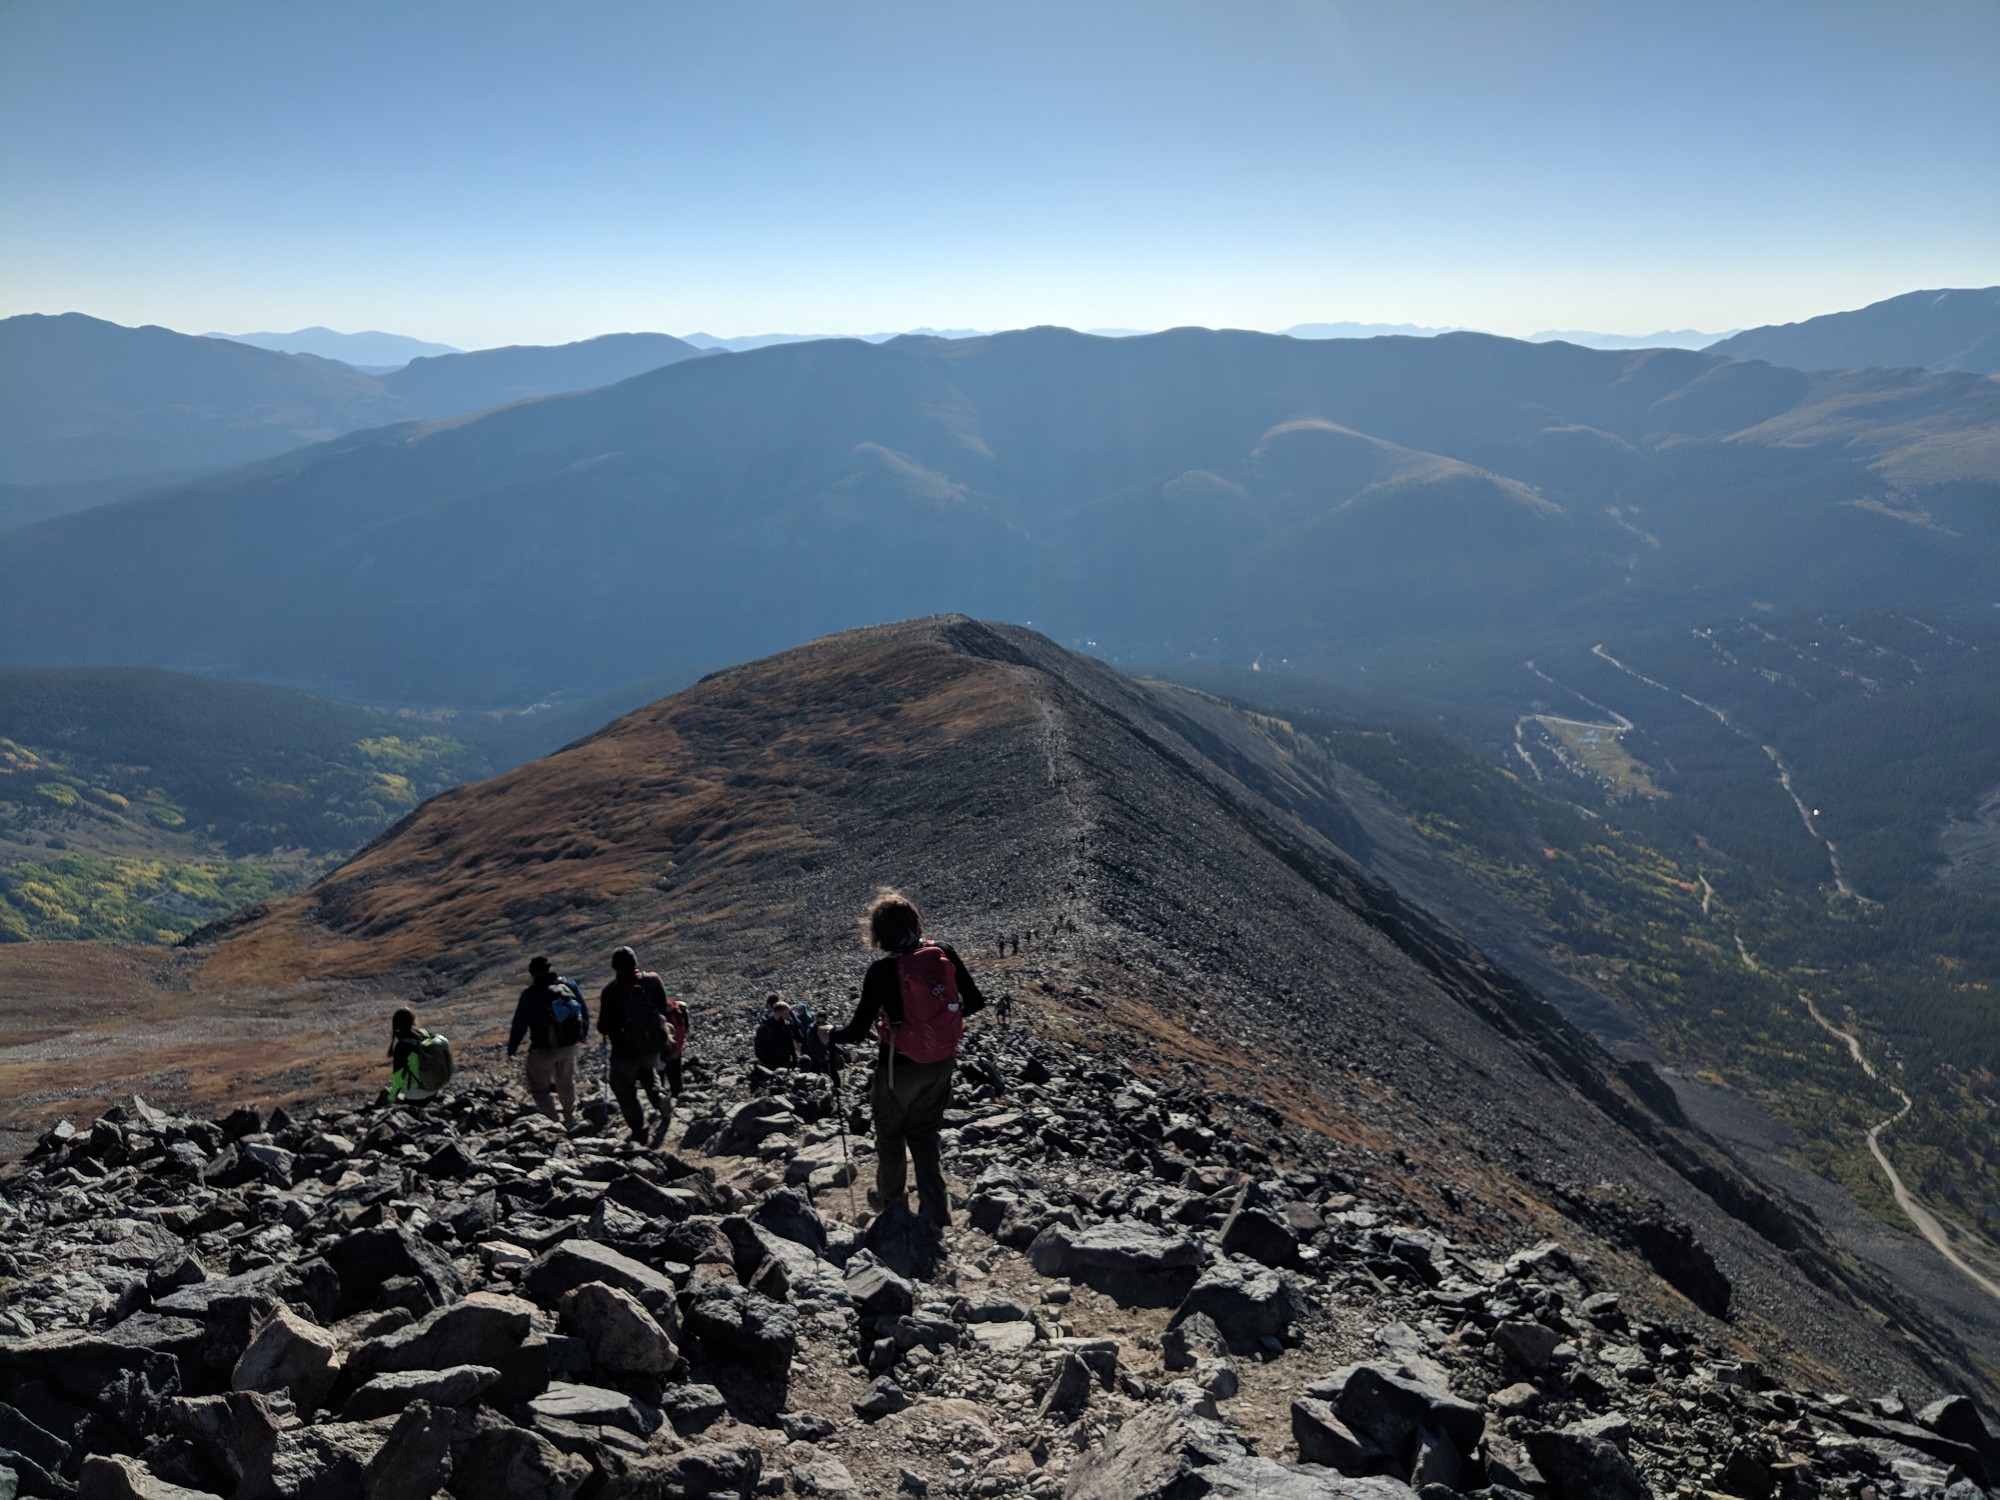
I was huffing, puffing, and pushing myself to the limit while hiking this 14er. I had my heart rate at the limit. The poles helped me keep my balance while rushing up the mountain. Also, on uneven terrain, they helped navigate loose rocks. They truly helped pull me up the mountain and could withstand the weight I was putting on them for support.
At around 13k feet, the sky started to glow from the sun below the horizon. That lit a fire under us since we wanted to summit before the sun rose over the horizon. But, despite my efforts, I didn’t reach the peak by sunrise. Though, I saw my GPS climb to 14,000 feet (the peak is 14,265 feet, and 250 feet is around 15 minutes of hiking) right before the sun rose.
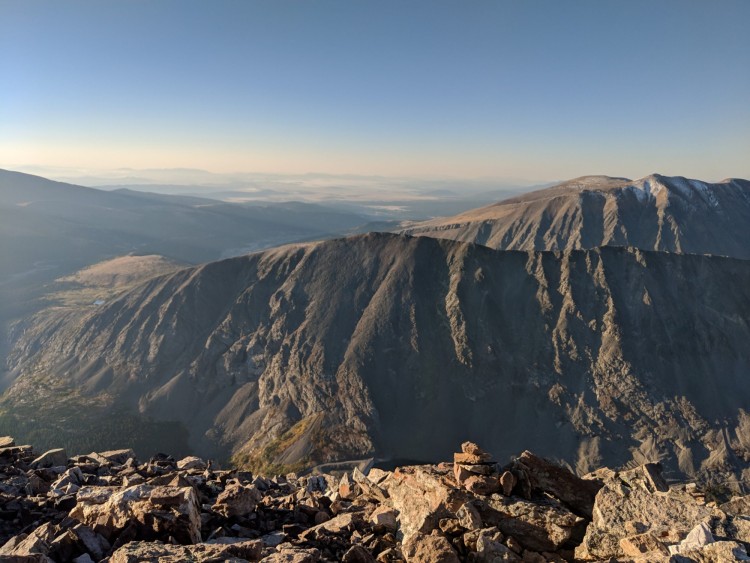
After the sunrise, the hike up was pretty uneventful and slow. We were up the mountain (the first ones up on a Saturday!), stayed a few minutes at the top, and then started our track back down.
The poles were handy on the hike down for support. Usually, the steep hike down takes a rather painful toll on my knees. However, the poles helped with this because they helped me stabilize myself and take a little bit of the shock from hitting my knees.
Read More: Exercises To Improve Balance One Foot at a Time
The poles helped navigate the loose rock on the trail. Photo: Paul Wowk
Additional Features
In addition to the features listed above in this review, the DynaLock Explore Pole by MSR also includes an extended EVA foam grip handle. This grip is comfortable and allows you to move your hands easily while hiking.
Finally, one of the essential pole features (in our opinion) is versatility. This pole includes winter and summer baskets so that you can use this pole all year round.
Overall, this pole is a great mid-range option for versatile hikes and snowshoeing outings. However, if you’re looking for a more advanced pole or are a regular mountaineer, MSR also makes the DynaLock Ascent Pole, which can serve as an alternative. The DynaLock Ascent is also three sections and includes the same locking system and foam grip. However, the Ascent is made of Kevlar reinforced carbon, so it’s a little lighter – only 1 lb 2 oz. Also, the DynaLock Ascent offers a quick deploy design to fit into smaller packs.
Read More: 7 Basic Tips To Train the Mountaineer in You
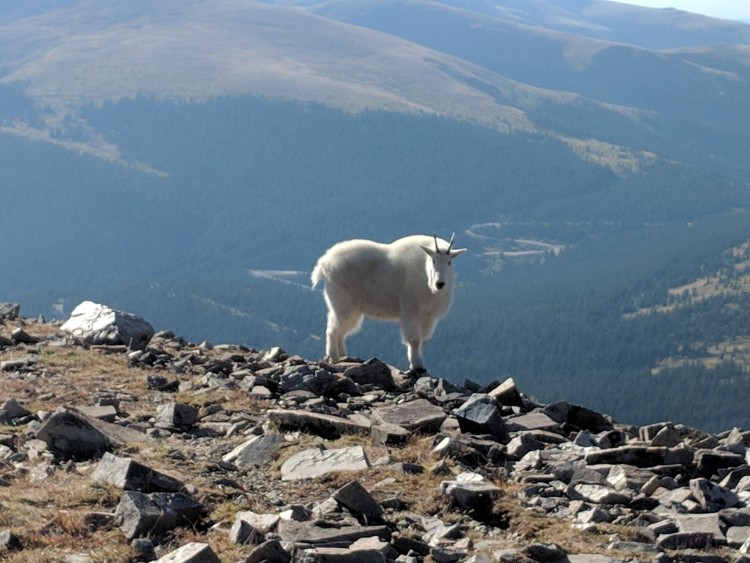
You may even see a mountain goat, as we did! Photo: Paul Wowk
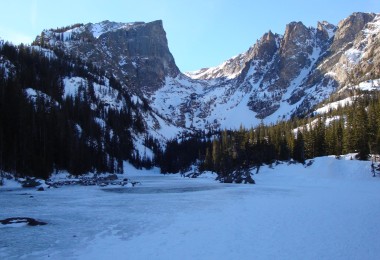
About Hiking Mt. Quandary
If you are thinking about hiking Quandary, you’ll want to check out the hike on 14ers.com. This site is the first place to look when researching a 14er hike. Mount Quandary is a good option for your first 14er. There are multiple approaches, but the standard route is the East Ridge route. It is an easy trail and has gentle slopes. It is around 3.5 miles (5.6 km) one-way and includes a 3,450-foot (1051 m) gain.
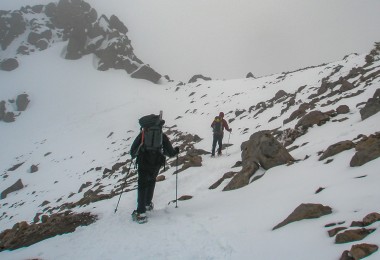
As for hiking the peak in winter, it is possible. Be prepared for a winter hike with both technical snowshoes and crampons for ice. Two crampon options I like are the Yaktrax Summit or Kahtoola Microspikes. You’ll also want to take avalanche training before attempting the hike.
I must admit, I am kind of a Colorado snob. I’ve seen beautiful views for the last ten years, so I’ve gotten used to them. Not that day, though. The sunrise was something worth the effort. The colors, the quietness, the exercise, and the altitude were high. It is an experience that pictures do not do justice. If you can see the sunrise on a mountain, I highly recommend it. If you ever have a chance to hike a 14er, make it happen. It is an experience you will take to your grave.
You may even see a mountain goat while up there too!
Have you used this pole? If so, what is your review and experience of the DynaLock Explore Backcountry Pole by MSR? Please share your thoughts with us in the comments below.
This article was first published on December 19, 2018, and was most recently updated on August 11, 2022. MSR provided the DynaLock Explore Poles for this review. All the views expressed are the author’s own and based on the experience with this product.
Read Next: MSR Gear Guide: Snowshoes and Snowshoe Accessories
Leave a Comment