
Those who love the outdoors and enjoy tramping through the snow should consider using snowshoes. Snowshoes help spread the body weight across a larger surface area, ensuring that you do not sink as deeply into the soft snow, making it much easier for you to walk. While you can purchase a pair of snowshoes, making your own wooden, traditional snowshoes is also a marvelous idea. You can simultaneously save money and test your organizational and attention to detail abilities.
So, without further ado, here are the steps to creating your pair of snowshoes from scratch.
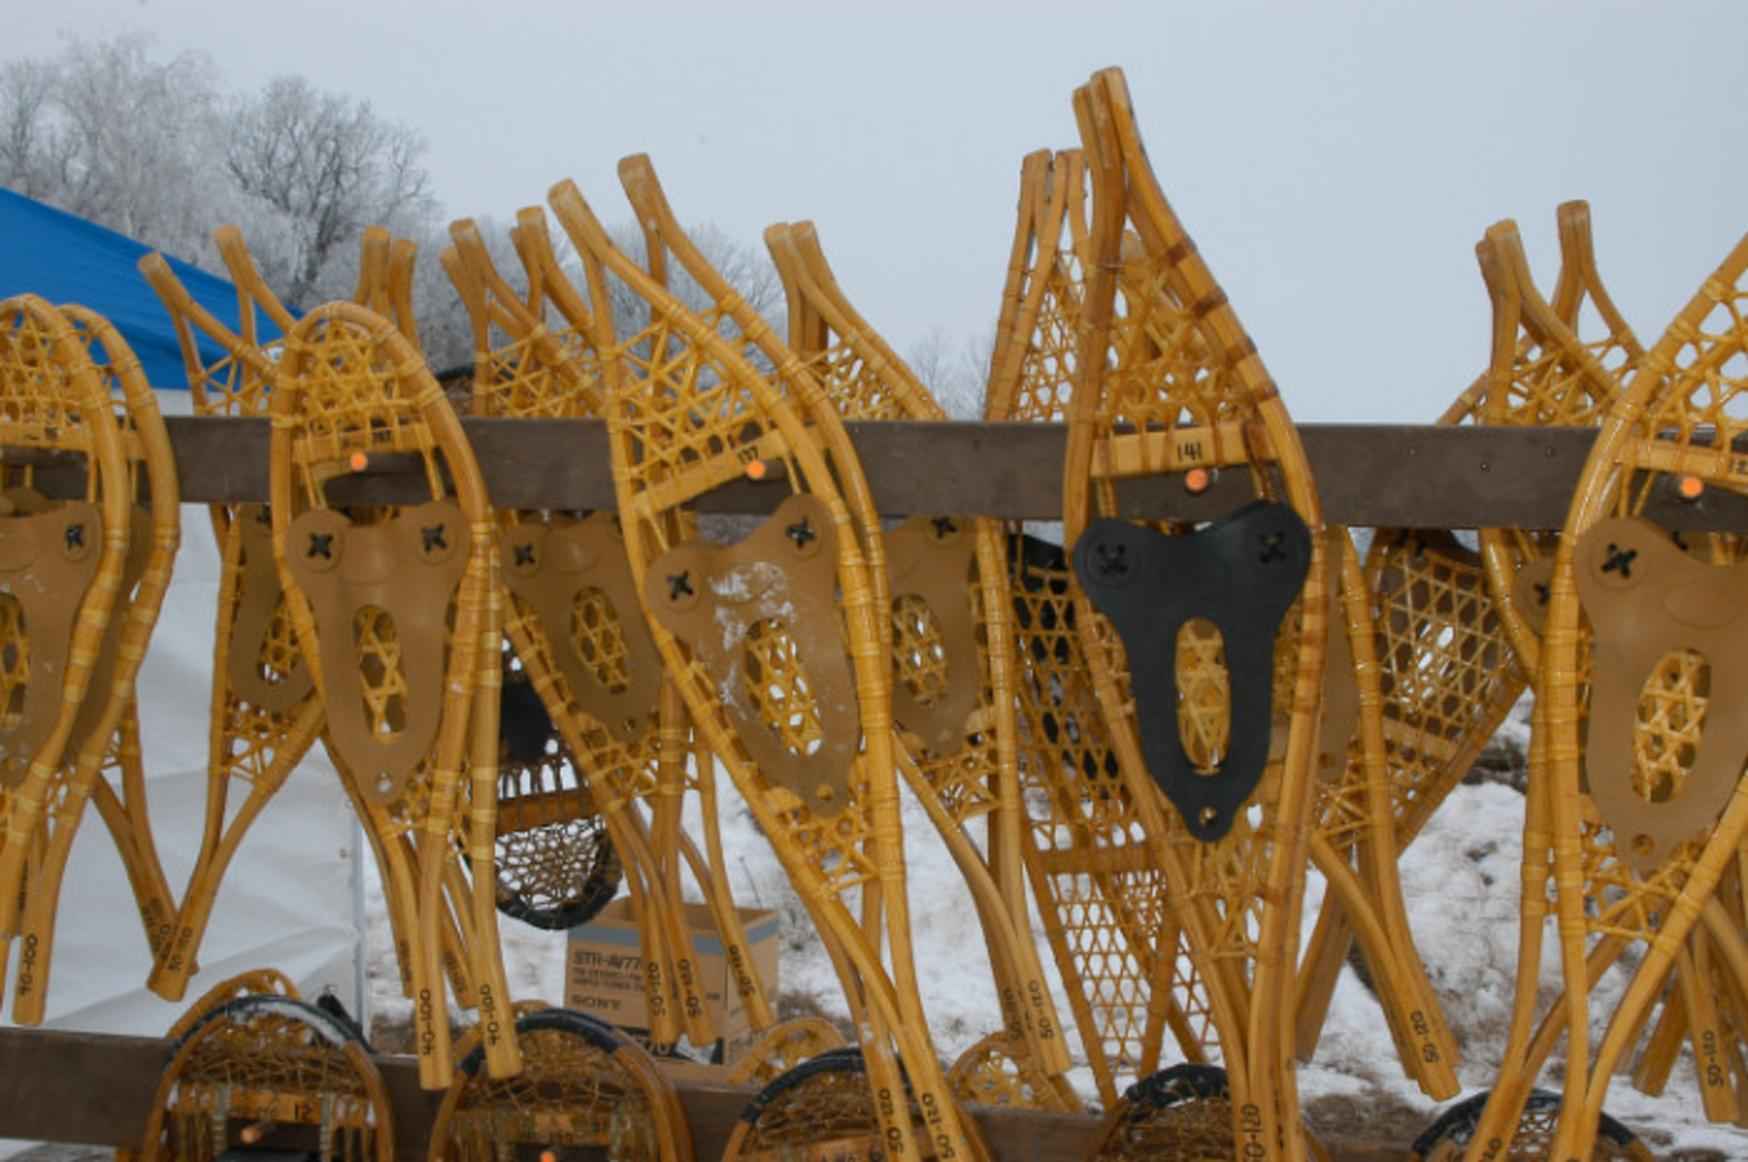
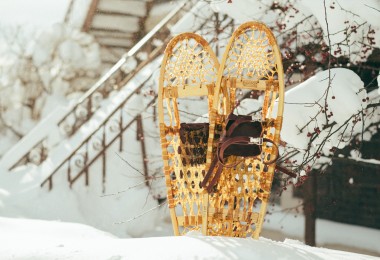
Beautiful traditional wooden snowshoes. Photo: Pixnio
Some of the links in this article may contain affiliate links. When you purchase using these links, part of the proceeds go to Snowshoe Mag. Additionally, as an Amazon Associate, we earn from qualifying purchases. Please see our disclosure for more details.
Collect The Materials
To make your snowshoes, you first must collect all the materials required to turn this idea into reality. The materials listed here are based on traditional materials that Native Americans used centuries ago.
- First, you’ll need ash lumber, which you will split to make the bows. When looking for your Ash lumber, ensure it is smooth and knot-free. The wood should be at least seven feet long and three-fourths of an inch thick. For more information on the wood selection and splitting process, see the video below from Ross Farm Museum.
- Scrap wood that you will use to make the jig form for shaping the bows of the snowshoes. Live wood is recommended here as it can be bent easily without breaking and dried to hold its shape.
- Rawhide or neoprene for the snowshoe laces
- Newspaper or another large sheet of paper for cutting the pattern
Once you have collected all the materials, you are ready to make the snowshoe.
Gil Gilpatrick’s book, Building Wooden Snowshoes & Snowshoe Furniture, or the book Leaving Tracks by Brian and Edmond Theriault, is more extensive and may also be helpful during the process. You can also purchase a traditional snowshoe kit from Country Ways, which includes an already-made frame and lacing instructions.
Read More: Ask Us Your Traditional Snowshoe Questions
Mark the Pattern
- First, you need to fold the newspaper diagonally across. The diagonal fold will mark the center of the snowshoe base.
- Then, mark the pattern when the paper is folded to obtain a symmetrical snowshoe.
- Decide on the snowshoe’s length, typically around 30 inches (76 cm).
- Identify the point that is three-eighths of the length of the snowshoe. For example, if our snowshoes are 30 inches (76 cm), 3/8 of the length would be around 12 inches (30.5 cm) on the diagonal. This point will be the widest point of the ‘shoe and is the toe or leading edge. The curve should be rounded at the toe and taper toward the heel.
Read More: Traditional Wooden Snowshoes: Shapes, Designs & Names
Make the Form For The Frame
To make the form, which will help you bend the Ash to the desired snowshoe shape, you’ll need the scrap wood you collected. Then, using your pattern, nail two ¾-inch (1.9 cm) forms on a piece of plywood. Also, nail 12 wedges three-fourths of an inch (1.9 cm) away from the forms.
Make the sides smooth using a drawknife. Now locate the inner face of the wood and ensure that it faces inside. Wedge the strip of Ash between the wedges you have nailed on the two forms and allow the wood to dry for a few weeks. If you cannot bend the staves (Ash) easily, steam them a bit.
Insert Crossbars
After the Ash has dried, it’s time for crossbars to make the snowshoes sturdy. The crossbars you can also form from the Ash will need to be slightly more than an inch (2.54 cm) in diameter. Crossbar length will need to span the width of the snowshoe.
Make four crossbars and insert them within the frame so that the shape of the frame is retained. To add the crossbars, you need to drill holes in the frame and insert the ends of the crossbars into these holes. Once this is done, you can smooth the frame and crossbars by sanding them.
Read More: Traditional Snowshoe Care & Maintenance
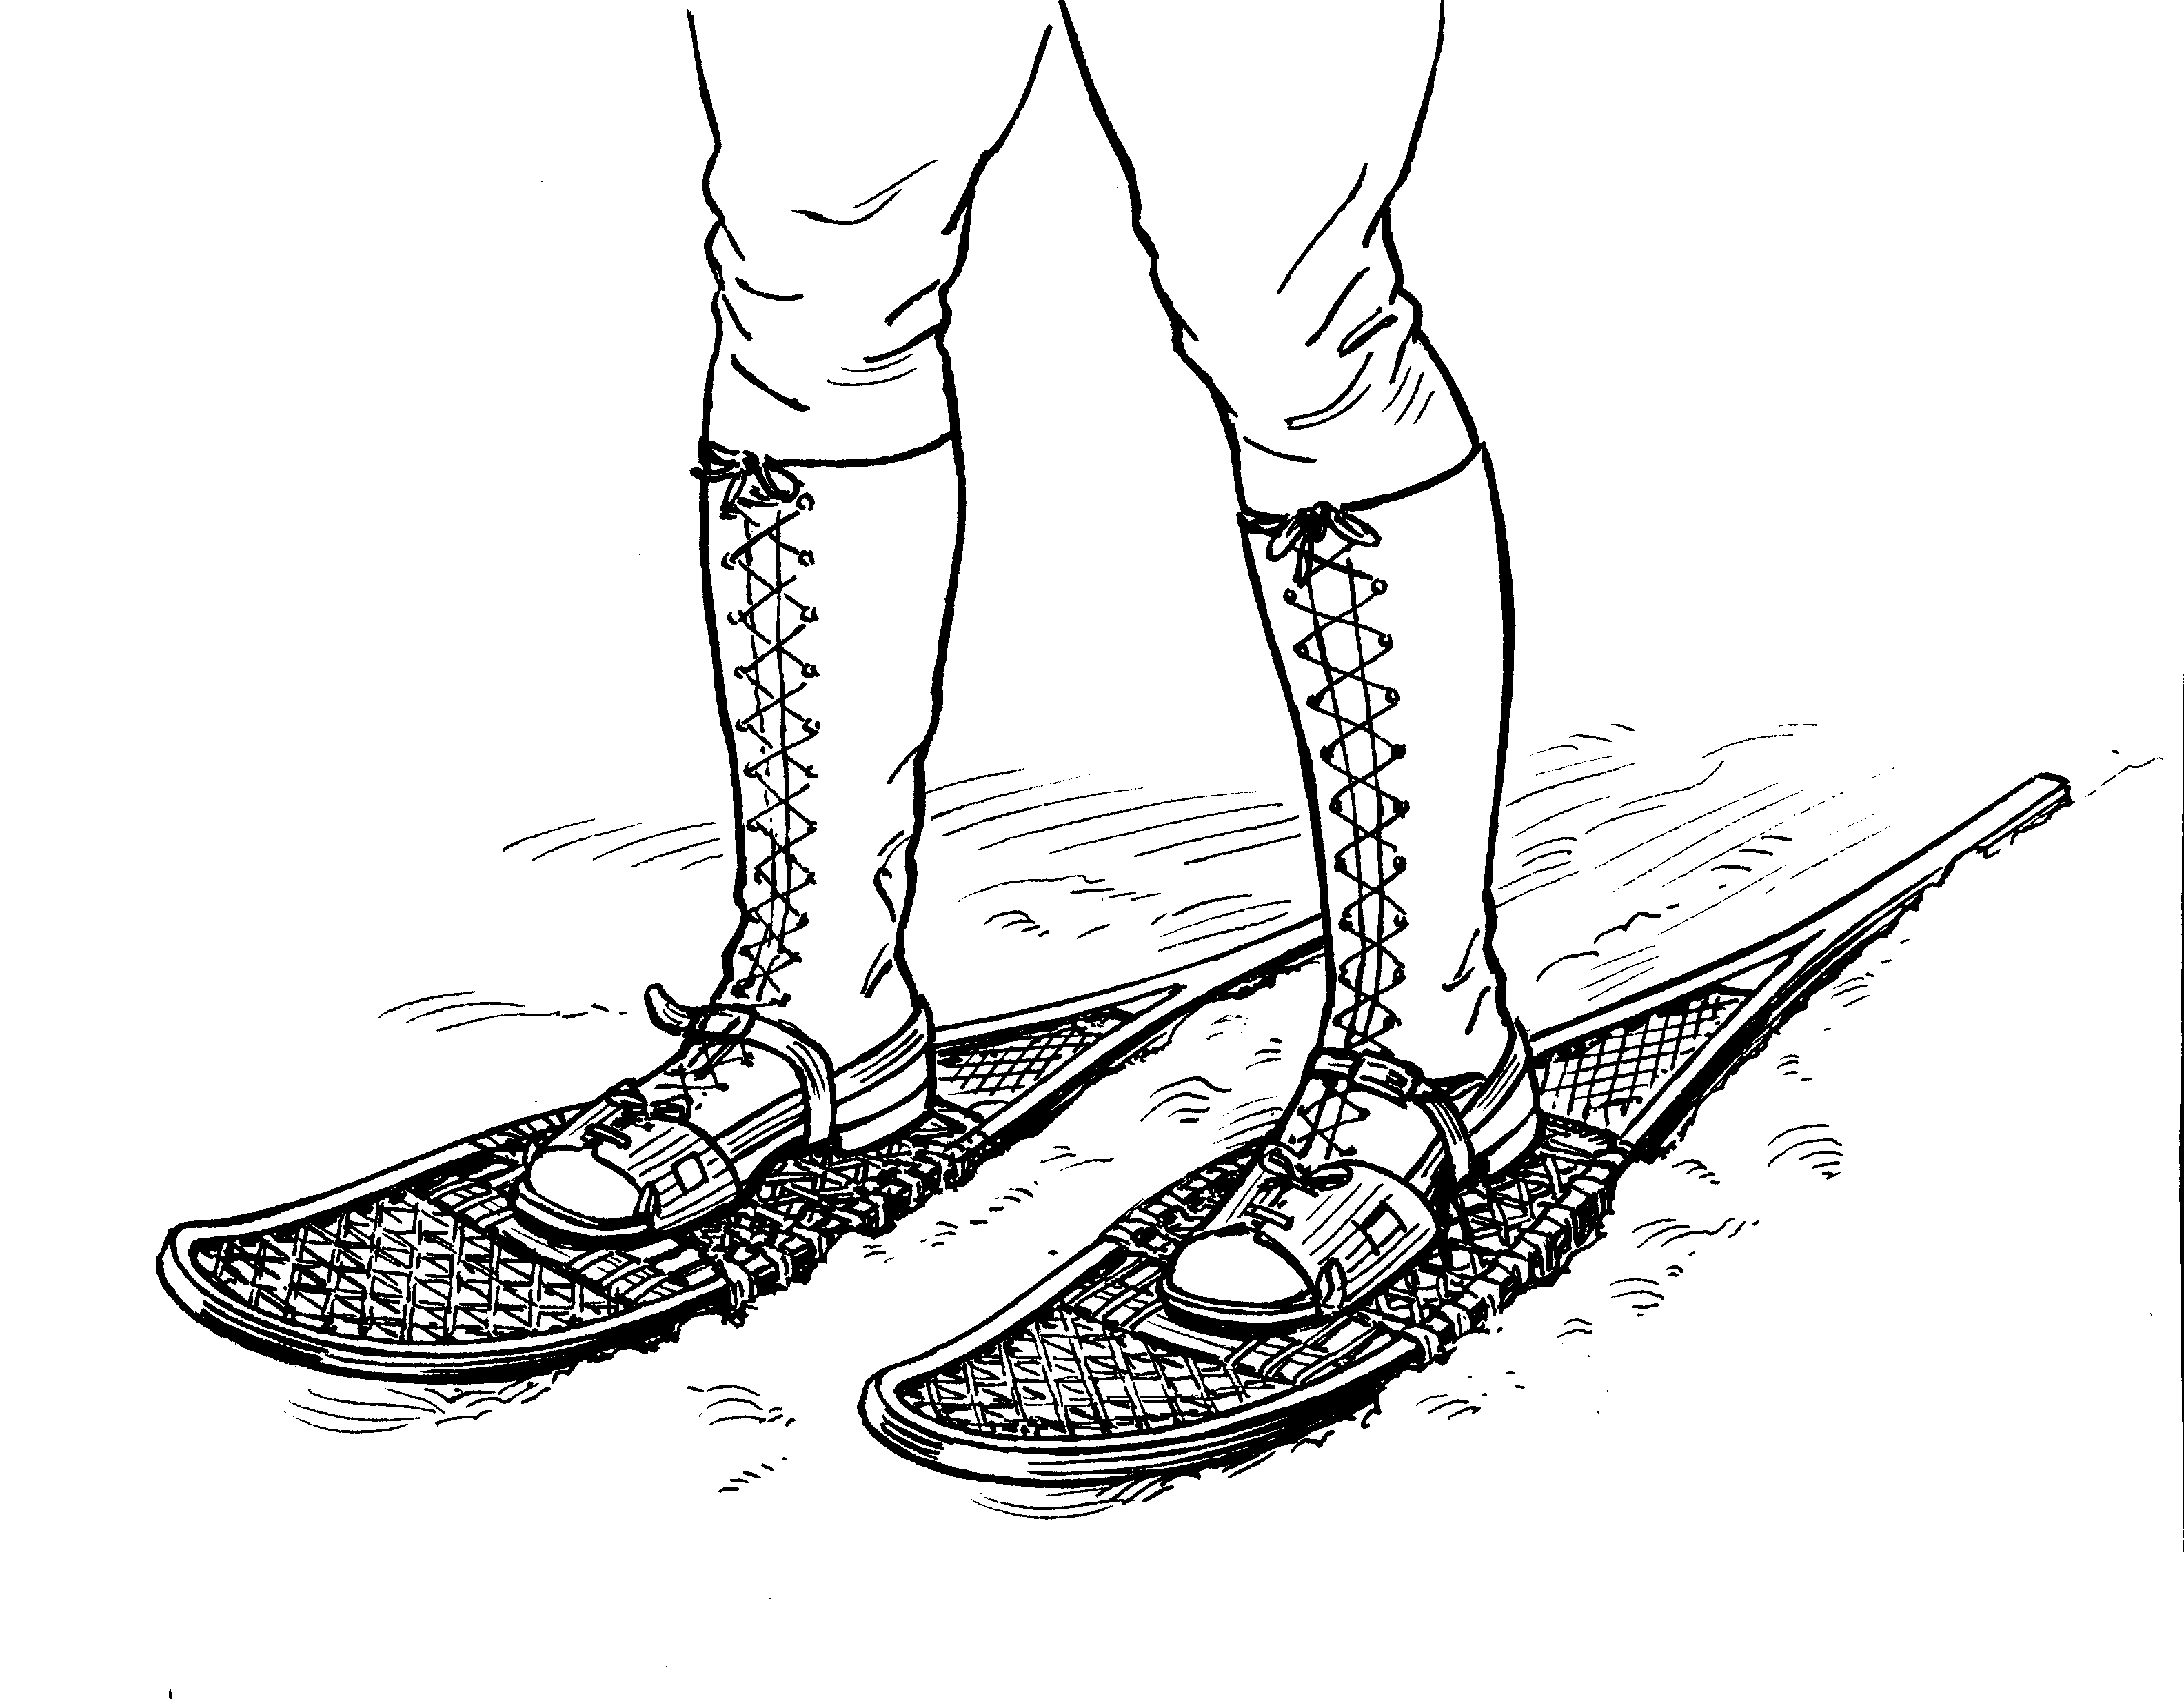
Photo: Pearson Scott Foresman, Public domain, via Wikimedia Commons
Lacing and Webbing
Depending on your preferences, you can now use rawhide lacing or the more modern neoprene webbing on the snowshoe. While strict traditionalists might prefer strong rawhide, you need to take care when lacing it to create a cane chair or diamond pattern. However, neoprene webbing lasts three times as long as rawhide and is easier to install.
Rawhide
If you choose to use rawhide on your snowshoe, you must obtain green, hair-free rawhide strips and drill small holes around the frame. Now you need to weave the rawhide in a diamond pattern by stretching it across the frame points. Though time-consuming, the finished product will help provide a stellar snowshoe that will keep you floating even on powdered snow.
Rawhide will absorb moisture when used on snow but dry up later and tighten to provide a fantastic cushioning effect as you walk on snow through the woods or any outdoor terrain.
Synthetic
Modern, synthetic neoprene can withstand the moisture and cold conditions that snow exposure brings and ensure that your snowshoe is maintenance-free for years. Moreover, you can complete making the snowshoe in a shorter time since there is no intricate lacing and threading involved. All you need to do is fix the neoprene webbing to the frame, and you are all set to walk through the woods, enjoying the serene beauty and quiet of the winter.
If you need additional assistance with lacing, Country Ways offers a low-cost kit on lacing patterns and directions, including their nylon webbing.
Read More: A Historical Perspective of Snowshoes
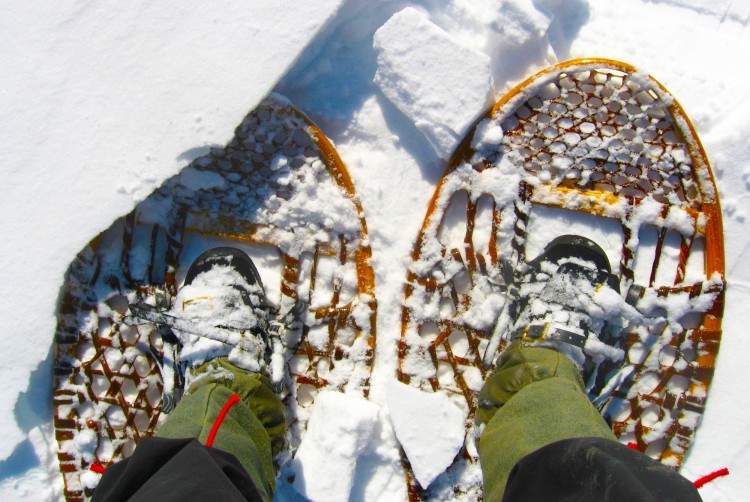
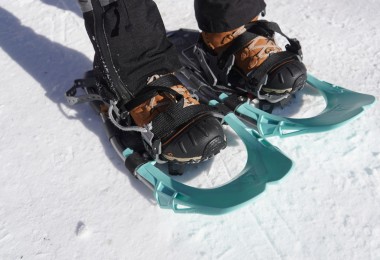
You can rawhide or synthetic lacing, but you must also install sturdy straps. Photo: Unsplash / Aaron Huber
Bindings
Whether you use rawhide or synthetic lacing, you also need to install sturdy straps to the ‘shoes so that you can attach them firmly to your feet. There are a variety of straps to choose from for the bindings. For example, an H-style binding consists of a toe strap, mid-boot strap, heel strap, or A-style binding consisting of only a toe and heel strap. You can choose to make your strap or purchase one from traditional snowshoe retailers.
Read More: Traditional Snowshoe Bindings 101
Go Out And Use Your Homemade Snowshoes!
Now that you have made a pair of wooden snowshoes go out and enjoy the snow! Remember to care for and maintain them throughout and after the season to ensure lifelong quality.
Have you ever made a pair of wooden snowshoes? What suggestions or recommendations do you have? Let us know in the comments below!
This article was originally published on October 13, 2014, and thoroughly updated in April 2020 with formatting changes and link additions. The most recent update was on September 15, 2022.
Read Next: A Few U.S. Artisans Keep Traditional Snowshoes a Tradition

I’ve done this, and while it’s fun and educational, you’re not saving any money. Do it for the experience, not because you’re saving money
I need more information on the wood selection process if you do not have access to logs and the actual splitting process. I cannot find any of that anywhere, if any one has relevant information that would be great thanks.
This seems to be a very vague article as how to make snowshoes from scratch. I would suggest getting a book that is more detailed. As far as getting the appropriate materials as far as wood is concerned you may have a difficult time thanks to the ongoing plague of the emerald ash borer. Here in Michigan home of Iverson snow shoes we have a short supply of quality ash.
Ed and Matthew, Thanks for your comments! Our article is meant to serve as a starting point for making your own snowshoes. For more in-depth information, I agree that a book would be a great supplemental resource. Two books that we recommend that describe the process extensively are Building Wooden Snowshoes & Snowshoe Furniture by Gil Gilpatrick or Leaving Tracks by Brian and Edmond Theriault. Ross Farm Museum also has a helpful video tutorial for selecting and splitting your wood for the snowshoe process: https://www.youtube.com/watch?v=JYQyaGbWezQ. Or, if you prefer, you can always purchase a traditional snowshoe kit from Country Ways, which includes an already-made frame and lacing instructions. I hope this article serves as a helpful starting point for your homemade snowshoes! -Susan, Snowshoe Mag Editor
Very helpful for me
Very informative thanks
Very informative. Thank you