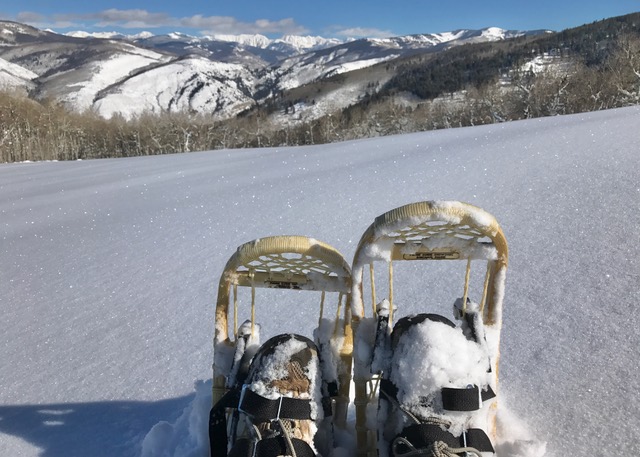
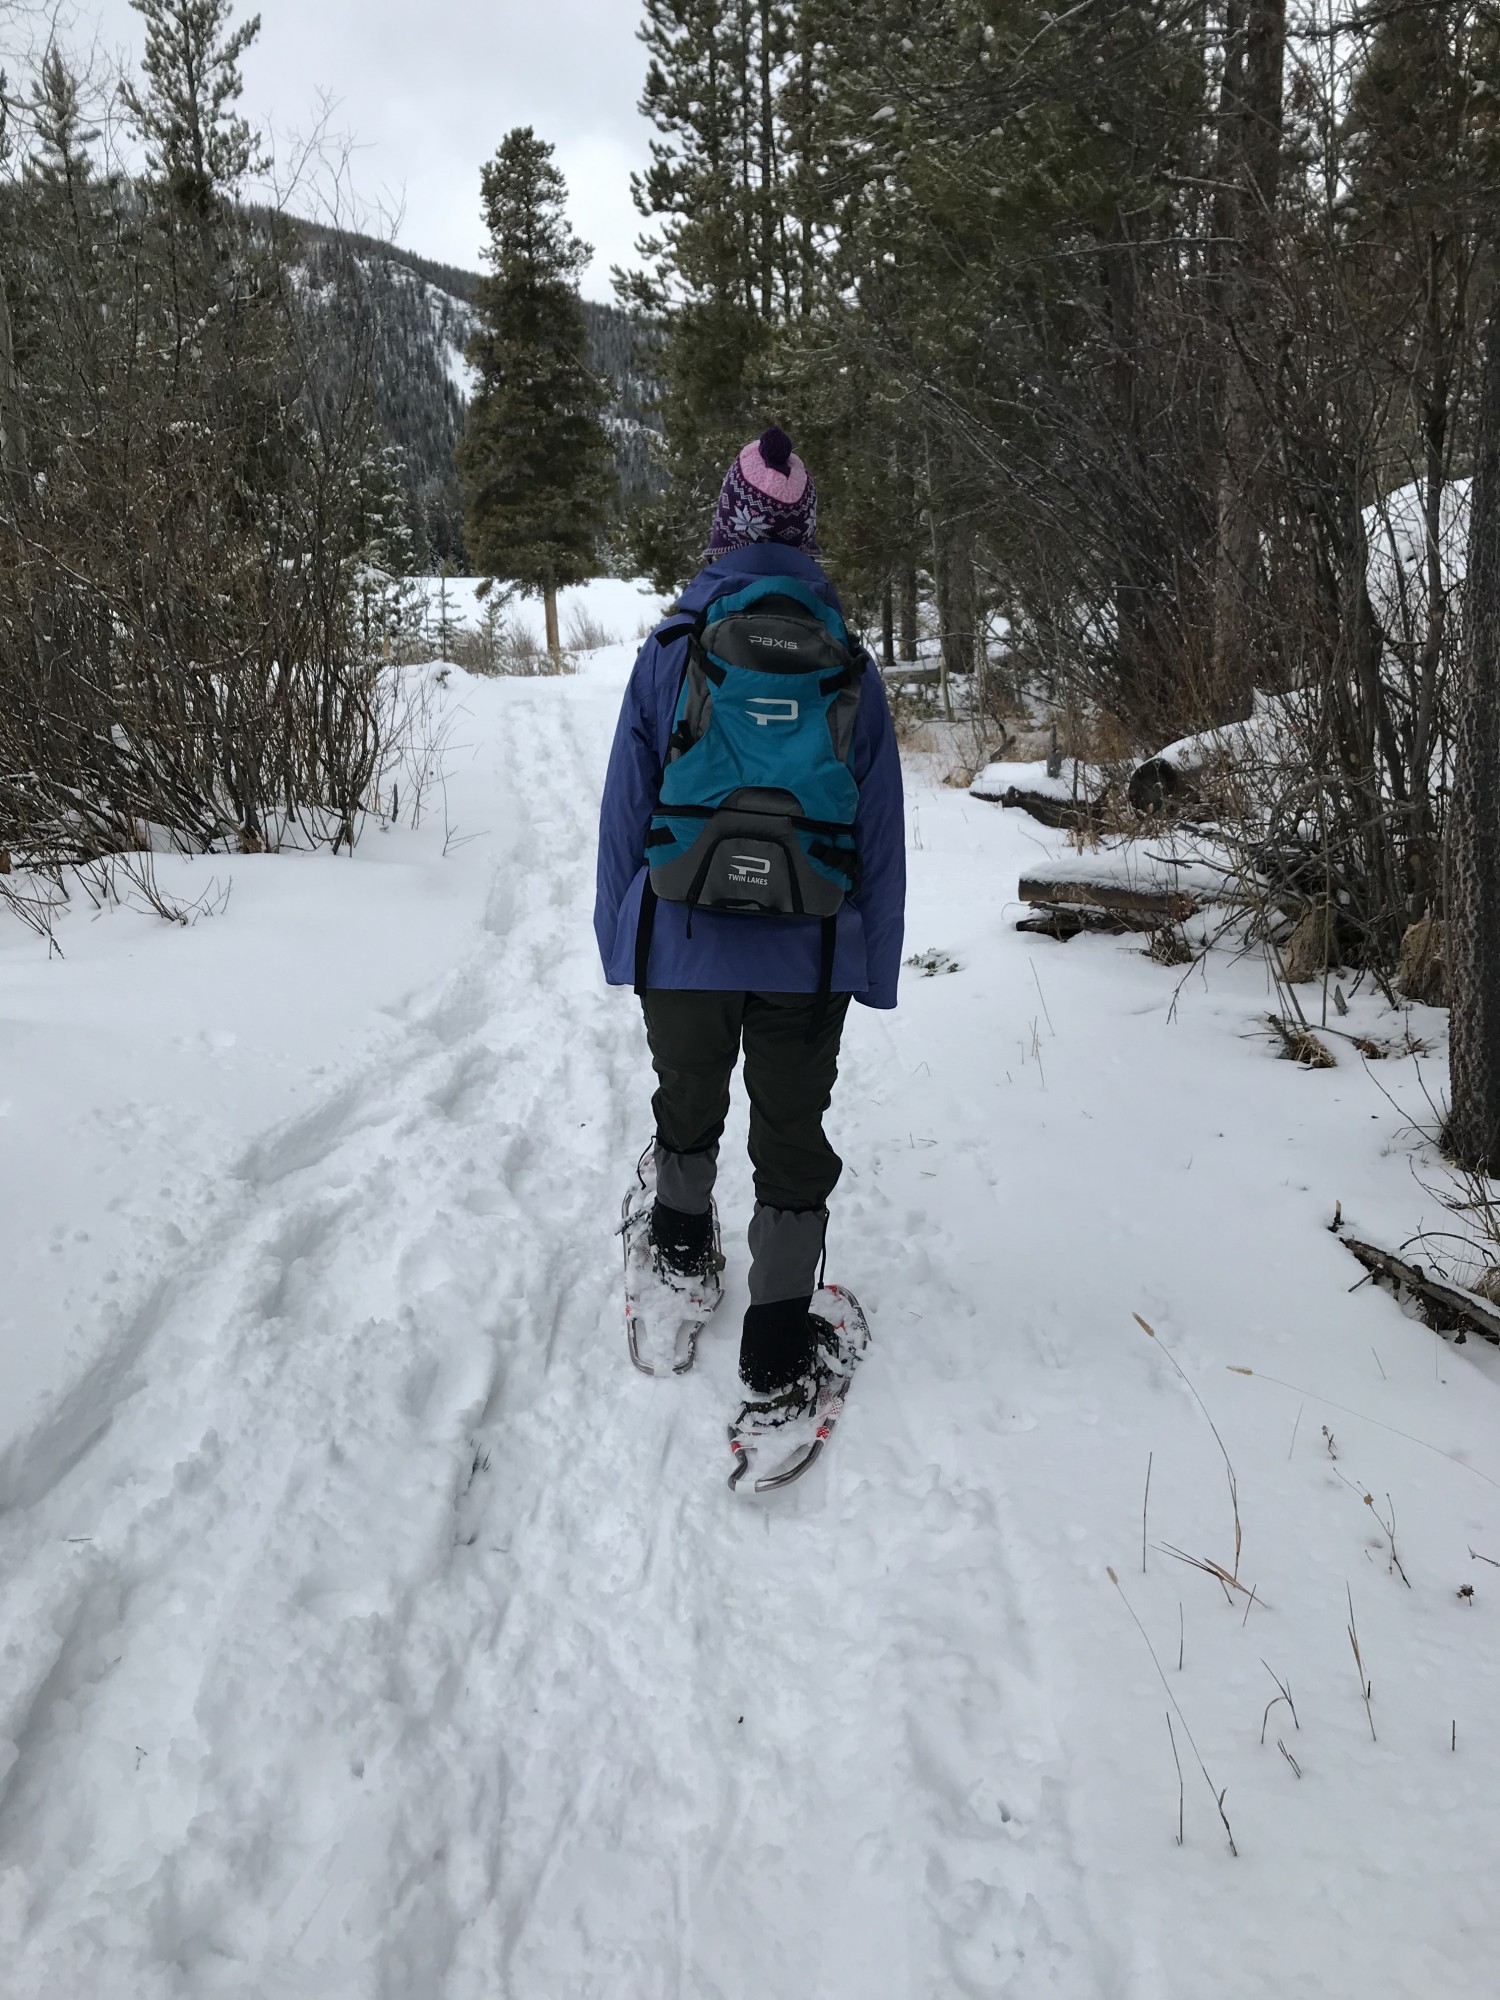
Although I am a flatlander from Wisconsin, I now and then have to attack hills on snowshoes. Perhaps they are small hills, but none the less…hills.
For the purpose of this article, what is a hill? And, what is a mountain? Westerners and easterners may chuckle at what we call a mountain in the Midwest. Rib Mountain is Wisconsin’s third highest elevation. It is called a “mountain,” because of the difference in elevation from the bottom land mass to the top elevation at 1,940 feet above sea level. But to our coastal friends, it is still a hill by comparison. Timm’s Hill is actually our highest elevation in Wisconsin at 1,951.5 feet. Of course, that is nothing compared to New Hampshire’s Mount Washington in the east at 6,288 feet, Mount Rainier on the west in Washington at 14,410 feet or Mount McKinley in Alaska at 20,320 feet.
But for us Wisconsinites, climbing our hills can be a feat. I guess for the purpose of Midwest snowshoers, we define a hill as any elevation that requires us to have to exert additional energy on our snowshoes, whether it is a 5 percent grade or a 65 percent grade, a hill is a hill and is subject to climbing.
Climbing up and going down hills on snowshoes can be one of the most fun aspects of snowshoeing. The information to follow is what I teach to both kids and adults for ascending, descending and traversing hills. But it all starts with some preliminary preparation.
Prevention & Preparation
An ounce of prevention is worth a pound of cure. I cannot emphasis this enough when I teach snowshoeing skills. Although ascending and descending hills does not seem like a major life challenge, it can affect people physically if they are not prepared for it.
A top concerns when going out on a snowshoe hike or climb hills is to emphasize the importance of stretching. In the beginning of snowshoeing for me, I was neglectful and lazy about stretching. One summer I hiked 67 miles on three backpacking trips, added several more miles from fall hiking, and came into the snowshoe season with Achilles tendonitis and bone spurs. I spend a month in physical therapy strengthening my tendons. I now stretch before going out on snowshoes, and I teach others the importance of stretching and how to stretch.
In Phil Savignano’s book, “Basic Essentials: Snowshoeing,” he recommends a few techniques for stretching in order to prevent injury, improve circulation, and increase range of motion. For example, his “Telemark lunge” is a technique for stretching lower extremities. Step forward into a lunge position with your forward leg slightly bent. While keeping your heel flat with your trailing leg, flex forward slowly. This exercise will help your hamstrings, calves and ankles stretch.
I also do a variety of exercises to stretch the torso and upper extremities. It is good to prepare the entire body before heading out on trail. Experts say that you should not stretch your muscles when you are cold. So either stretch indoors before heading out, or warm up a bit with a short snowshoe walk before stretching.
Another concern I have is to make sure that my students have proper footwear and snowshoes. Periodically I have someone show up for class with tennis shoes. So far, nobody has shown up in sandals. A good pair of hikers or boots….preferably waterproof/breathable, and quality snowshoes with a supportive binding will help protect feet and ankles.
Hiking poles or staffs come in handy when snowshoeing on hills. Some snowshoers use a pair of trekking poles. I prefer the single trekking pole as it helps me with balance when in tricky terrain. It is also useful for momentum going uphill and breaking my descent going downhill. Hiking staffs can reduce stress on the back and especially on the knees.
I use a Komperdell anti-shock, collapsible aluminum-frame pole with a steel-tip and snow basket. During the other three seasons, I remove the basket and put on a rubber tip for hiking and backpacking. Now that we have our proper footwear, snowshoes and poles and have stretched, it’s time to take to the hills.
The Ups and Downs of Snowshoeing
In 1974, Gene Prater wrote in his book titled Snowshoeing, “When traction is poor, or position precarious, move very gently, with the flowing fluid movement of a cat stalking a mouse. Don’t lunge or leap from step to step, especially on a steep climb or traverse.” This is truly sound advice from the past.
When teaching ascending, traversing and descending skills, I reference established approaches that are identified by many snowshoeing authors. The technique names and descriptions may vary slightly among these resources, but they all have similar results in performance.
The first step is to learn the techniques of “stamping” and “edging,” since these skills are used with other techniques for getting up and down hills. Stamping is to plant your snowshoe into the snow, stepping lightly with the heel first, then toe, and pausing for a brief moment before transferring your weight onto the toe of the shoe. The purpose of stamping is to firm up the snow so it supports your weight, giving you greater flotation. Time and pressure will help snow solidify. The same goes for edging where you plant the edge of your snowshoe into the snow similar to stamping, helping to create a step.
Techniques for ascending can include the following approaches:
Stepping up: Stepping up refers to climbing an incline by using the front traction devices on your snowshoe to dig into the snow. Take short steps and place your weight on the balls of your feet to gain traction. Use the stamping technique for deep snow. Then step up the hill.
Herringbone Step: This technique is similar in cross-country skiing where you climb a slope up the fall-line by stepping with your toes out, knees bent, and your snowshoes turned out at about a 45 degree angle. Your step should form a “V” shape like a herringbone, and will involve some edging with the inner part of the snowshoe.
Side Step: Side stepping is climbing a hill sideways as if stepping up a set of stairs sideways. While facing left or right to the hill, edge your snowshoe into the snow and stamp to create a step. Bring your lower snowshoe up to meet the upper snowshoe with each step. But be sure there is space between the steps to avoid them from caving in on you and resulting in falling.
Kick step: Kick stepping is for climbing steep slopes in very deep snow. You kick the toe of your snowshoe straight into the snow about six to 10 inches and stamp to compact the snow. This will form a platform or step. Be careful when doing this, since you do not want to kick into an area where there may be rocks or boulders. It could result in hurting your foot or damaging your snowshoe.
Scramble: Scrambling is when you use an aggressive stepping-up approach to climbing a hill. It involves taking short quick steps by digging your front cleats into the snow for traction and moving up forcefully as if running uphill.
The following are techniques for traversing a hill (going across a slope rather than going up a fall-line):
Side Kick: Side kicking has also been referred to as traversing. You kick in the edge of the snowshoe as you move forward uphill and at an angle to the hill. You create a platform by putting weight on the uphill side of your snowshoe and edging it into the slope as you angle forward and upward.
Switch back: Switch-backing is a technique for getting up a hill by taking alternate back and forth routes. It involves climbing a slope at about a 45 degree angle to the fall-line and zigzagging your way uphill. In this technique, you are using more than just one angle as you would in side kicking.
Lastly, the following are approaches for descending a hill:
Down-hill: Down-hilling involves using the rear traction device more than the front. Plan your descent in advance based on the pitch of the slope and snow cover. Keep snowshoes level with the horizon and not parallel to the slope to avoid sliding. Put some weight on your heel cleats for traction as needed. Flex your knees and take small steps as you walk downhill. Should the slope get steeper, put more weight to the back of the snowshoe and take longer strides.
Glissade, run or step-slide: Glissading involves combined running and sliding down a hill while still having control of your snowshoes. Depending on the angle of the slope, you may need to shift your weight to the heels and lift your toes out of the snow as you skip down the hill. Do not lean forward, but rather keep your body level and your weight to the back of the snowshoe while taking long gliding steps. Some authors refer to this technique as step-sliding when moving downhill a little slower than you would glissade. Another term used is running downhill where you would fly down the hill very quickly with less sliding and more running. There are risks in doing these descents. I would not recommend it on a very steep hill or where there are a lot of barriers in the way, such as trees.
Side-step: For those very steep grades, side-stepping down is a good choice of techniques to use. If you can side-step up, you can side-step down. Just reverse the process. Descend sideways to the fall-line and step or edge into the snow to create a shelf. Bring the top snowshoe down to meet the bottom shoe with each step.
Look Out for Dangers
In the Midwest, we are not worried about high altitude sickness or avalanches. After all, how sick can one get at 1,940 feet above sea level? For those who snowshoe in west and east mountainous areas, I recommend you consult experts in mountaineering before taking to the mountains on snowshoes. Then go prepared.
But in the Midwest, we do watch out for other dangers on hills. One such danger is watching for cliffs or overhangs that could result in falling through snow or over a high cliff or ridge. Upper Michigan’s Porcupine Mountains, and other wilderness areas that have cliffs can be dangerous where a fall could result in serious injury or death. The simple prevention is to keep away from those edges and do not take the risk of venturing out in high cliff areas that present itself as a potential hazard. Also, carry rope and a first aid kit with you in the event someone falls.
When backpacking one summer on Isle Royale, a large island in Lake Superior, I quite often stubbed my toes on roots and rocks. When I arrived home, all but one of my toenails were blackened and eventually fell off. I’m glad us humans can grow back toenails. On snowshoes, roots and rocks can appear in areas where snow is thin and pose tripping threats that can result in strains, sprains or breaks. Prevention is to watch your terrain underfoot, and carry ace bandages and a Sam splint in your first aid kit just in case.
Taking the Challenge
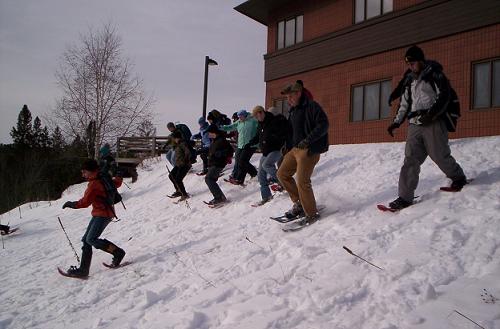
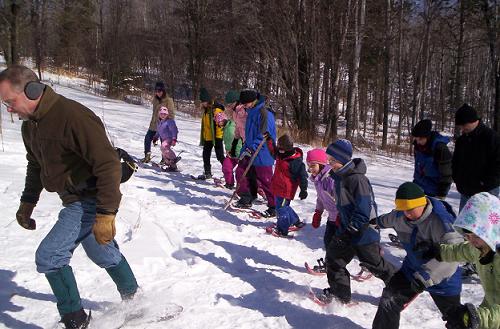
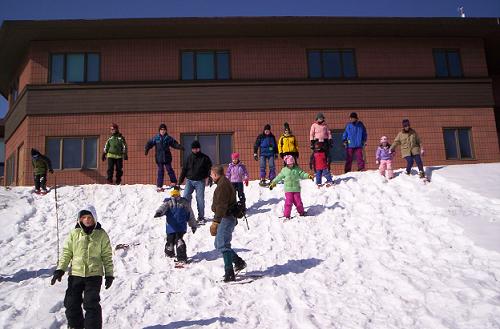
I co-teach an annual family snowshoeing weekend event at our university’s outdoor extension facility called “Treehaven.” Following instruction on how to make an ascent, Treehaven’s assistant director John Heusinkveld and I led our group in a charge up a small hill that has about a 60 degree slope.
The group of children and their parents were pumped and ready to climb using the step-up, herring-bone and side-step techniques. Once at the top of the hill, the challenge was now getting down the steep slope.
On the count of three, everyone headed down using whatever approach they wished to use. Some side-stepped down part of the way and then stepped-down the remainder of the way. One of the kids ran down with snowshoes high and snow flying, yelling “yaaaaah” all the way down. And one parent gracefully stepped-down quite elegantly as she was concerned about falling flat on her face in front of her children.
John and I both came down with a combination of running and glissading that you think would send us plummeting into the birch and pines just beyond the end of the drop. I’m not so sure who had the most fun coming down that little hill at Treehaven. But I believe as instructors we did our best in preparing families for their ascent and descent on the hill with good results and a fun adventure.
